



Die Geheimwaffe des Sets – Movers and Shakers

Lesson time: (8min 8sec)
Mark Burnett zeigt die gruppierten 'Mover and Shaker'-Spuren, mit denen er über längere Phrasen hinweg Bewegung und Spannung erzeugt, wenn er ein Live-Set in Ableton spielt.
Course preview
This lesson is part of the course Wie du mit Ableton Live und externen Instrumenten ein umwerfendes Live-Set kreierst
Watch a preview of the full course below.
Lesson transcript:
Using Group Tracks for Dynamic Performance
Now, the next two tracks here are actually a little bit of a secret weapon that I've developed. I'm sure I'm not the first person to use this particular technique, but what I've found is that while I'm performing, even though I can kind of manage to mix, select, and manipulate eight tracks (essentially four audio tracks from inside Live and four external instruments), that's still quite a lot to do.
Even with those eight parts, it's quite difficult to develop movement in longer phrases within the performance. So, to add interest to the performance, I've devised these two extra tracks, which are actually grouped tracks. The content stored in these group tracks is stored further up in the set.
You'll notice I've scrolled up here in the actual set itself to the area above where all of my performance parts are, an area of the project that I wouldn't normally be navigating and triggering things in.
Track Organization
I've chosen to put it at the top of the set because that allows me to keep adding other content to the bottom without moving things all the time. Now, these two tracks (or group tracks, I should say) are labeled as Movers and Shakers. That's just my own quirky way of naming things. If I expand them both, you'll see what's in them.
I'll close the input-output tab here for a moment, just because we don't really need to see what's going on there.
Movers
In the Movers track, there are two sub-tracks:
- One is called Up, and
- The other is called Down.
You might be able to guess that the Up clips consist of risers or transition parts with an escalating sound, while the Down clips are transitions that progressively drop down.
There are lots of different names for these clips. Some people call them uplifters and downshifters, while others refer to them as risers and falls. What I've done is choose a selection of these clips, some are samples from sample packs, and some I've built myself, and put them into an order such that when I trigger the first one, they automatically start playing the clips underneath it at a specific interval.
Automatic Triggering
I've set it up so that pretty much every 32 bars, a rise occurs followed by a fall. Even though I'm not triggering these myself during the performance, there's a natural 32-bar progression and movement happening just from triggering these tracks.
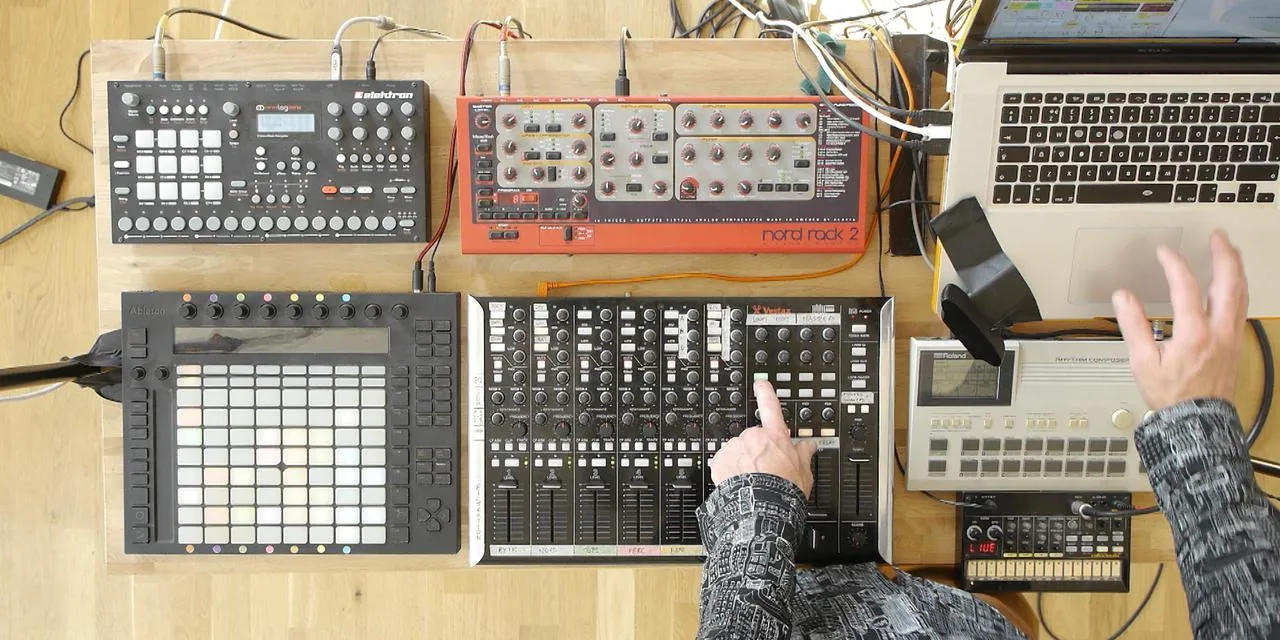
I also have buttons set up on the VCM to enable me to launch that. It really is as simple as a Start Button, a Stop Button, and a Volume Control. This allows me to adjust how loud those particular parts are.
Now, I'll just trigger this first one off now, so you can see how that works. Let me just stop the other clips.
- If I press the Launch Button, you'll see that it immediately launches the top two clips.
- This one called Spacer has actually been muted; I just needed something in there to start the ball rolling.
As you can see, as it goes along and gets to the end, the next clip is then launched. This is achieved using Ableton's Follow Actions.
If you go into the clip view at the bottom of the screen and have a look in the Launch Tab, you'll notice a section called Follow Actions.
Follow Actions Overview
I'll look at Follow Actions in more detail later on, but simply put, Follow Actions enable you to assign an action to a clip, such as playing the next clip once the current one has finished playing.
You can see I've left this playing now, and as these are flashing, it means they're queued up and ready to launch. It's just waiting for the end of the 32 bars that I've specified.
And then it will start playing. You should notice as it builds that the Down clip was then triggered, and the next ones are now being queued up. This will work its way all the way through all of these until it gets to the end, after which I've set it up to return to the beginning.
Given that these are 32-bar intervals and that there are probably about 15 clips per column, that gives me quite a long time, meaning there's not really any repetition throughout the set. I don't have much control over it again other than stopping and starting it, which I do sometimes during the set if I want to reset my play position.
Shakers
I'm using exactly the same technique for the Shakes. Here, I've included interesting random sounds that I found and really like, but don't want to trigger specifically. I've set them up to automatically trigger themselves and to have a follow action, so that another clip plays when one is done, but I've done it on strange intervals.
- These first two tracks trigger the next clip every 5 bars.
- The reason I've got two is that one is triggered every 5 bars, and the other every 10, creating a bit of an overlap and cycling in a weird, non-4/4 way.
The same applies to the other two tracks labeled 7, which have intervals of 7 and 14.
Launching Clips
Every 5 bars and every 7 bars, one of these clips will randomly fire off. Unlike the Moves, I haven't put these in any particular order, nor have I specified the follow action, so that it plays the next clip. Instead, I've set the follow action to play any other clip.
You'll see how this works if I just launch the first row of clips here. My launch button is set to trigger the very first row; so whenever I press it, I'm always going to get the same four sounds triggering.
I've carefully selected the first four so there is some congruence to them. After that, it's completely random, and I'll demonstrate that now.
Demonstration
I'm just going to make the viewing panel a bit bigger here, so we can see more of these clips. I've included quite a few, so there are all kinds of crazy sounds.
Now, I'm going to launch the first row. So you hear the first set of clips being triggered, and you'll notice that there are four other clips flashing that will trigger at intervals of 5, 10, 7, or 14.
Some of them are short, some are long, and they comprise a broad selection of quirky noises. I'm just going to let this play a little bit more until you hear a couple more sounds; just little effects and random clicks.
That sort of thing is going on in the background all the time. Since they aren't regular intervals, they contribute to a unique, interesting dynamic.
I can stop them all and relaunch them again, but this setup gives me a layer of movement that's not as repetitive as all the other programmed material.
Further Mapping and Techniques
I'll come back to how all the mapping works later on, and I might also revisit how the Follow Actions function in more detail. But we'll see how we get on!
About the instructor
Mark Burnett ist ein Ableton Certified Trainer, der seit über 14 Jahren mit Ableton-Produkten arbeitet. Als Produzent und DJ bei Funk'n Deep Records liefen seine Tracks auf großen Festivals sowie in Sets und Podcasts von Künstlern wie Carl Cox und Richie Hawtin, und er hat vor Tausenden von Menschen gespielt. Außerdem veranstaltet er große Events wie das Workhouse Project und studierte am Imperial College London. Sein Kurs behandelt den Einsatz von Ableton Live zum Aufbau von Live-Performances und eignet sich für Produzenten und Performer im Bereich elektronischer Musik, die ihre Show aus dem Studio auf die Bühne bringen möchten. read more