



Fab Stomp
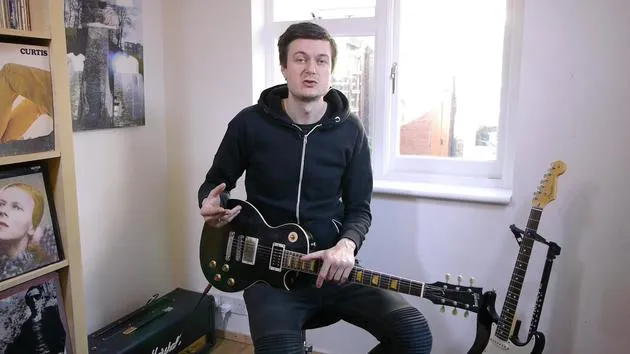
James Barratt breaks down the Rockschool Grade 1 piece 'Fab Stomp', a 60s pop-rock number with a Stones-and-Beatles feel and a tricky open-string opening bar.

What's in the course
38 lessons (2h 32m) · 1 free
01. Intro to Approaches to improvisation
1:00
02. Getting started with improvisation
9:22
03. Improvising using chord tones
10:18
04. Assignment: Finding chord tones
4:05
05. Adding rhythmic interest to your solos
4:11
06. Assignment: Improvising over a chord change
2:52
07. Challenge: Submit your improv
0:24
08. Rhythmic improv & comping
9:55
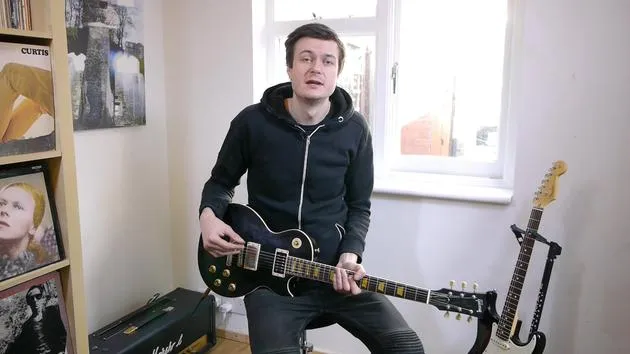
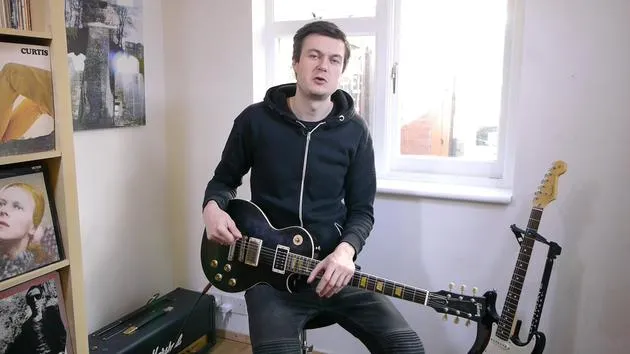
Lesson transcript
Fab Stomp Music Lesson
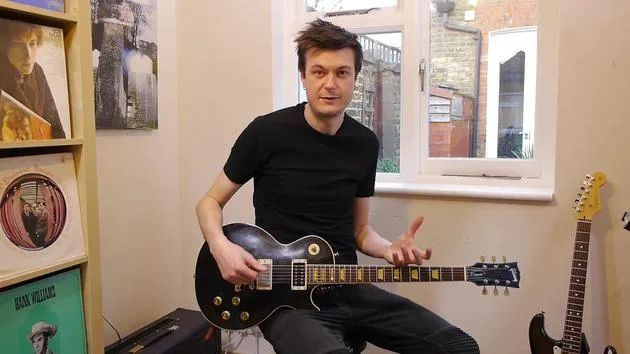
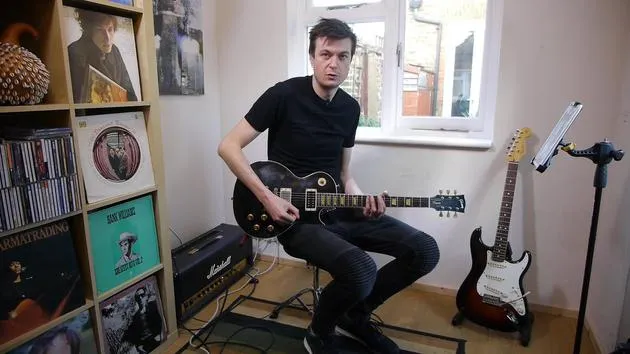
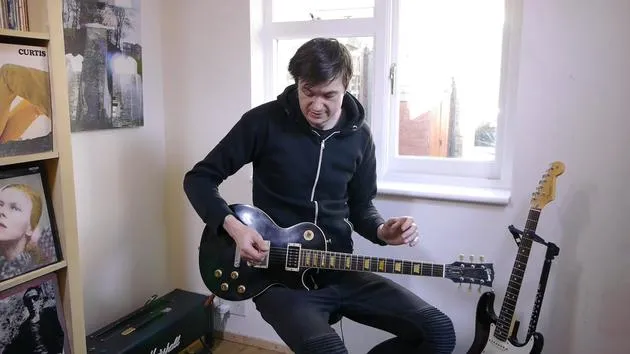
Okay, let's check out this tune together. This is written as a 60s pop piece, but I'm feeling kind of quite Rolling Stones, Beatles, and E vibes, probably more Stones. It's a bit more pop-rocky, in my opinion, but it's a cool track nonetheless.
Sound and Style
I've gone for a slightly overdriven sound, as you heard in the performance piece there. It's a pretty standard, straight-up, classic rock type sound.
Now, let's take a look at these sections together.
A Section
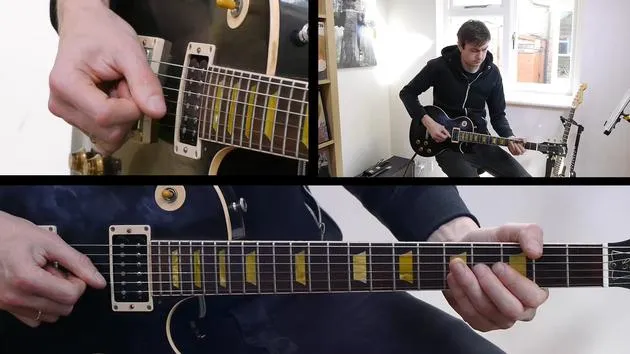
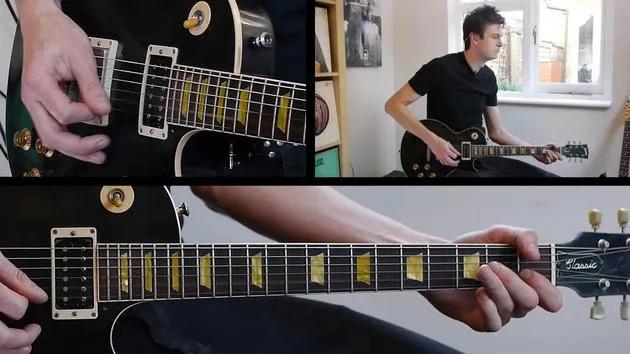
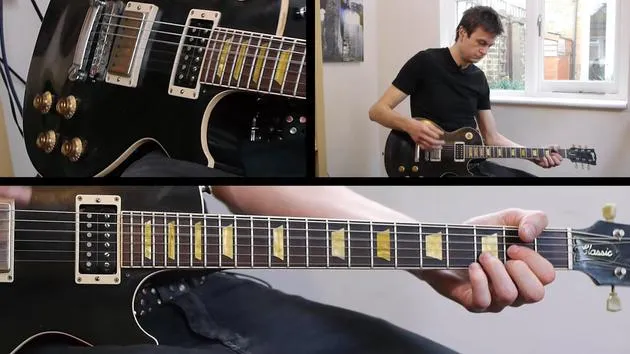
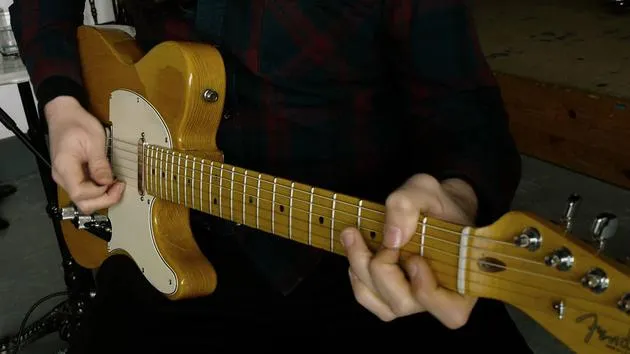
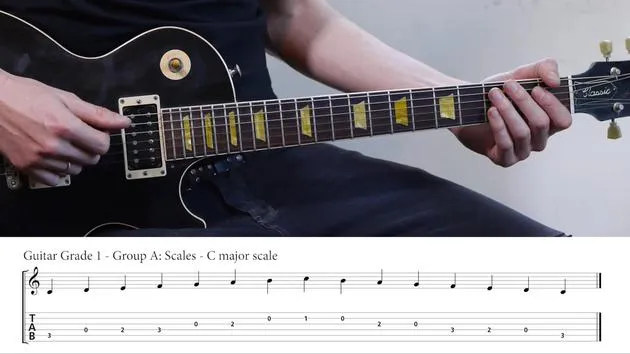
In the A section, we've actually got this quite challenging opening bar, to be fair. Even though on paper it looks dead simple, you see a lot of zeros, a lot of open strings, and you're like, "Okay, this is going to be all right. It's going to be easy."
But in fact, to keep things under control, you've got to be a little bit careful. There's no let ring written in here, and we certainly don't want to hear all those strings ringing together with distortion, it can sound a bit messy.
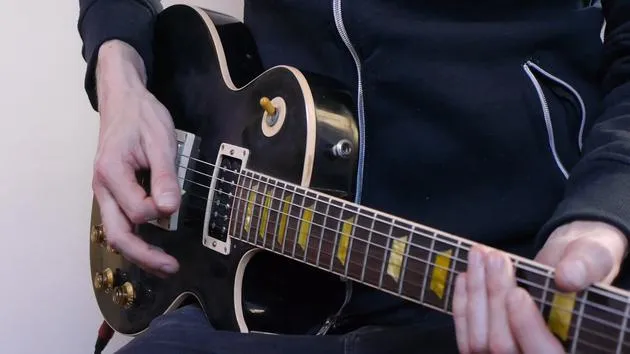
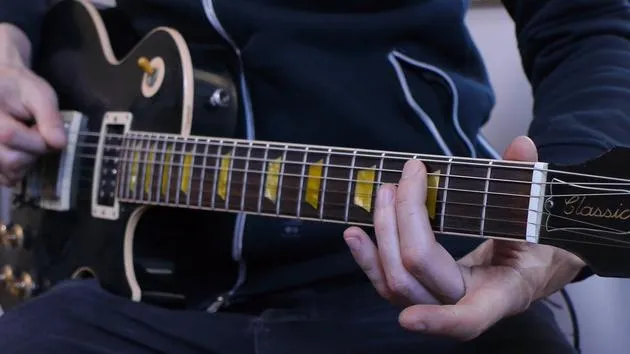
So, you just need to make sure that those notes are evenly and clearly defined on their own so they don't all ring together. There are a few ways you can do that:
- You can use your left hand to meet the open D string once you're finished with it.
- Before playing your A note, rest that finger very lightly on the D string.
That's probably something I would recommend practicing, just going between an open D and an open A note and ensuring they're independent and clean rather than ringing together.
We don't want this:
Unwanted Ringing
We want this:
Defined Sound
You can hear the difference there. It's just a little thing, but it will make all the difference in how this starts, especially the first bar of the song. We want to start with a bang!
B Section
Right, let's move on and have a look at the B section. Now, this is really cool. For me, this is where it really screams kind of Rolling Stones, this suspended chord vibe you see.
- At bar 10, the chords are written as sus 4 and sus 2 chords.
- Without bogging you down too much with theory details, sus is short for suspended.
Just what's good to have an idea of is the type of sound that a suspended chord creates, it's quite an ambiguous, unsettled sound.
- Asus4 - really cool chord.
- Asus2 - really cool chord.
- You can do the same thing on D:
- D
- Dsus2 - really cool.
You can ask your teacher about this, it's well worth understanding the theory behind suspended chords. If you have a conversation with your teacher about chord construction, you can learn what notes make up major and minor chords. From there, it's a very short journey to understand what a suspended chord is.
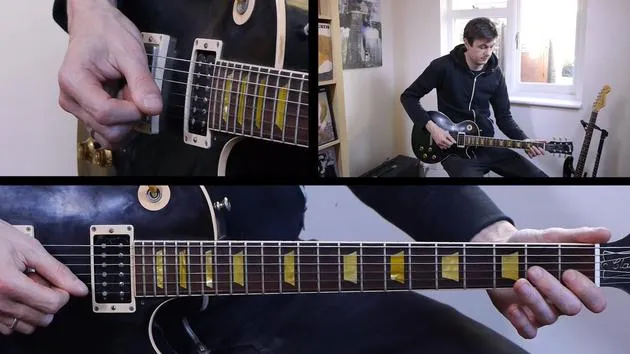
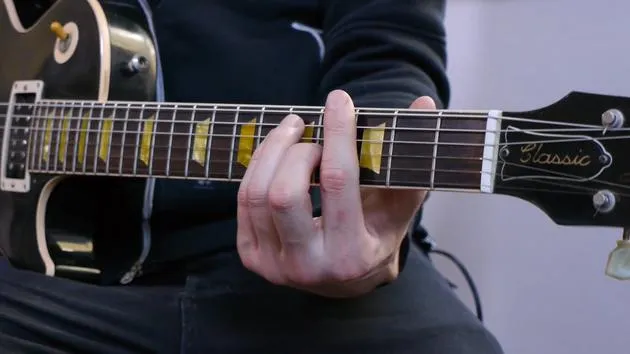
From the start of B, we have two A major chords, which I'm playing by barring my first finger across rather than using the more traditional fingering of 1, 2, 3.
It's a really nice thing to quickly jump in since I'm not often fond of hearing the E string with this type of sound.
Melody and Timing
We have a call-and-response idea here. We're responding to those two stabs with a little melody, that outlines those suspended chords and sounds really nice.
Together, it goes:
1, 2, 3, 4.
1, 2, 4.
You'll notice you're playing very off the beat, it's something to work on. The timing of this phrase, in particular, is off the counted beats.
- Ask your teacher or practice with a metronome to make sure you've got that bang on because it can be tempting to want to play on the beat.
Remember: That phrase really wants to be played in the spaces.
You do essentially the same lick, but on a D rather than an A chord, responding back and forth between them.
Repeat Sign
One symbol you're going to want to know is at the beginning and the end of B, we have the double lines and double dots.
This is a Repeat Sign. It means you're going to play the B section twice before moving on to C. It's a really important structural marking that saves us from writing the same thing out again.
C Section
Moving into C, we're going to play a more melodic role here. Again, just because of the nature of the genre, you'll be nice and confident with your right hand. You can really dig in strongly, perhaps on any notes that have a long duration.
- At the beginning of C and certainly at bar 15, you might want to apply light vibrato to those notes.
It's a great point to add vibrato on notes that hang around for a long time. We don't want to do it on notes that are brief, but when you do, it adds a nice bit of life to the melody.
For example, rather than playing the note:
Without Vibrato
... you can have:
With Vibrato
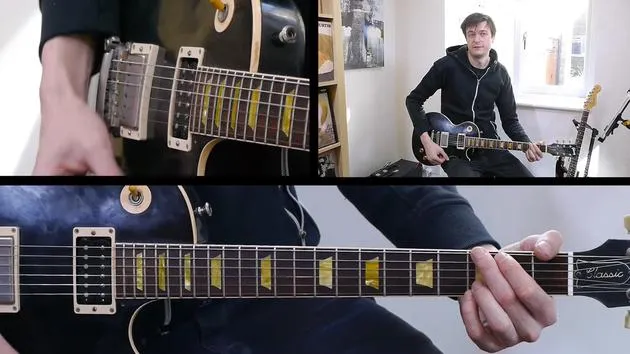
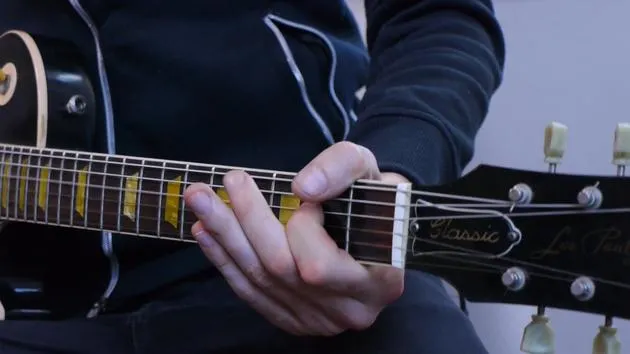
If you're using your third finger to play that F# note, you can add your second finger behind it and support it. It's very similar to what you do when bending strings, supporting the string helps in getting better control over vibrato.
Personal Style
Experiment with vibrato, it feels very different depending on the neck and the context. Spend some time just picking a note and exploring vibrato.
It's one of the most personal techniques you can learn on guitar. Very difficult for someone to tell you how to do it precisely, as you will develop your own style.
Listen while doing vibrato because it's easy to spot a less confident player who hasn't mastered vibrato, they tend to play the wrong type at the wrong time.
Elements of Vibrato
- Speed: How fast you go up and down.
- Width: How wide you want it to be.
Depending on the genre, you want to be comfortable applying either wide or subtle vibrato on longer notes to make them more interesting.
Rhythmic Build
The last thing to be aware of is the build from bar 16, focusing on the rhythmic buildup and fingering of these chords.
- At bar 17, we're playing an A Power Chord (a 5) with minims:
- 1, 2, 3, 4
- then with crotchets: 2, 3, 4
- then quavers.
Here, we move to an A7 chord. It's worth practicing that transition, especially if you're barring for the A major.
Incorporate some dynamics as well; you could start soft and build, that's a common feature in a band setting. Make more of that section.
Conclusion
To finish, we're ending on the opening phrases with a slight variation. Hit those final chords hard, like you mean it, for a deliberate and professional ending.
As usual, make sure you practice in small chunks. Add those building blocks together so that you form the piece rather than just attacking it as a whole. The more you can break it down, the more comfortable your muscle memory will be when performing at full speed, it will sound great!
Best of luck with it, and let's crack on with the next piece!
38 lessons
2h 32m of structured video lessons
Advanced video features
Slow down, loop a passage, follow along
Mobile, tablet & desktop
Practise wherever you are
100% satisfaction guarantee
30-day money-back guarantee







