



The lacquer cutting lathe
What's in the course
11 lessons (1h 35m) · 1 free
01. Intro to Gearbox records
Free lesson4:00
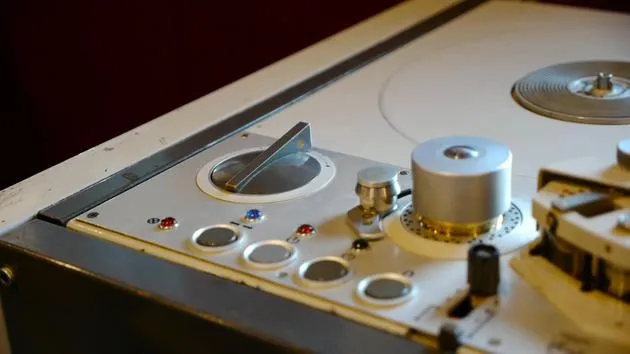
02. Introduction to the studio hardware
8:50
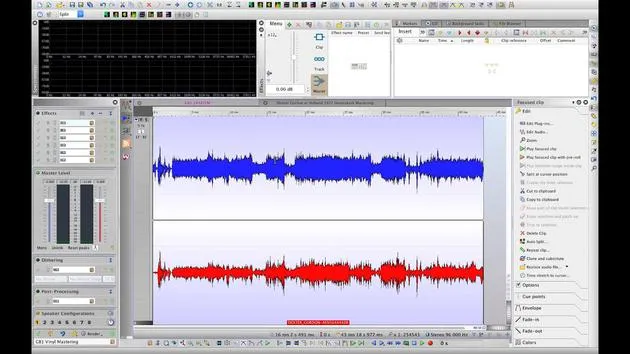
03. Introduction to the studio Software
1:53

04. setting up for mastering
6:21
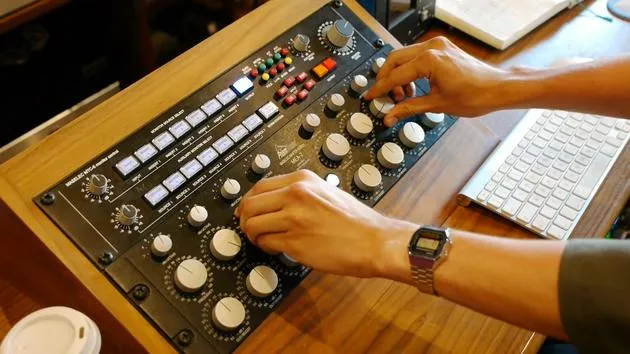
05. Mastering - demo
4:33
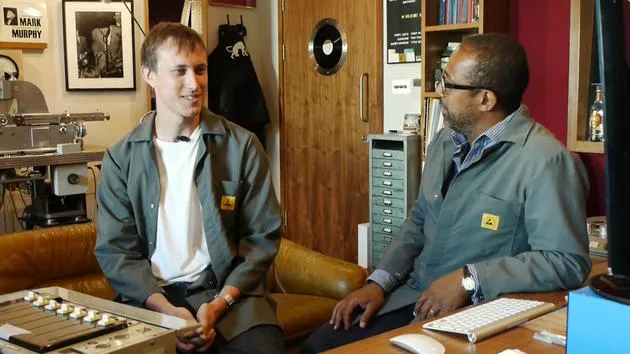
06. Mastering - discussion
13:24
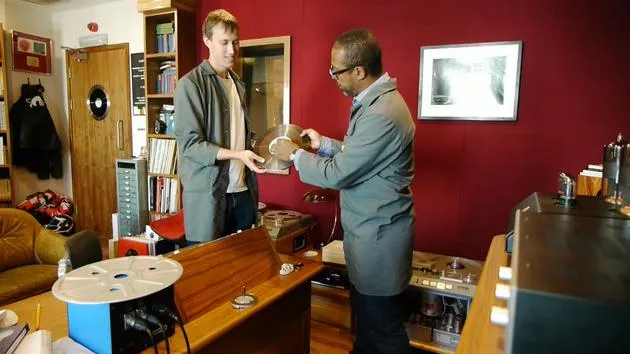
07. Studer C37
26:00
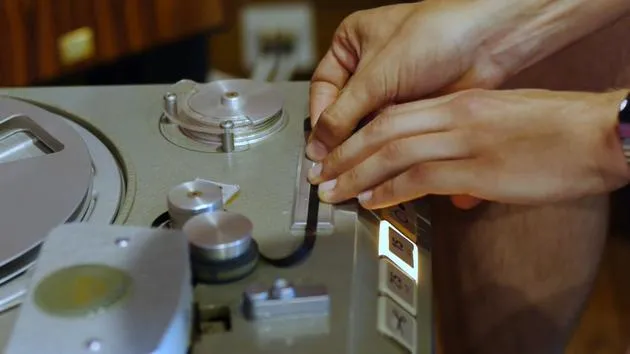
08. Tape splicing
5:19
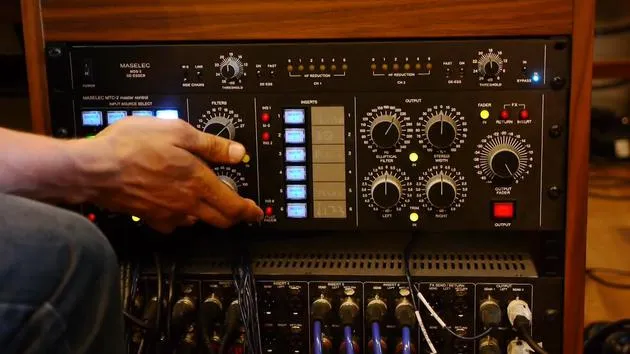
09. Filters & Precautions before cutting to lacquer
4:27
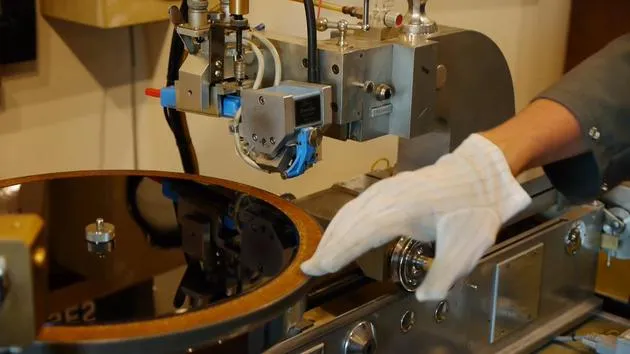
10. The lacquer cutting lathe
You are here11:32
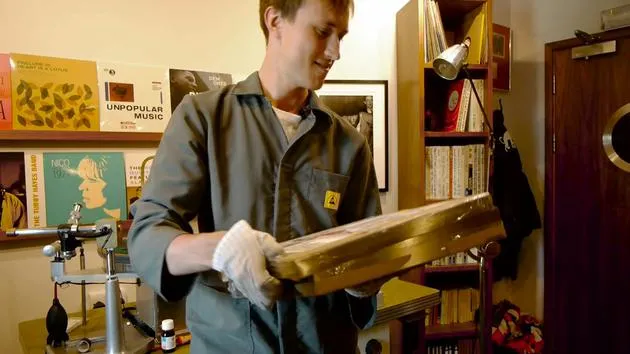
11. Quality control, test pressings and duplication
9:23
Lesson transcript
Cutting a Record: A Step-by-Step Guide
So now we're going to come to cutting a record. But before we can do that, we need to make sure that we have a few things in place.
Preparation is Key
Keep the Lacquer Clean
- The first and most important step is to keep dust away from the surface of the lacquer.
- The lacquer needs to be completely clean because any imperfections or dust on it can and probably will show up on the final pressing if you're not careful.
Wear the Right Gear
- To prevent fingerprints or anything else getting onto the surface, we need to wear antistatic lab coats and silk gloves.
Equipment Overview
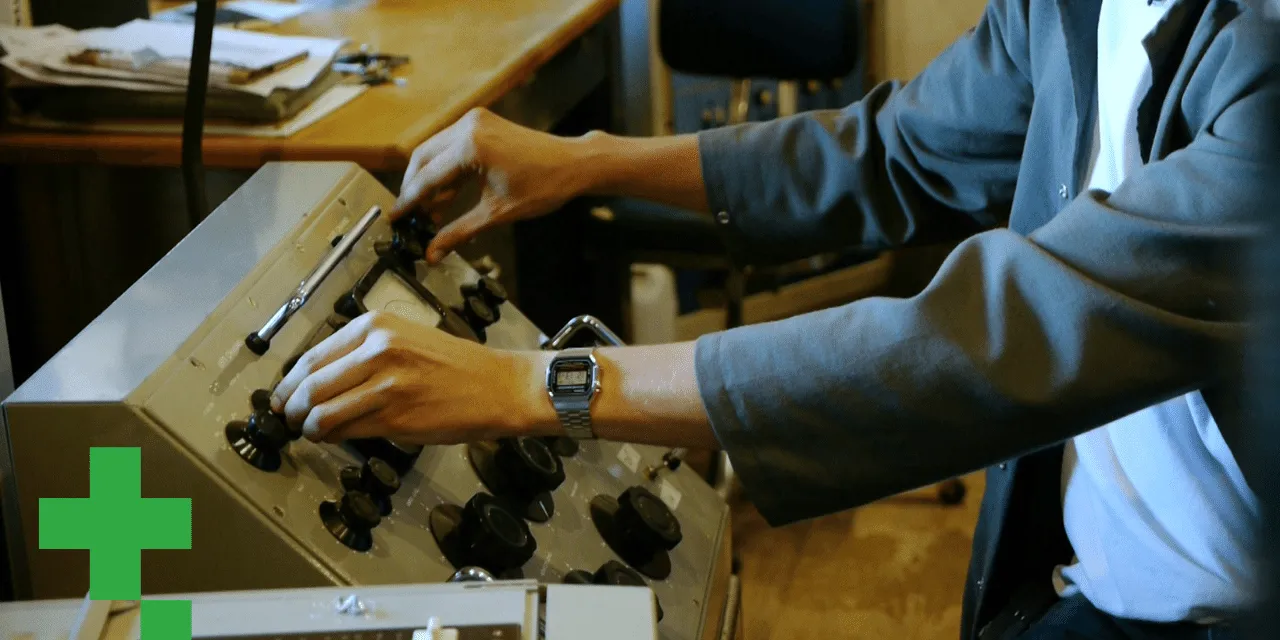
- Lacquer: Securely fastened down on the turntable using a puck.
- Cutting Head: Signal is sent into the cutting head, where powerful magnets move the ruby stylus.
- Ruby Stylus: A very tiny ruby stylus cuts into the surface of the record to create the waveform of the sound.
- Heating Element: Heats the stylus to a specific temperature that optimizes sound quality on the lacquer.
Types of Lacquers
- We're currently using MDC lacquers.
- Our lathe is configured to heat the stylus for efficient cutting with minimal noise.
Helium Pressure
- We monitor helium pressure to keep the cutting heads cool while heating the stylus.
Pitch Control
- The pitch gauge on the back wall is controlled by a pitch wheel.
- The pitch determines how wide the grooves are spaced, influenced by how quickly the stylus moves across the spinning lacquer.
Heat Gauge
- Adjusts the amount of heat the stylus generates for cutting through the record.
Platter Speed
- We need to set the platter speed appropriately based on the record type (e.g., 45 RPM or 33 RPM). In this case, we're cutting a 12-inch 33 RPM record.
Final Preparations
Cleaning the Stylus
- It's crucial to clean the stylus before we start cutting.
- We use acetone and a piece of pith, which is highly absorbent, to soak up any previous swarf (the offcuts from previous lacquers).
Spinning Up
- With the platter set to 33 RPM, we'll turn on the helium and start our record cutting from the 12-inch mark to create a run-in groove.
Setting Up for Cutting
- Ensure microswitches are adjusted for LP size, allowing for 12-inch lacquer cables at the center.
- Set the monitor to feedback for the cutting amp to hear what the lathe is cutting.
- Check the pitch: For a 22-minute side, a pitch of 0.32 is usually about right.
Ready to Cut
- Helium on, platter spinning, correct speed, start and finish diameters set, and pitch correct.
- All equipment is aligned, and elliptical filters plus high and low pass filters are ready to protect the head.
The Cutting Process
- Start Vacuum: Ensure the vacuum is functioning.
- Move Stylus: Press the main button to begin moving the stylus across the lacquer.
- Drop Record Head: Arm the machine to dig the stylus into the lacquer's surface.
- Create Run-In Groove: Press the run-in button to establish where the needle will initially drop.
Monitor the Progress
- While the run-in groove engages, quickly press play on the tape machine to start cutting the music.
Quality Checks
- Continuously check:
- Levels on the PPM machine.
- Movement of the arm across the record.
- Helium pressure remains active.
- Swarf is being efficiently vacuumed away to prevent fire hazards.
Final Touches
- Mark the positions for each track and create a gap between track one and track two with a scroll wheel, ensuring a continuous groove throughout the record.
The current track is called "the Panther," and as the process continues, we can monitor the equipment to ensure everything is running smoothly.
11 lessons
1h 35m of structured video lessons
Advanced video features
Slow down, loop a passage, follow along
Mobile, tablet & desktop
Practise wherever you are
100% satisfaction guarantee
30-day money-back guarantee







