



Essential techniques for left & right hands

With
Doug MacLeodLearn the essential techniques for left & right hand. Doug teaches you hammer-ons, pull-offs, slides, bends, rocking chords, rhythm section right hand, how to use thumb and fingers.
What's in the course
16 lessons (1h 51m) · 1 free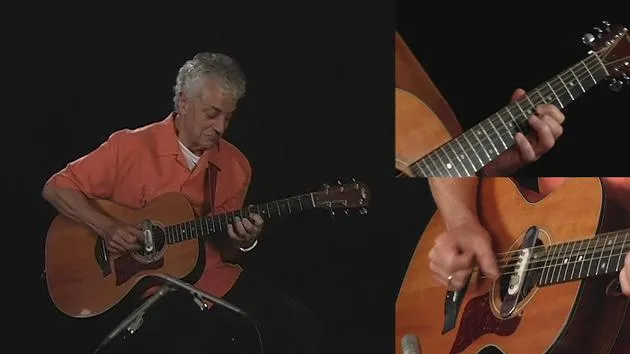
01. Intro to the course
Free lesson2:23
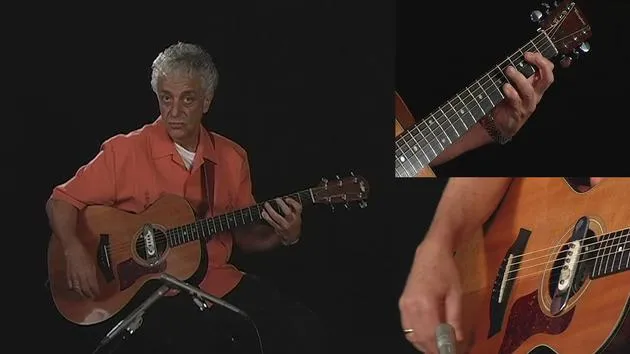
02. Tuning
1:30
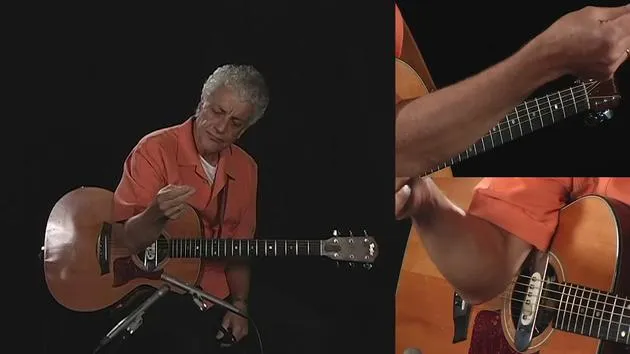
03. Essential techniques for left & right hands
You are here10:19
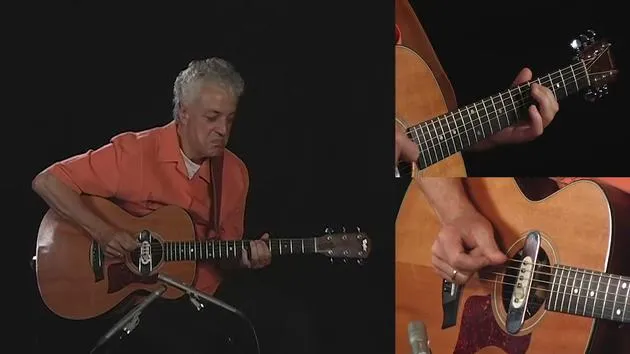
04. One Chord Groove
8:30
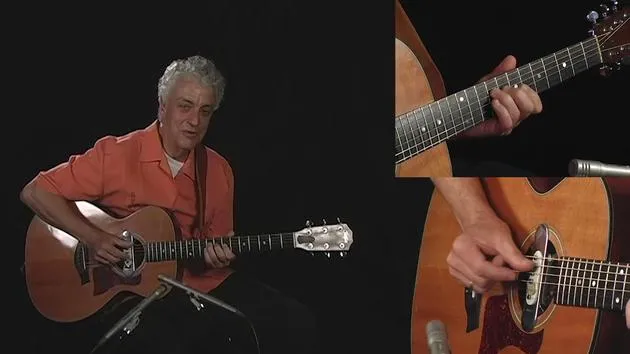
05. Octaves & Dynamics
6:45
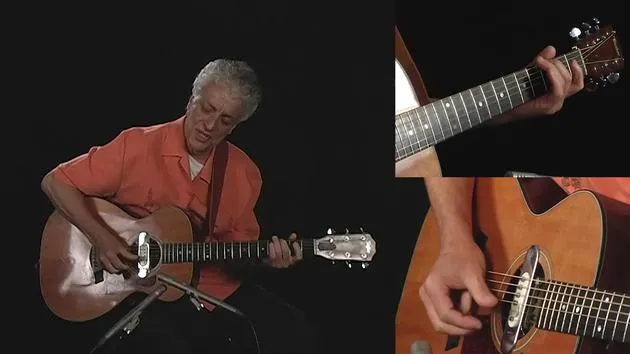
06. You Can't Take My Blues
3:53
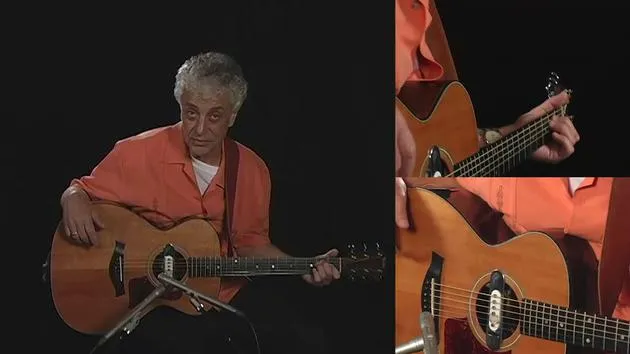
07. 12 Bar Blues
3:35
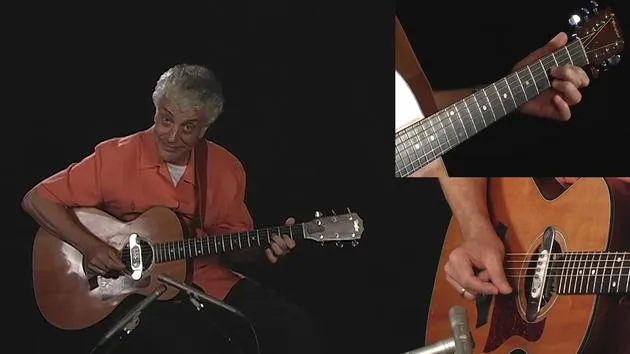
08. Turnarounds
3:34
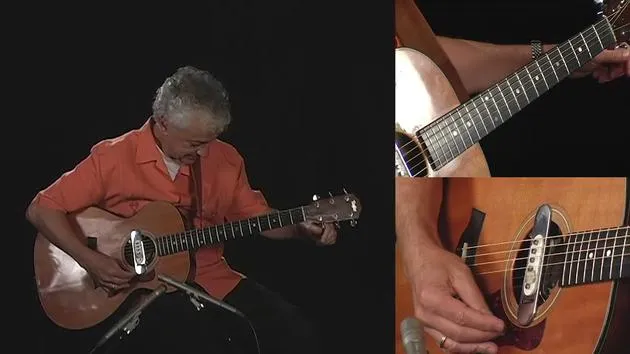
09. Exploring the neck for greater range
10:27
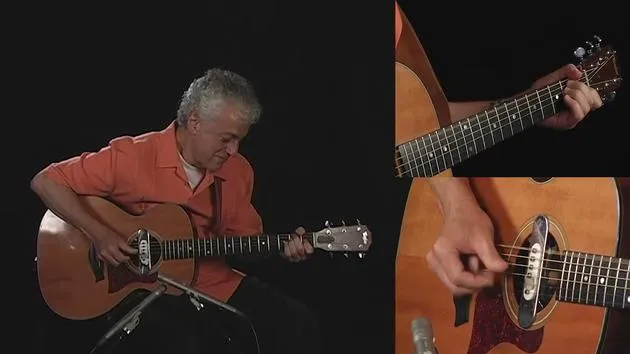
10. Home Cooking
4:08
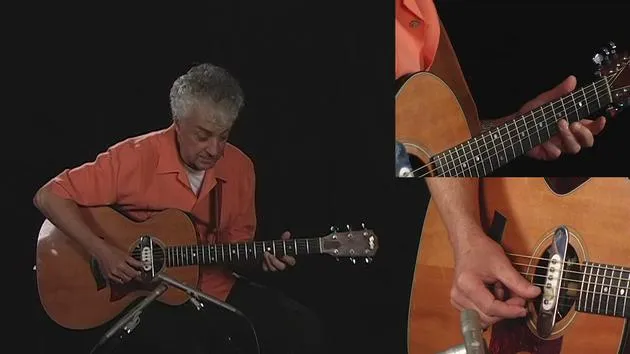
11. 8 Bar Blues
16:56
12. Ain't The Blues Evil
3:07
13. Doug's Special "G" Tuning
16:07
14. Big City Woman (She Talks So Much She Makes Me Tired)
4:30
15. Open G Tuning
11:34
16. A Sweet Ride
4:04
Lesson transcript
Hammer-Ons, Pull-Offs, and Slides
Hammer-Ons:
- You just take a finger, find a fret, and you hammer it on. That's why it's called a hammer-on.
Pull-Offs:
- Now, you also have what they call a pull-off, which is like this. You can check with the left hand.
- All I'm doing is taking my finger and just releasing it off of the string.
- It's sort of like a push-off too, huh? Push-off, pull-off.
Slides:
- Now you also have what is called a slide.
- A slide goes from one note to another note.
- Got that vocal feel, like you're singing.
- You can also slide down.
Combining Techniques:
- Another thing you can do is hammer and slide, sort of like an Albert Collins kind of thing, huh?
- You can also hammer and slide from the top down.
Rocking with the Left Hand
- Another thing you can do with your left hand is what I call rocking.
- Get yourself an E chord. This is your standard E chord.
Modification:
- Now, take this finger off and leave it like that.
- When you play and get the groove going, most people just hold that E chord.
Finding the Groove:
- What I want you to get a handle on is rocking. Hear that groove? That's a groove.
- That's like your heartbeat. I'll explain that in a minute when I get to the right hand.
Explanation of Rocking:
- The left hand rocking means I'm holding it down and then I'm releasing it just a little bit.
- I'm not taking my fingers off; I'm just kind of releasing it.
- So I get this percussive feel.
Vibratos vs. Worries
- Now another thing I want to talk about is worries.
- Some people call them vibratos, but I prefer to call it a worry because a vibrato makes somebody think it's got to go real fast.
- A worry is more like this.
Listening to Worries:
- Take a listen to the different notes that you hear.
- I'm playing one note, but there are more notes going on. That's because I'm worrying it.
- See this fret right here? I'm worrying it.
The Blues Connection
- Think of playing blues this way: If there is a note, let's say it is a nail on the wall, and you are a legit singer, a legit singer takes out a laser gun, aims at that nail, and hits it right square on the top.
- Now, a blues singer takes a tomato and hits that nail. That's the difference.
- That's why when you get that worry, you get that grease.
Bending Notes:
- You can also bend, which is a real vocal trick where you take one note and bend up towards your face.
- You gotta squeeze now and get that dry feel.
- Notice there are more notes inside those notes.
Expressing Emotion
- That's like vocal. It's like Albert King style.
- When you hear Albert King, people say he played the same five notes.
- Try and do that. It's very hard to do because he gets the notes that are in between the notes.
- This is available when you bend.
Bending Techniques:
- You can bend up, and you can also go from bending up to coming down.
- See that? That sounds good.
- You can worry when you're on the top and you can worry on the way up.
- It all gives that feeling, the feeling that you're trying to express, the feeling that you have.
Right-Hand Techniques
- These are some tools that you can use, and that's just your left hand.
- Now we're going to talk about your right hand. This is where the rhythm section lives.
Importance of the Right Hand:
- A lot of people don't spend much time on it, but I think it is the most important.
- I've had guys tell me that's where your personality lives.
- Everybody can know what's going on in their left hand, but your right hand is where it's happening.
Getting into Rhythm:
- Your thumb provides the bass.
- Earlier, I talked about your heartbeat.
- If you listen to a rhythm, it goes like this. Let me put it up here so you all can see it.
Understanding Heartbeat
- That's a good beat!
- But that's not like your heart.
- Your heart beats like this.
Shuffle Beat:
- One of the best beats in the blues is a shuffle.
- That's a shuffle beat right there.
- So you tell your thumb, "That's the beat we're going to do."
Creating a Groove:
- All of a sudden, you've got a groove going.
- Right now, you're just on one string, but you've got a groove going without even playing a single note besides that one groove.
Picking Techniques
- Now, you're going to take a picking finger.
- You have a choice of two.
- You can use this finger or that finger; I prefer to use this one because it's more comfortable for me.
Comfort in Playing:
- One of my rules of thumb in playing music is: Don't be uncomfortable.
- When you're uncomfortable, you're focused on that instead of making music.
- What's right is to think about making music and just be comfortable.
Whacking Technique
- Let's get to the right hand whack.
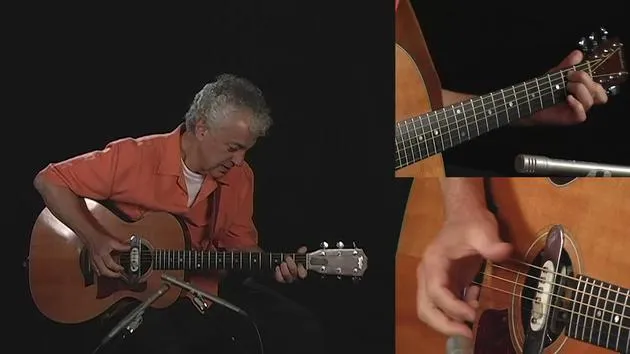
- You can check it out with my right-hand camera. Just check that whack I'm doing.
- I'm taking my thumb up and my hand up, knocking down while holding the chord to avoid hitting a bad note.
- This is similar to how funk bass players played in the 70s.
Incorporating Whacking:
- It adds percussiveness and drive.
- Now, we go back to the left hand.
- I'm going to take off this finger and use that special E chord.
Exploring Positions on the Guitar
- We're going to stay on this one chord and break the guitar into three positions: low, middle, and high.
- There are 14 frets, but three positions are more manageable.
Notes on the Guitar:
-
What are these notes I'm using? Let me show them to you:
- G
- Open E
- D
- B
- B flat
- A
- G
- E
-
Now, we need to find the same notes an octave lower.
-
For example, we got G, that's open.
-
Now let's go to E, D, B, B flat, A, G, and E.
Finding Available Notes:
- If it's available somewhere on the guitar, find where else it's available.
- That knowledge will help us as we move to the middle and high parts of the guitar.
Utilizing Learning Tools
- Remember, feel free to move that DVD controller around.
- Check the left hand, check the right hand, check the front shot, whatever works best for you.
- The great thing about DVDs is you can have a lesson anytime you want.
- If your partner is asleep, you can go down there at 3 o'clock in the morning, turn it on.
- And always, your teacher is in a good mood!
Continuing with Grooves
-
So now we're talking about down here at the bottom using a one-chord groove.
-
We haven't even started on the three chords yet, but all these notes are available on the one chord.
-
They're also available on the two chord, which is the four chord.
-
You need to be careful on the five chord, but we'll explain that later.
-
Let's get a groove going and move on up to the top of the guitar!
16 lessons
1h 51m of structured video lessons
Advanced video features
Slow down, loop a passage, follow along
Mobile, tablet & desktop
Practise wherever you are
100% satisfaction guarantee
30-day money-back guarantee
Meet your guru
Meet your guru
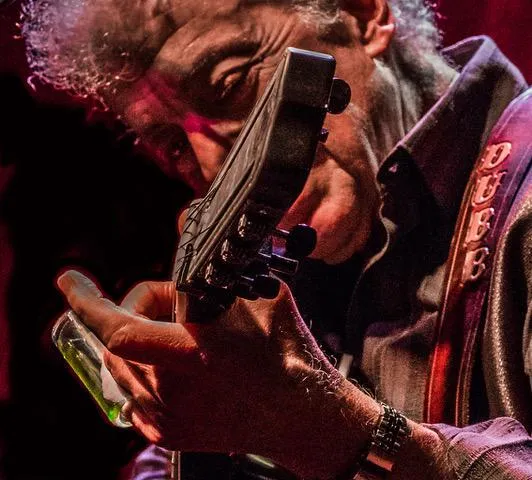
Doug MacLeod is known for his superb songwriting, guitar wizardry, warm soulful vocals, wit and unforgettable live performances. At the heart of a Doug MacLeod performance is his knack for storytelling, bringing characters - from the faceless to the legendary - to strikingly real life. Doug is a multiple Blues Music Award winner, including the 2020 Blues Music Award for Acoustic Artist Of The Year and the 2018 Blues Music Award for Acoustic Album Of The Year for 'Break The Chain', and a nominee for the 2021 Blues Music Award for Acoustic Artist Of The Year.
His album with producer Jim Gaines was released in 2021.
In 101 Blues Guitar Essentials, Doug passes on the foundations of his craft - the grooves, techniques and feel that underpin authentic acoustic blues guitar - so you can build a real vocabulary on the instrument and start telling your own stories through it.
"Like all great blues men, MacLeod lives his music, and the songs are not just on the tips of his fingers and tongue, they are one with his being." - Blues Music Magazine
"One of the great blues artists... period!" - Jorma Kaukonen







