



Fais connaissance avec ta batterie
Avec
Harry Pope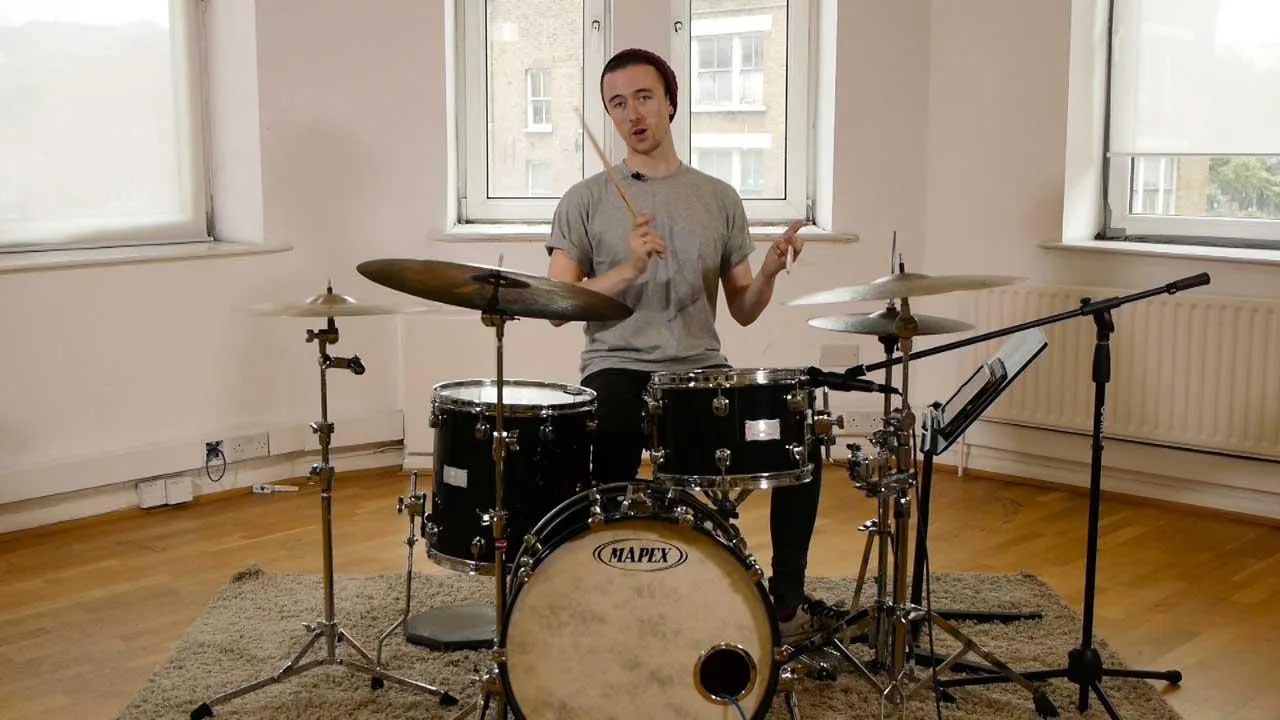
Le contenu du cours
15 leçons (1h 43min) · 3 gratuites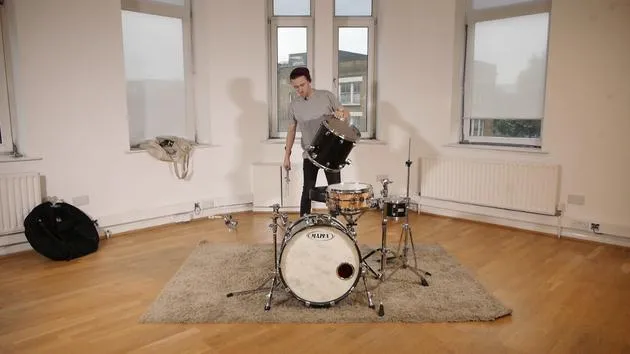
01. BONUS : Installer la batterie
Leçon gratuite2:36
02. Rencontre Harry
Leçon gratuite2:01
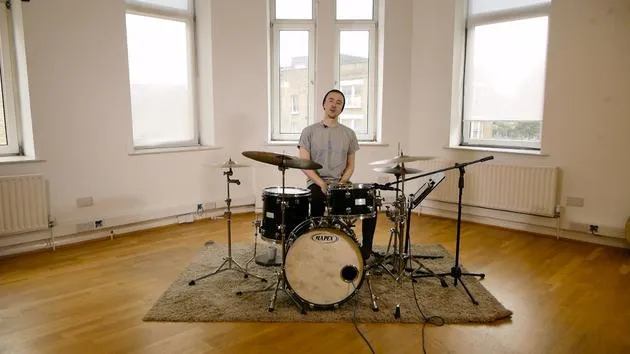
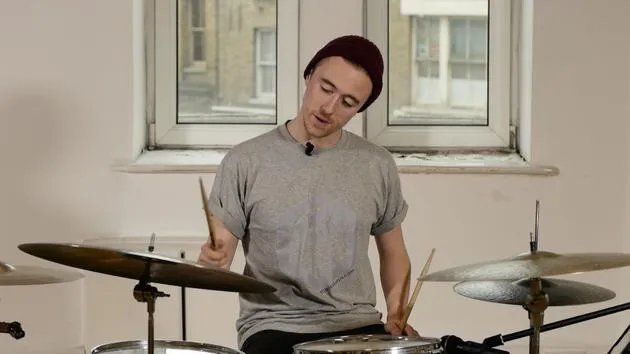
03. Fais connaissance avec ta batterie
Tu es ici13:15
04. Technique de baguette et de pied
10:18
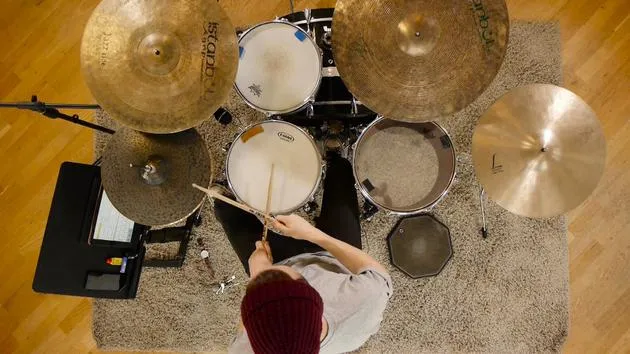
05. Le beat de base
7:26
06. Noires et croches
6:05
07. Varier le beat
8:06
08. Rudiment #1 - Single Stroke Roll
9:39
09. BONUS : Fills avec le single stroke roll
5:06
10. Rudiment n° 2 - Double Stroke Roll
7:11
11. BONUS : Fills avec le double stroke roll
4:14
12. Rudiment #3 - Paradiddles
5:53
13. Groover avec des paradiddles
7:03
14. Ajouter des doubles croches et des ornements
7:28
15. Ajouter la cymbale ride et le charleston ouvert
7:08
Transcription de la leçon
Introduction to Drumming: Lesson 1
Hello, my name is Harry, and this is musicgurus.com.
In this lesson, I'm going to teach you how to play the drums from the stage of being an absolute beginner. If you've never touched the drums before, you're in the right place!
Overview of the Drum Kit
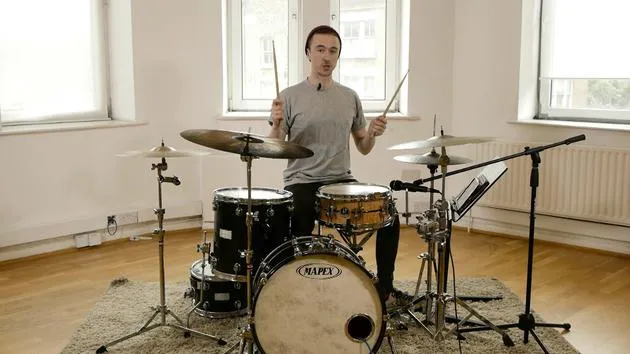
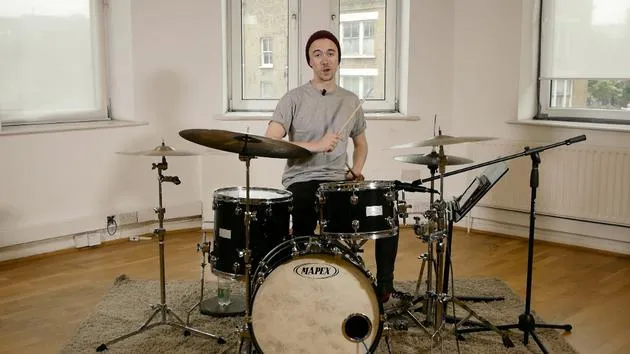
Today, I'd like to take you around the drum kit, showing you:
- What each part is
- Where it came from
- How it's used in a musical context
Before we start actually playing the drums, let's begin with the largest drum.
The Bass Drum
This is the bass drum (or kick drum, as some Americans like to call it).
- The bass drum has been around for hundreds of years, used in orchestras, marching bands, and parades.
- It's the simplest drum in the kit and played with a pedal, as you can see down here.
Sound Example:
When played, it sounds like this.
The bass drum is my favorite! Originally, in the early 1900s, it was placed on the floor with a pedal, allowing drummers to use their hands while playing the bass.
About the Pedal:
Here's a quick overview of how the pedal works:
- Footplate: Attached to a spring.
- Beater: Hits the drumhead when you press down.
When you press your foot down:
- The beater comes forward and hits the drumhead.
- The spring pulls it back.
Activity:
Try playing the bass drum a few times. Ensure the beater comes off the head and returns back.
The Snare Drum
Now, let's move to the snare drum.
- This is probably the most complex drum in the kit due to its snare wires located on the bottom.
- Without the snare wires: It sounds like this.
- With the snare wires engaged: It sounds like this.
The snare drum is known for its crisp sound and has been used in military and orchestral music for years. It helps in creating intricate rhythms that can be distinctly heard over other noises.
Historical Note:
Drummers used to play snare drums on battlefields to command troops, which was rather dangerous for them!
Hi-Hats
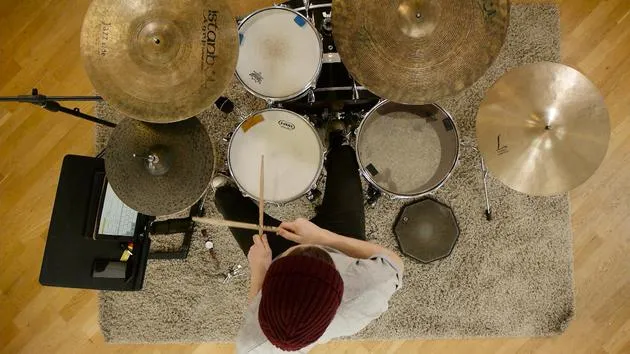
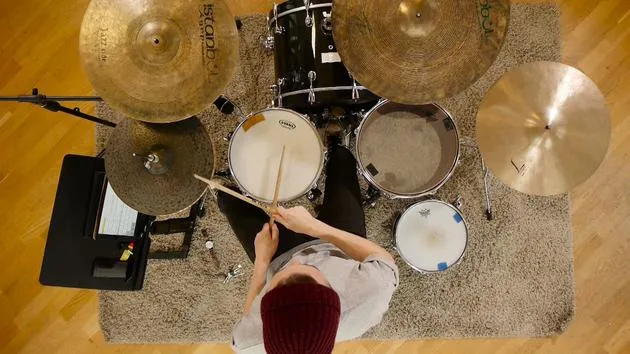
To my left, we have hi-hats , two smaller cymbals mounted on a stand.
- The stand has a pedal, much like the bass drum pedal.
- Using the hi-hat: Press the pedal to close the cymbals together.
Setup Process:
- Attach the bottom hi-hat to the stand.
- Attach the top hi-hat to the rod via a "clutch" mechanism.
- Tighten the setup.
Sound Example:
The hi-hat makes a lovely "chick" sound when closed and can produce a splashy sound when hit sloppily.
Usage:
Hi-hats are great for decorating grooves, adding flair to a basic pattern created by the bass and snare drums.
Toms
Next, we have these two drums called toms (or tom-toms).
- The first tom is commonly called a rack tom, usually mounted on a rack, while the second is known as a floor tom.
These drums are used for beating out rhythms and add an ornamental quality to the grooves we'll be playing.
Ride Cymbal
To my right is the ride cymbal.
- Used extensively in jazz to maintain time.
- You can play it on two areas:
- Bow: The main surface.
- Bell: A sharper sound with less sustain.
Crash Cymbals
On both the far right and left, we find crash cymbals.
- These are used as exclamation points in music.
- When transitioning sections or emphasizing a beat, you give the crash cymbal a little hit, often in conjunction with the bass drum for added impact.
Drum Setup and Tuning
Let's briefly cover how drums are set up and tuned.
Example with the Snare Drum:
- The drum skin is placed on top of the wooden shell and secured with a hoop and lugs (tightened with a drum key).
Tuning Process:
- Tighten each lug to adjust the pitch (e.g., a full turn raises the pitch).
- The snare drum typically has eight lugs (some have ten).
Tips on Drum Positioning
When setting up your drum kit, consider the following:
- Seat Height: Find a comfortable height for your knees, slightly above 90 degrees is ideal.
- Snare Position: Place it directly in front of you.
- Bass Drum Pedal Position: Align it with your right leg.
- Hi-Hat Position: Ensure it's comfortable for your left foot.
This arrangement allows you to play for extended periods without fatigue.
Final Thoughts
That's all for this lesson on the drum kit.
I hope you found it informative and helpful. I'll see you in Lesson 2, where we'll start actually playing the drum kit!
Thank you very much for watching.
15 leçons
1h 43m de leçons vidéo structurées
Fonctions vidéo avancées
Ralentissez, bouclez un passage, suivez la partition
Mobile, tablette et ordinateur
Pratiquez où vous voulez
Satisfaction garantie à 100 %
Garantie remboursement 30 jours
Rencontrez votre guru
Rencontrez votre guru
Harry Pope est un batteur londonien diplômé du programme de jazz du Trinity College of Music. Il a joué avec la lauréate du Brit Award Eddi Reader, le guitariste Jim Mullen, Graeme Duffin de Wet Wet Wet et le Royal Scottish National Orchestra Big Band. Son cours pour débutants part de la batterie elle-même — posture, prise en main, tenue du tempo et tes premiers grooves — à un rythme qui convient à quiconque saisit les baguettes pour la première fois.







