



Ajouter un rythme samplé : kicks et snares
Avec
John Watson
Le contenu du cours
14 leçons (2h 26min) · 2 gratuites
01. Premiers pas & installation
3:21
02. Gérer une bibliothèque de samples
Leçon gratuite4:34
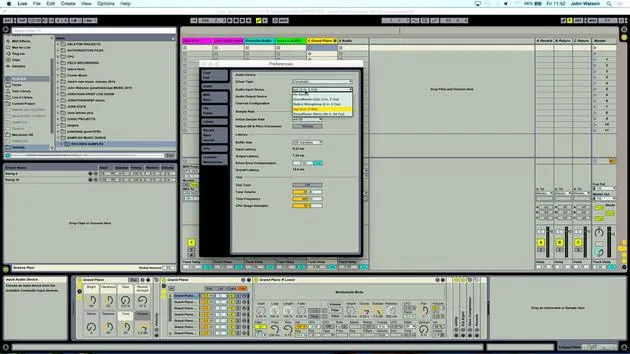
03. Préférences d'Ableton
1:14
04. Utiliser des samples : les périphériques Simpler et Sampler
7:04
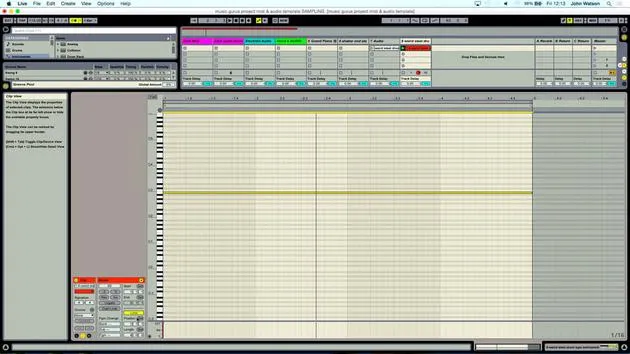
05. Utiliser des samples dans ton morceau (rogner, étirer, accorder, égaliser)
12:56
06. Ajouter des cordes et des flûtes samplées
7:28
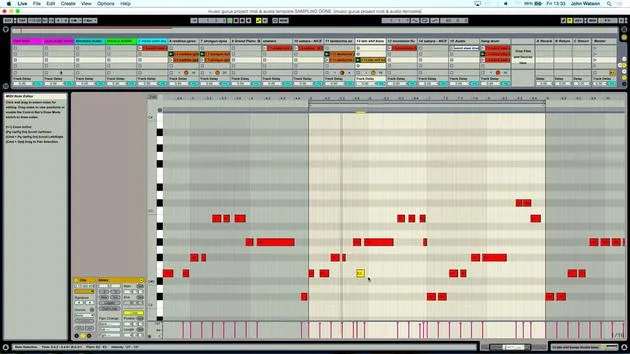
07. Ajouter un rythme samplé : kicks et snares
Tu es ici25:07
08. Échantillonner des instruments externes - boîte à rythmes et synthé
12:28
09. Construire les parties dans la vue Session
13:55
10. Enregistrer le morceau dans la vue Arrange
4:34
11. Peaufiner la structure du morceau
5:35
12. Mixer le morceau : les effets
21:24
13. Ajustements finaux
13:14
14. BONUS : Masteriser ton morceau et le mettre en ligne sur Soundcloud
Leçon gratuite13:31
Transcription de la leçon
Music Lesson Formatting
Introduction
Okay, so in order for things not to sound too repetitive at the moment, we're just cycling round and round and round. I don't want to get bored and lose focus. I want to creatively keep inputting things.
Freshening Things Up
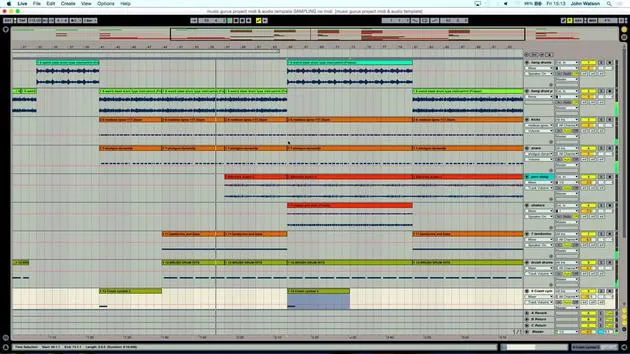
To freshen things up, I'm going to duplicate this scene here and get rid of everything else apart from the hang drums I put in at the beginning. On top of this, I'd like to add a beat that gives a bit more groove, some drums with a bit more attitude.
Creating a New MIDI Track
So, I'm going to create a new MIDI track, same as before, and load up Simpler again. Let's come into my samples folder here.
Tip: It's a good idea to build up your sample library over time, so you've got easy access to clearly labeled things.
Exploring Drum Loops
In my drum loops, I have something called "Nice Selection," which suggests there's something interesting in here. I quite like this kick drum beat, so I'm going to take this over like so, and we're going to arm the track.
Trimming the Sample
Now, I'm going to start listening and trimming the sample. Listening to the different kicks, I'm feeling that this one here sounds pretty good.
- I'm setting my loop brace around the sample.
- It's got something at the end that I want to trim down a little bit.
- I'll be using my attack, decay, sustain, and release controls.
- Take down the sustain.
- Adjust the decay, as a shorter decay will give me a better sound.
Inputting the Kick Drum
I want to input the kick drum now. I might go for a kind of breakbeat feel. But instead of taking someone else's beat (due to copyright), I'm going to create my own:
- Kick
- Snare
- Extra percussion
Using Metronome
To keep things precise, I'm going to put the metronome on so it continues while I record the beats.
Recording Process
Let's click record again.
The loop seems to be working absolutely fine.
I'm going to select everything and use Command A (or Alt A on a PC) then Command U, and quantize the settings to 1 over 16. Let's hear what happens now.
It's sounding good!
Duplicating the Track
I could just duplicate the track, remove the kicks I just placed, and then change the sample over. I want to find a nice snare. I quite like the snare here, so I'm going to drag over the beat and start moving my loop brace to select the hit.
Adjusting Snare Settings
- Arming the new track.
- Adjusting the decay, sustain, and release settings.
- I need the sustain on full to hear the full length of the loop.
It sounds a little loud, so I'll turn that down a bit.
Programming the Snare
I'm going to zoom in around the snare, so all I want is the snare, without the extra bits like hi-hats. I'll move around the end of the loop brace.
Now, we have a nice snare, and I will play the track again to program something in.
Figuring Out Pitch
Let's see where we'd like the pitch of the snare to be. I feel that D is a little more tuneful, so let's record that in.
After recording, I'll select all of the notes and run quantize, hitting every 16th note to pick up on the extra fills that I just added.
Adjusting Velocity and Shaker Parts
Some fills will have their velocity turned down too. Also, I could move in the shaker parts that I created earlier. Let's rename this to "Shakers."
Note: The more samples you start to add, the more labeling everything becomes essential.
Exploring New Rhythmic Elements
I'm going to copy down the shakers onto the second loop and see how it works with everything else. It kind of works, but maybe we could do something a little different.
Creating a New MIDI Track for Percussion
I'll create a new MIDI track and find another percussive loop instead. I quite like this percussion and tambourine sound.
Filtering Out Bass
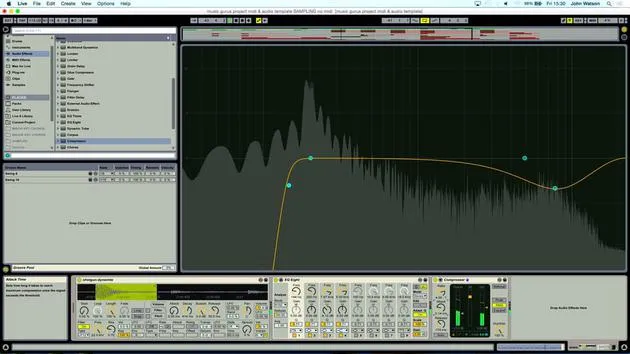
I can filter out the bass so that we only get the high-frequency sounds. Let's give it a go:
- Load up another Simpler.
- Go to the samples folder and drag the percussion over.
Arming the track, I'm realizing that the bass might throw things off.
To fix this, I'll use a high-pass filter (high pass 24), which should remove the low end.
Adjusting Sample Timing and Mixing
I feel that the sample start point could be tightened up a little better. I want this to just be subtle and fill the gaps between the kick and the snare.
Now, let's ensure we're starting exactly on the grid position in Ableton.
Adding a Bassline
What I think I'll do now is duplicate this layer and consider adding a bassline since we currently don't have one.
- Create a new MIDI track.
- Label and organize samples for easy access.
Finding a bass sound quickly, I'm going to drop a simpler in and add the bass sample.
Finding the Right Note
I'm aiming to find the cleanest note with the longest sustain.
- Zoom in to ensure I catch the note accurately at the start.
- Adjusting the attack to soften the sound.
Now, I want to get this pitch correctly aligned. For instance, C will play the pitch of C.
Jamming with the Bass
Once I detune slightly, I can confidently jam since I know the pitches (B, C sharp, and E) will work together.
- Recording Freely:
- I don't need my metronome while recording.
- Reviewing the Recording:
- I'll move my loop brace around and quantize everything again.
Enhancing and Finalizing the Bassline
I didn't like the first part, so I'll adjust it.
- Moving to C sharp feels better.
Now I want to hear it in isolation and enhance it in the sampler. Let's play around with the filter to eliminate some hiss.
Returning to the Track
Now that I've filtered out some highs, let's put it back in with the track.
Reviewing and Organizing Snare Tracks
I'm checking the snares and ensuring everything is labeled correctly as things can get confusing.
Adding Another Percussive Layer
I'm copying down the extra layer and creating a new MIDI track. Going through my percussion folder, I'm quite liking this brush drum hit for the backbeat.
- I'll load up another simpler, find the correct tempo for this track, and record accordingly.
Timing the Percussive Layer
- I need to play it on the second beat because it fits better rhythmically.
Let's see if that works now that I have it all mixed.
Final Touches: Crash Cymbal
I'll introduce a crash cymbal, which will only appear every 8 to 16 bars. Sampling it lets me tune it up a bit.
- Loading it into another simpler, I'll test it out on the G.
Once I've got my crash, I can dictate its length and placement in the track.
This concludes the lesson on building rhythm tracks!
14 leçons
2h 26m de leçons vidéo structurées
Fonctions vidéo avancées
Ralentissez, bouclez un passage, suivez la partition
Mobile, tablette et ordinateur
Pratiquez où vous voulez
Satisfaction garantie à 100 %
Garantie remboursement 30 jours
Rencontrez votre guru
Rencontrez votre guru
Après un stage auprès de Dave Allen, producteur de Depeche Mode et The Cure, John a eu envie d'étudier la Music Technology à Londres. Sa carrière musicale a décollé après une signature réussie chez CookShop Records, où il a sorti 9 singles et un album en 2007 salué par Q, Uncut et Lowdown Magazine, en plus d'être diffusé sur XFM et Radio One.
John a commencé à se former comme ingénieur du son au studio Bonafide en 2005, où il a affiné son talent, avant de fonder Jackdaw Recordings plus tard la même année. Il a collaboré avec de nombreux artistes à succès et, en 2007, a commencé à jouer pour le musicien pop Patrick Wolf, se produisant dans des salles de premier plan au Royaume-Uni et à l'international — dont The Astoria et le Shepherds Bush Empire.
Depuis son studio londonien, John compose désormais de la musique, avec deux autres sorties chez CookShop, assure l'ingénierie du son pour des artistes en vue et conçoit le design sonore de publicités télévisées, de films, de pièces de théâtre et de vidéos d'entreprise.
Ce mélange rare d'auteur-compositeur, de producteur et d'ingénieur de studio en activité est précisément ce que John apporte à son enseignement. Dans Creative Composition & Production in Ableton Live et Creative Sampling & Production in Ableton Live, il te montre comment il transforme des idées brutes en morceaux finis, prêts à sortir — l'écriture, le sampling, le design sonore et le savoir-faire concret de l'ingénierie derrière un disque professionnel.







