



Configurar un bus de reverb con un send

Con
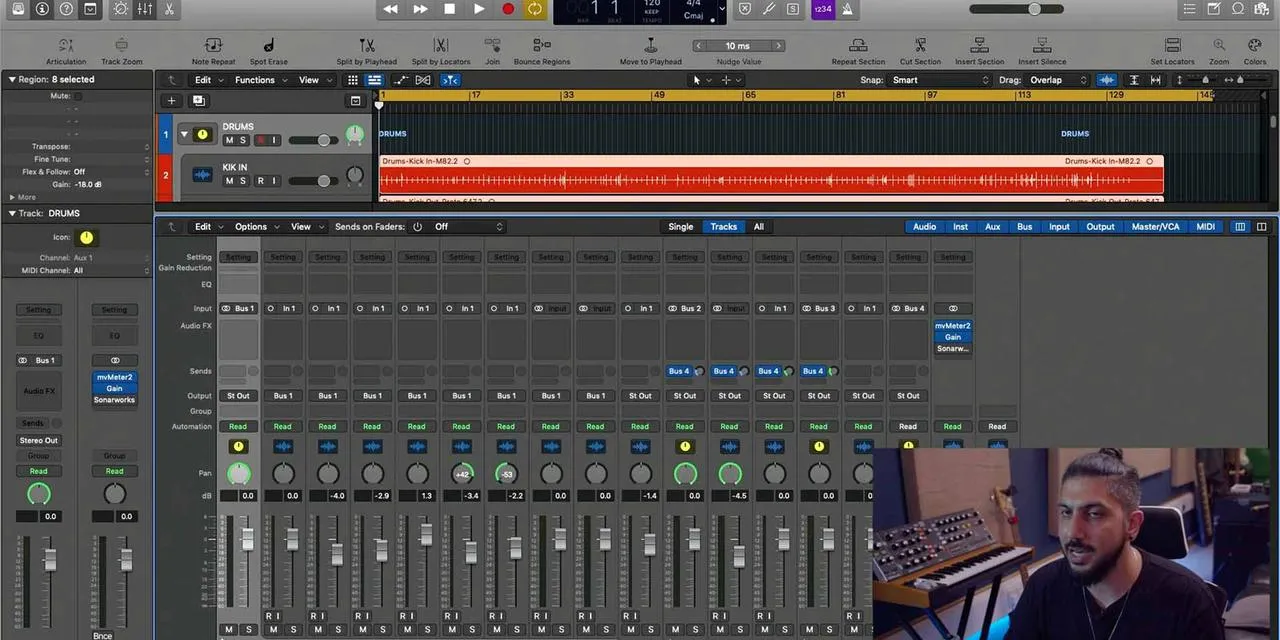
Aamir YaqubAamir Yaqub muestra cómo configurar una reverb en un send en Logic Pro, enrutando pistas a un aux de ChromaVerb para tener más control sobre el sonido y una carga de CPU más ligera.
Qué incluye el curso
16 lecciones (1h 33m) · 1 gratis
01. Bienvenido a los efectos de audio
Lección gratis0:46
02. Efectos de audio
3:00
03. Uso de los Multi Effects - Phat FX y Step FX
5:11
04. Configurar un bus de reverb con un send
Estás aquí3:58
05. Usar reverbs en Logic Pro
3:27
06. Uso de delays en Logic Pro
8:02
07. Plugins de distorsión
6:35
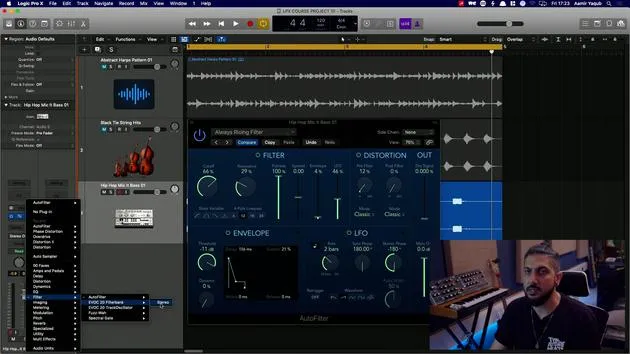
08. Plugins de filtro
5:35

09. Cierre de distorsión y filtros
0:30
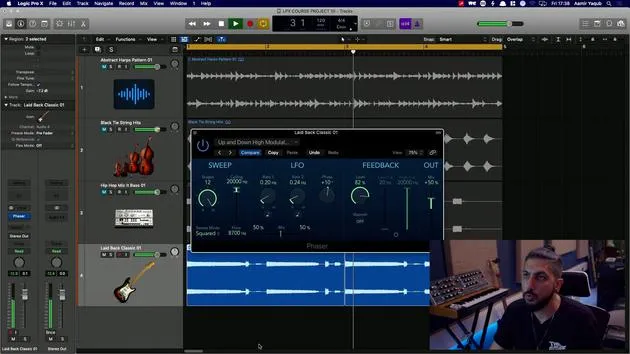
10. Plugins de modulación
12:54
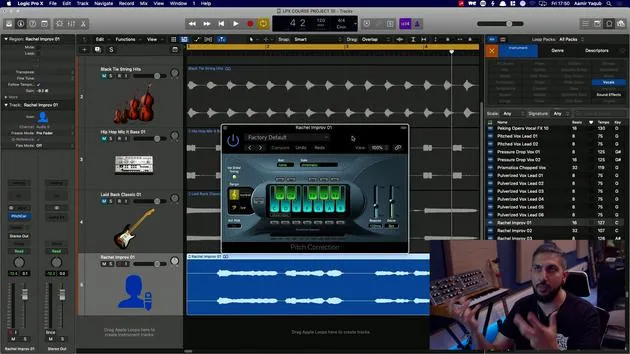
11. Plugins de pitch
6:50

12. Cierre de modulación y pitch
1:03
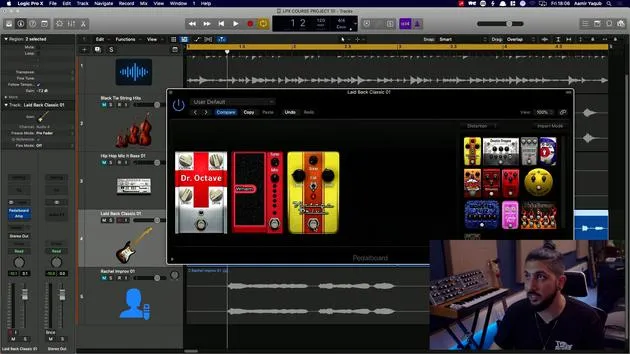
13. Amplificadores y efectos de pedal
10:38
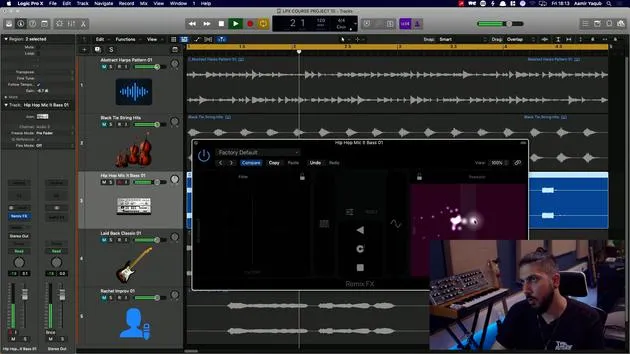
14. Efectos especializados
5:49
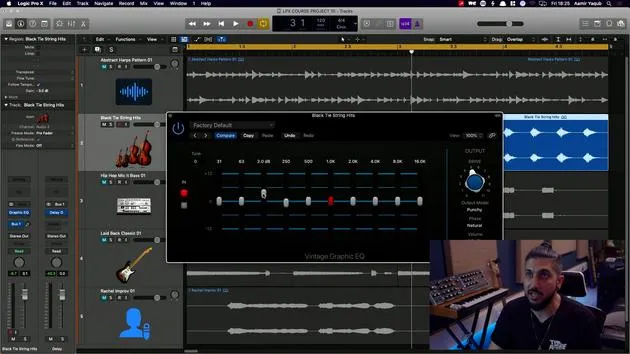
15. EQs (ecualizadores)
7:18
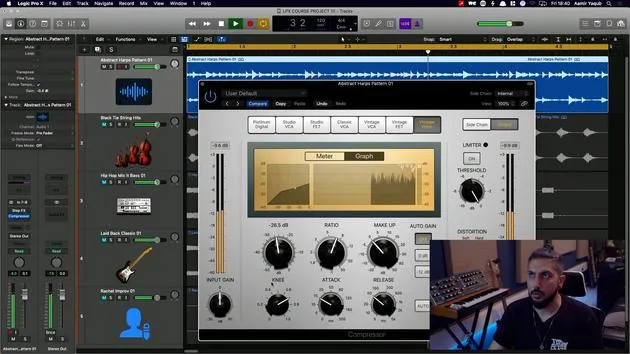
16. Dinámica y compresión
11:43
Transcripción de la lección
Understanding Reverb Effects in Logic
Introduction to Reverb Effects
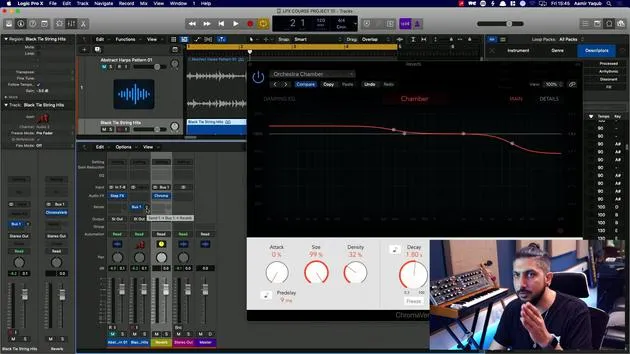
So let's start by looking at reverb effects that are available to you in Logic. One important aspect of reverb effects is that if you add them directly to a track, you actually have less control over the sound of the reverb. This is crucial, especially when mixing and trying to tie instruments together.
Sending Reverb via a Send
- To achieve better control, you want to send your reverb via a send.
- This feature is found in the channel strip under the audio effects.
Setting Up a Reverb on a Send
-
Open the Mixer View:
- This helps visualize the setup.
- You can see your audio track and the auxiliary track feeding in from bus one.
-
Create the Reverb Track:
- Rename the auxiliary track to Reverb.
- Insert a reverb effect at the beginning of the audio effects chain.
- Choose the first available reverb effect, which is ChromaVerb.
-
Sending the Dry Signal to Reverb:
- You need to send some of the dry signal (the original sound) into the reverb.
- This process splits the signal into:
- Dry Signal: Original sound
- Wet Signal: Reverb-affected sound
Benefits of Using a Send
- Independent Control: You can process the dry signal with any audio effects you want.
- CPU Optimization:
- If you had 100 tracks with individual reverbs, your computer might struggle.
- Instead, using a few reverb sends for multiple tracks reduces CPU load.
Enhancing Your Mix
- By sending different instruments to the same reverb, you can tie together the sound better.
- Currently, there is no reverb on the strings.
Selecting a Reverb Preset
- Choose a preset, such as a chamber for an orchestra.
- Adjust the send pot:
- Click and drag up to send an amount of the dry signal into the reverb.
Listening and Adjusting
- You can hear the reverb effect applied now.
- To hear the original signal, simply mute the reverb.
- To listen to the reverb by itself, press solo on the reverb track.
- You can adjust the balance or amount of reverb using either the reverb track fader or the send pot.
Conclusion
That's how you would set up a send, particularly for a reverb and for a delay. This method not only enhances your mixing capabilities but also helps maintain the integrity of your sound!
16 lecciones
1h 33m de lecciones en vídeo estructuradas
Funciones de vídeo avanzadas
Ralentiza, repite un pasaje, sigue la partitura
Móvil, tablet y ordenador
Practica donde quieras
Garantía de satisfacción 100%
30 días de garantía de devolución
Conoce a tu gurú
Conoce a tu gurú
Aamir Yaqub es un productor e ingeniero musical afincado en Londres. Ha trabajado con algunos de los nombres más grandes de la música, entre ellos Alicia Keys, David Guetta, Rihanna, Sia y will.i.am, además de desarrollar a artistas independientes.
A lo largo de sus cursos enseña su flujo de trabajo completo en Logic Pro: desde la interfaz y la grabación, pasando por la creación de ritmos, la síntesis y los efectos MIDI, hasta la mezcla y el acabado de un tema.







