



Herramientas de edición 1 y hacer selecciones

Lesson time: (7min 49sec)
Course preview
This lesson is part of the course Grabación y mezcla en Pro Tools
Watch a preview of the full course below.
Lesson transcript:
Pro Tools Editing Session
In this session, we're going to be looking at editing, and we'll start off this video by examining the Selector Tool and exploring a few ways to make selections in Pro Tools.
The Selector Tool
- The select tool is here. This is fairly straightforward.
- Insertion Point: If I click without dragging, I have set what's known as an insertion point. This will just affect our current location.
- Edit Selection: If I click and drag, I can make an edit selection.
Once I've got something selected, I can:
- Delete it: Hit backspace.
- Apply an effect: To just this section. There are several options we will explore.
Fine-Tuning Selections
To fine-tune your selection:
- Hold down the Shift key and click and drag.
- If I'm on the right-hand side of my edit selection, I will affect the end.
- If I move over to the left-hand side and click and drag, I will affect the beginning.
I currently have my timeline selection and edit selection linked (that's this button just here). This means that if I now make a different track selection, it will move my selection to that track.
However, I could also:
- Hold the Shift key or Command key to select or deselect whatever I have.
Additional Editing Options
Once you've selected something, you could:
- Delete it, as we saw earlier, or you have a few other options.
For example:
- You might notice there is no scissors tool here. Not a problem!
- We can go to Edit > Separate Clip at Selection (Command + E is the shortcut for this). If you're an Ableton Live user, this will feel familiar.
Now, if I just have an insertion point and press Command + E, that chops the selection.
If you don't like Command + E because it's too many fingers, there's a shortcut available because we're in edit key focus. Remember the A to Z button over here:
- Press the B button (B for break) to slice at the insertion point.
Making Edit Selections
Making edit selections can be a little awkward if we're just looking at the waveform.
Example: Selecting the Third Bar
- Let's say I want to make a selection of the third bar.
- I could drag along to here, but that's not ideal since I can't quite see what I'm doing.
Zooming In:
- Remember, use explode audio and a zoom toggle to get a better view.
- After zooming in, hold the Shift key for fine-tuning.
- Use the right arrow key to navigate what I can see to the right side of my edit selection.
- Hold the Shift key and click to check the beginning with the left arrow key.
Once that's done:
- I can extend my selection to the rest of the track by holding Shift and clicking on the other track.
Loop Playback and Grouping
To check our work:
- Turn on loop playback (4 on the numeric keypad).
Now, I can do this much more quickly by grouping my drums. This means if I make a selection on this track, all others will be affected together.
Steps to Create a Drum Group:
- Select all tracks you want in the group.
- In the bottom left, access the Groups menu and choose New Group.
- Name the group Drums and set its ID to D for drums.
- Press OK.
Now, it doesn't matter if I select one of these; all of them will be affected together. Fantastic!
You can turn this group on and off by clicking on it.
Utilizing Tab to Transient
Clicking and dragging is effective, but drums have a very obvious transience.
- Tab to Transient mode is helpful. This is already turned on.
- With this on, when I hit the tab key, it moves my selection to the next transient.
Steps for Using Tab to Transient:
- Hit the tab key several times until you reach the beginning of the first kick.
- Hold the Shift key to customize your selection.
- Hit the tab key again to extend my selection to the next transient.
With this method, I can make an accurate loop selection in seconds!
Advanced Selection Techniques
For further efficiency:
- Make an insertion point in front of the first kick.
- Tab up to it, hold the Shift key, and make a selection toward the end.
- Tab again to fine-tune your selection.
The Option key can either mean "do to all" or "do the opposite." If I choose Option + Tab, it goes to the previous transient.
- Option + Shift + Tab will extend the selection to the previous transient.
Conclusion
Tab to Transient is a really useful feature. If you don't have Tab to Transient turned on, slicing here and here will allow the tab key to behave as tabbing to the next clip boundary.
- You can still use the Shift key and Option key in combination for additional functionalities.
In the next video, we'll take a look at how to use the Grabber Tool.
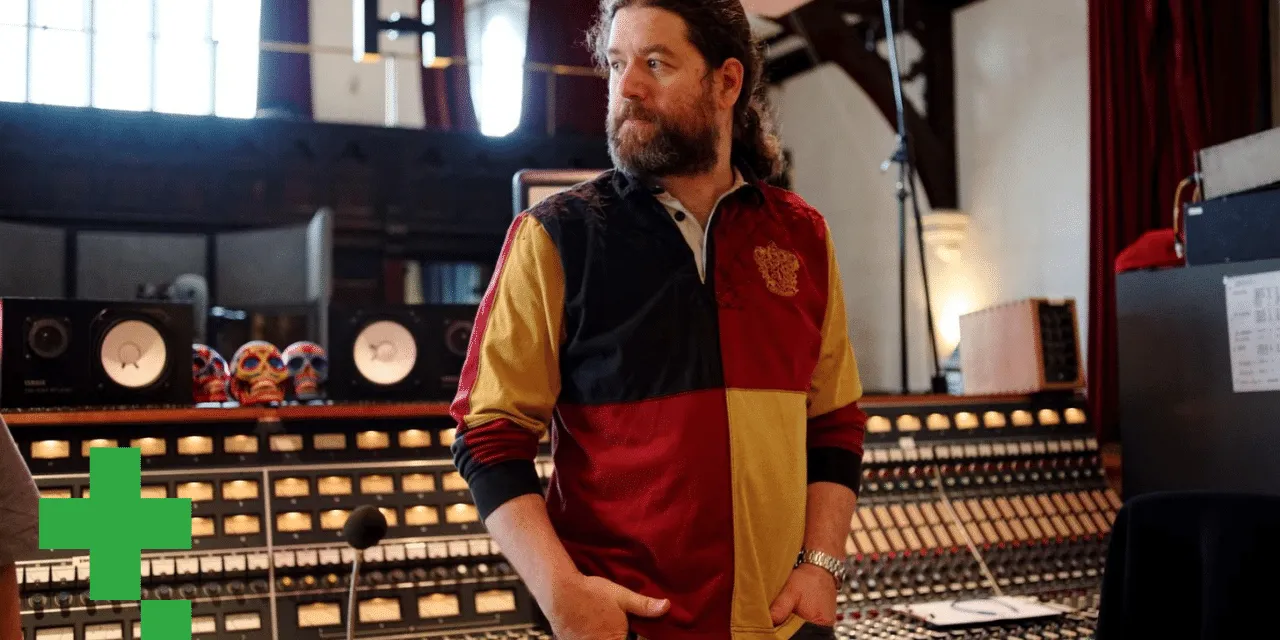
About the instructor
Ciarán Robinson es un ingeniero de sonido con más de 25 años de experiencia en ingeniería en directo, mezcla, grabación, diseño de estudios y sonido para cine, televisión y videojuegos. Actualmente dirige el máster de Music Producer en Tileyard Education, en Londres, y ha impartido clases en institutos de música contemporánea como BIMM, SSR y SAE.Lleva más de 20 años dando clases de producción de audio, creando cursos sobre Pro Tools, sonido para videojuegos, ingeniería de estudio y posproducción; algunos de sus antiguos alumnos han llegado a trabajar con artistas como Coldplay y Biffy Clyro. read more