



Abrir una sesión de Pro Tools y ajustes
Qué incluye el curso
31 lecciones (2h 41m) · 1 gratis
01. Resumen de la sección 1
0:25
02. Abrir una sesión de Pro Tools y ajustes
Estás aquí4:37
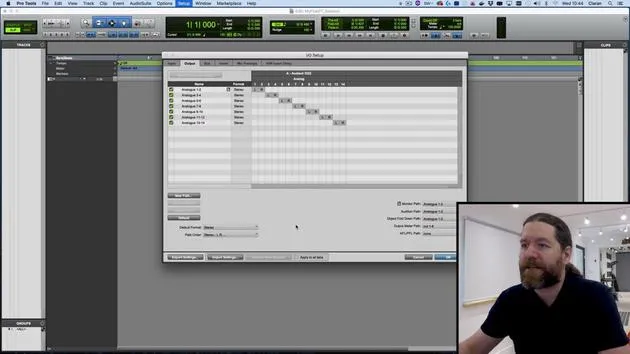
03. Configuración de E/S e interfaz de audio
8:12
04. Resumen de la ventana de edición
9:35
05. Zoom y altura de las pistas
11:00
06. Tipos de pista y creación de pistas
9:47
07. Configurar una pista de clic
5:11
08. Hacer tu primera grabación
4:01
09. Configuración de grabación
6:11
10. Punch in y punch out
9:10
11. Playlists y grabación en bucle
4:28
12. Guardar y hacer copias de seguridad de tu trabajo
5:04
13. RETO #1: HAZ TU PRIMERA GRABACIÓN
0:27
01. Resumen de la sección 3
0:24
02. La ventana de mezcla
6:17
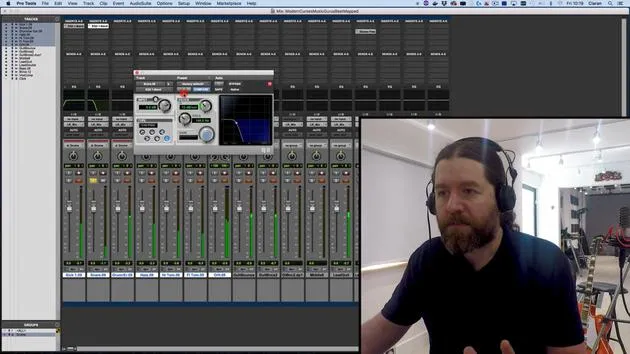
03. Empezar tu mezcla: limpiar los graves
5:17
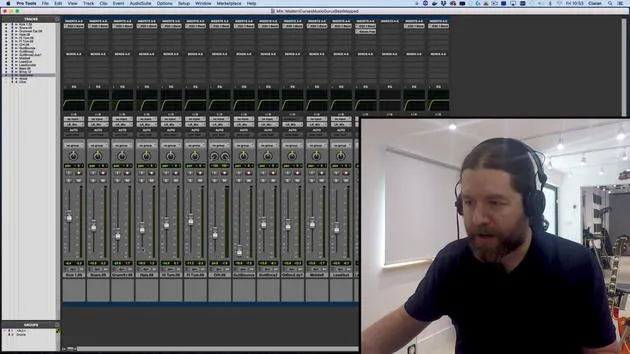
04. Empezar la mezcla: equilibrio de niveles
8:51
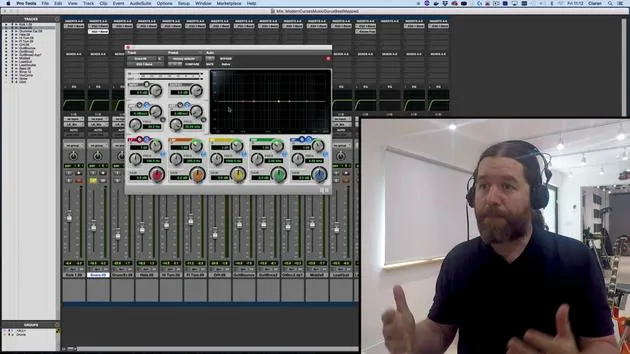
05. EQ sustractivo
6:53
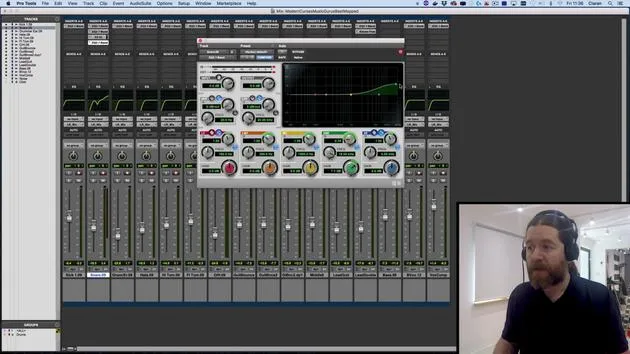
06. Procesamiento del rango dinámico
9:46
07. Enrutamiento AUX
6:41
08. Bouncing
4:58
09. ¡Enhorabuena, pero esto es solo el principio!
0:23
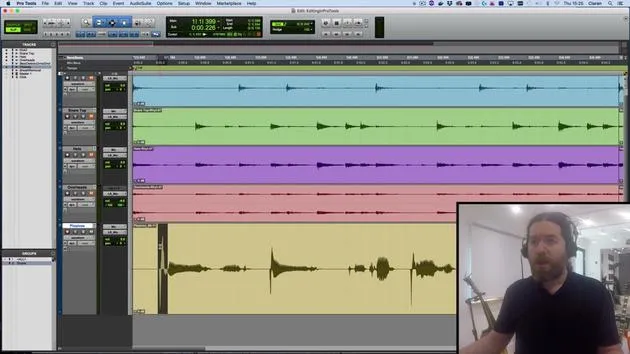
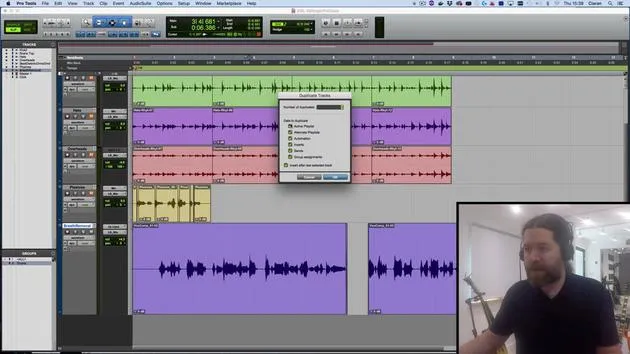
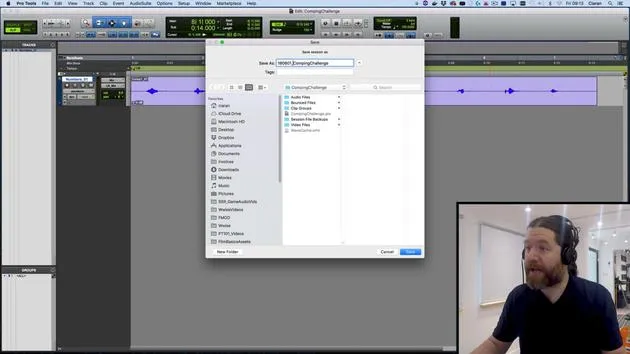
Transcripción de la lección
Opening Pro Tools
So let's start by opening up Pro Tools.
I'll find it down here in my dock and give it a minute to boot up. This will take a while; it depends on the speed of your computer and how many plugins you've got installed. It'll scan through them all before it actually opens up.
Dashboard Overview
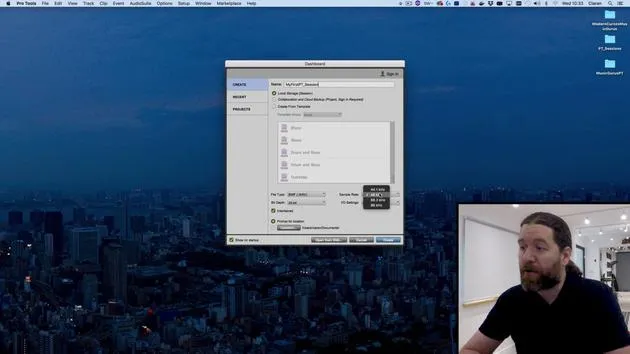
This takes us straight to the dashboard.
Here, you can:
- Create a new Pro Tools session
- Open up a recent session
- Access a project
What is a Project?
Project is what Avid refers to for its online backed-up system.
You can keep everything on the cloud, collaborate with other people at the same time, and that's actually what the sign-in option up at the top right is for as well. We're not going to be covering that in this course, maybe in a follow-up course, because you'd need to have an Avid account and pay for the storage space.
You get a certain amount for free when you actually buy Pro Tools, but it's not really enough to do that much. So, I'll keep it set to local storage.
Creating a New Session
I'll give this a name: my first ptsession.
You can see we have an option of creating from a template. This gives us a number of preset tracks and even some sequences thrown in there for good measure. They can be useful, I guess. If you're first exploring Pro Tools for yourself, then go ahead and have a closer look.
However, if you really want to understand what's going on, you're going to be better off doing everything manually.
File Type Options
We have two file types available to us:
- BWF: This is just a fancy version of WAV files, known as Broadcast WAV file.
- AIFF
Honestly, here's a simple rule: Use WAV or BWF whenever possible because everything can deal with these files. You're never going to have any compatibility issues.
Sample Rate
The sample rate is set here to 48 kHz.
This is what I tend to use. You can see my current audio interface allows me to go up to 96 kHz, but to tell you the truth, there's very rarely a reason to actually bother with this. It just takes up twice as much processing power.
44.1 kHz used to be a common standard, as it was the sample rate used by CDs. However, these days, CD is rarely the final delivery media. You're going to be dealing with videos and MP3s.
Particularly with video in mind, it's why I use 48 kHz because that is the standard video sample rate, ensuring compatibility.
So, stick to 48 kHz, 24-bit WAV file.
IO Settings
The other settings on here are unique to Pro Tools.
We'll have a look at this in just a moment, but I'm going to put this to Stereo Mix, which is the default and will do the job for us. We will be tweaking this to match the exact audio interface and everything I've got connected.
Important Settings
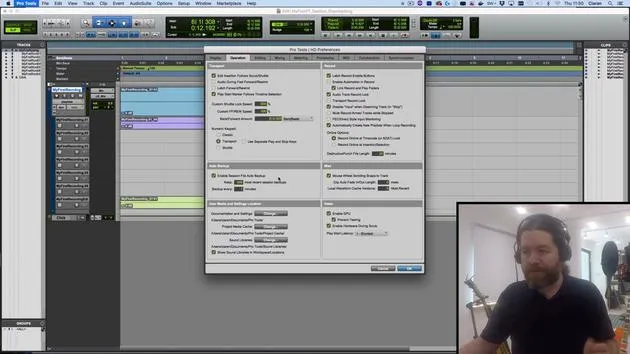
There's a tick box here for interleaved as well.
Make sure this is ticked; otherwise, when you bounce down files, you end up with a left file and a right file rather than one stereo file, which can be a little annoying at times. There's not really any occasion you're going to come across where you want them deinterleaved, so leave that ticked on.
I'll also leave prompt for location selected so I can tell Pro Tools where I want to save my project.
Sorry, not project, a session. As we said earlier, a project is the cloud-based name. It's a small distinction, but one that's important to get right.
Creating the Session
I'll hit Create, and I'll navigate to where I want to save this now. We'll talk about where you should save sessions a little later on.
I'm saving this right now on my desktop. It's not actually the ideal place to keep things, but we'll come to this in a later video. It's just kind of convenient while I'm quickly throwing these videos together.
So, hit save, and Pro Tools creates a new session.
Final Tweaks
Just a little tweak to make here.
You can see this is set up for almost laptop size. I'm going to hold the option key and click on the green dot up in the top left.
What this does is fill the screen without going into full-screen mode, so I can still access my top bar.
Conclusion
That should pretty much get you started with Pro Tools.
So yeah, follow the same steps and meet me in the next video!
31 lecciones
2h 41m de lecciones en vídeo estructuradas
Funciones de vídeo avanzadas
Ralentiza, repite un pasaje, sigue la partitura
Móvil, tablet y ordenador
Practica donde quieras
Garantía de satisfacción 100%
30 días de garantía de devolución
Conoce a tu gurú
Conoce a tu gurú
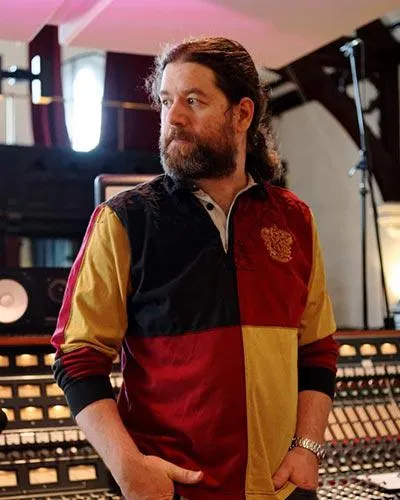
Ciarán Robinson es un ingeniero de sonido con más de 25 años de experiencia en ingeniería en directo, mezcla, grabación, diseño de estudios y sonido para cine, televisión y videojuegos. Actualmente dirige el máster de Music Producer en Tileyard Education, en Londres, y ha impartido clases en institutos de música contemporánea como BIMM, SSR y SAE.
Lleva más de 20 años dando clases de producción de audio, creando cursos sobre Pro Tools, sonido para videojuegos, ingeniería de estudio y posproducción; algunos de sus antiguos alumnos han llegado a trabajar con artistas como Coldplay y Biffy Clyro.







