



Benutzereinstellungen & Benutzermodus
Madeleine Bloom zeigt, wie du den Benutzermodus auf Ableton Push einrichtest: Pad-Schwelle, Velocity-Kurve und Workflow so anpassen, wie du spielst.
Das steckt im Kurs
16 Lektionen (3h 6m) · 1 gratis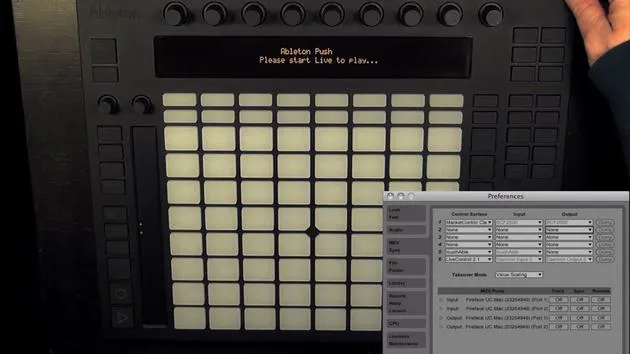
Transkript der Lektion
User Preferences and User Mode Overview
In this video, we'll be talking about the user preferences and the user mode.
Accessing User Preferences
To reach the user preferences, we simply have to hold the user button pressed. Here, we have three settings:
- Pad Threshold
- Velocity Curve
- Workflow
Pad Threshold
With pad threshold, you can adjust how much force you need while playing.
- The higher the setting, the more force you need to play.
- The lower the setting, the less force required.
Range:
- Goes from -20 to 20.
Important Note:
- A low threshold may cause stuck pads.
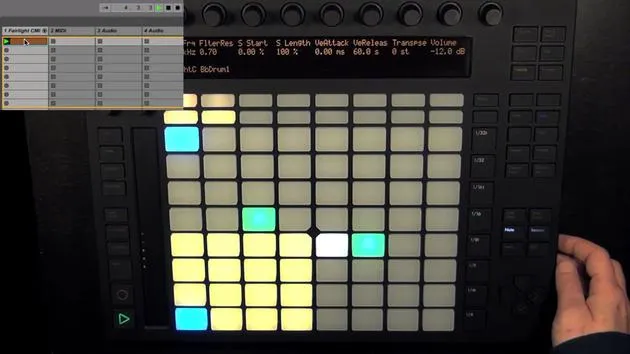
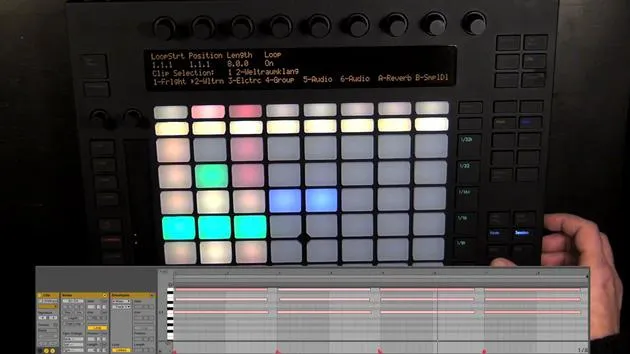
For example, here's what stuck pads look like in node mode.
I personally use a setting of -8 often, as it feels right for me. You should try out different settings to see what suits you best.
If you prefer to play more forcefully, try 0 (the default) or even a positive value.
Velocity Curve
Next, we set the velocity curve. We have six curves total:
- Linear Curve
- Logarithmic Curves (five different types)
The default is the logarithmic curve number one, and they become increasingly steeper as the number increases. This allows for lighter playing while still achieving increased velocity.
For example:
- With logarithmic curve number five, playing with 50% force could yield a velocity of 100.
Again, try what suits you best. Linear isn't great, as it feels unnatural, force translates directly into velocity.
I often use logarithmic curve number two. Just adjust it until it feels right.
Workflow
Lastly, we have the workflow setting. By default, the scene workflow is set, which is the behavior you're already familiar with.
There are two workflows:
- Scene Workflow
- Clip Workflow
Differences In Behavior:
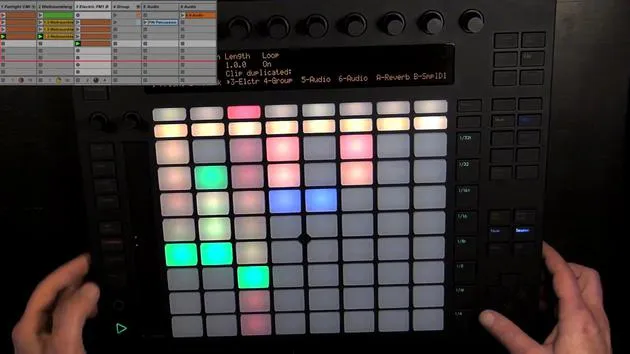
- Duplicate: In scene workflow, a new scene is created with all playing clips.
- In clip workflow, only the selected clip duplicates.
To illustrate:
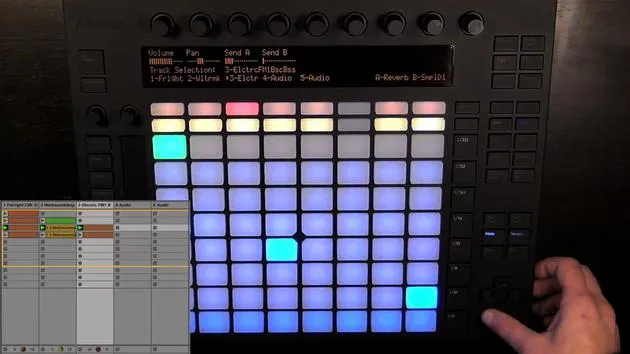
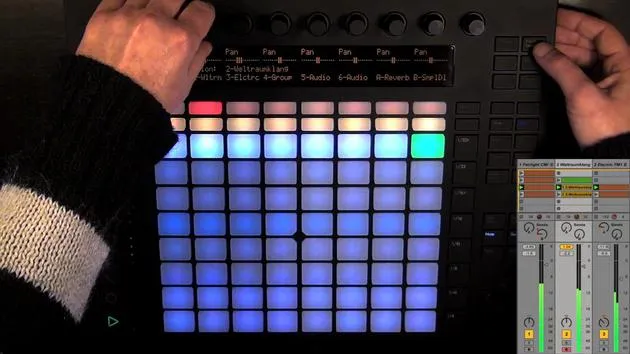
- Go to session mode.
- Select a clip and press duplicate.
- Only the selected clip will duplicate if using clip workflow.
When launching a scene, only the selected track is duplicated, while the others continue playing seamlessly.
Another Important Button:
- New: Creates a new clip in the selected track in both workflows, but behaves slightly differently.
Navigating with Arrow Buttons
When in node mode:
- Pressing up launches the next scene above.
- In clip workflow, pressing the down arrow selects the next clip down in the selected track seamlessly.
If you want to duplicate the whole scene while in clip workflow:
- Hold Shift and press duplicate.
User Mode Overview
Now, let's explore the user mode.
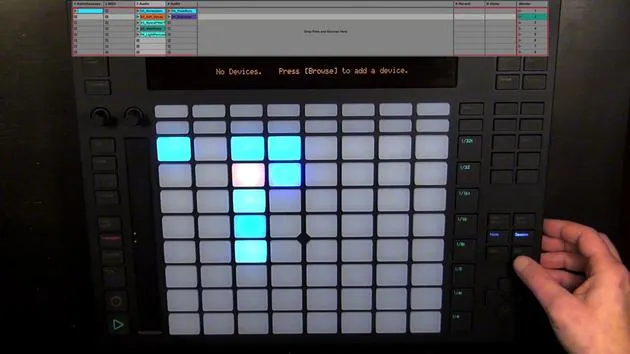
When you enable it, you will see that:
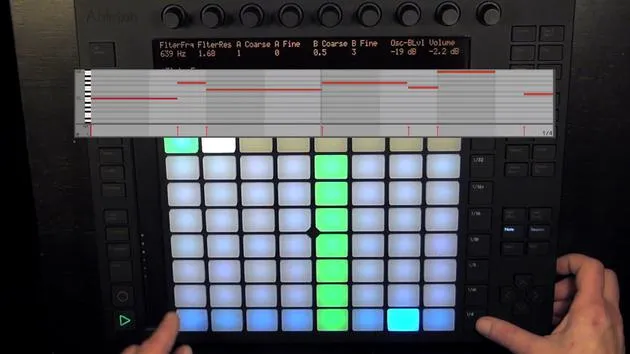
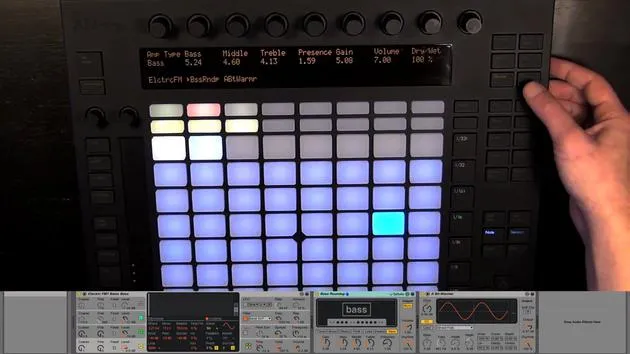
- Absolutely nothing is lit apart from the user button itself and the lights on the touch strip (which aren't mapped to anything).
This means you have no automatic mappings anymore, and you can map everything manually.
Mapping Functions
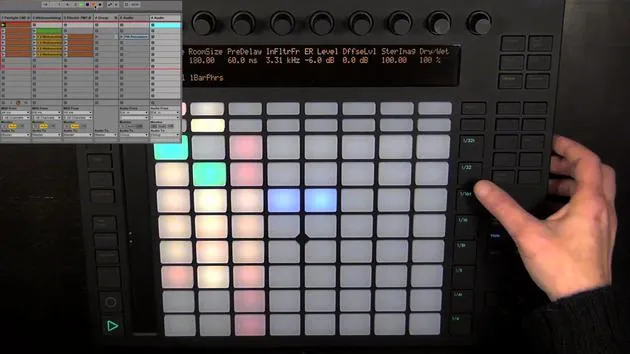
I will demonstrate this using the looper:
- Delete any clips on the track.
- Ensure that MIDI sync preferences in Live Remote are turned on for both input and output.
- Deactivate the reverb for clarity.
- Add a looper preset, one bar should suffice.
Now, let's map the key functions for quick access in user mode:
- Enter MIDI mapping mode.
- Map buttons for undo, reverse, clear, and stop.
Once done, check settings like:
- Global (set as none)
- Song Control (set tempo to follow the song tempo)
Final Adjustments
After preparing, leave user mode, turn the effects back on, and test your mappings.
You can map anything that's mappable in Live, but it's best to map toggle actions on pads and continuous parameters (like volume or panning) to the encoders.
Best Practices
- For encoders, map them in relative mode. Slowly turn the encoder to the left to set it that way, then let go.
- Be cautious not to accidentally map to a MIDI node.
Try using the looper to see what works well for you, and adjust accordingly.
This is how the user mode operates, allowing for personalized mappings to fit your workflow.
16 Lektionen
3 Std. 6 Min. strukturierte Videolektionen
Erweiterte Videofunktionen
Verlangsamen, Passagen loopen, mitlesen
Handy, Tablet & Desktop
Üben, wo du willst
100 % Zufriedenheitsgarantie
30 Tage Geld-zurück-Garantie
Lern deinen Guru kennen
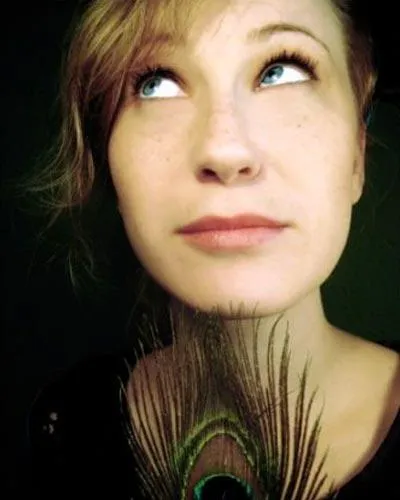
Lern deinen Guru kennen
Madeleine Bloom ist eine klassisch ausgebildete Musikerin, Produzentin, Multiinstrumentalistin und Sängerin aus Berlin und Gründerin des Labels Quixotica Records. Sie studierte elektroakustische Musik am Franz-Liszt-Konservatorium bei Prof. Robin Minard und überträgt diese Methoden auf ihren eigenen Mix aus Electronica-Pop. Ihre Musik wurde von den Produzenten Guy Sigsworth und Rupert Hine gelobt und brachte ihr eine persönliche Einladung von Imogen Heap ein, deren Tour sie eröffnete.
Als ehemalige technische Support-Mitarbeiterin von Ableton gründete sie 2012 die Online-Plattform Sonic Bloom, auf der sie in Kursen, Workshops und Einzelstunden Ableton Live und Musikproduktion unterrichtet. Sie hat Menschen auf der ganzen Welt mit Ableton Live, Push und Max for Live sowie mit Audio Engineering, Musiktheorie, Komposition und Sounddesign geholfen.







