



Mischen
Das steckt im Kurs
16 Lektionen (3h 6m) · 1 gratis
Transkript der Lektion
Mixing with Push: Volume Control and Track Management
Now we'll be looking at mixing with Push.
Volume Button
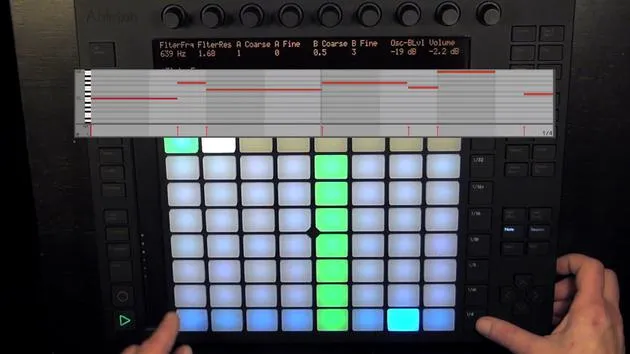
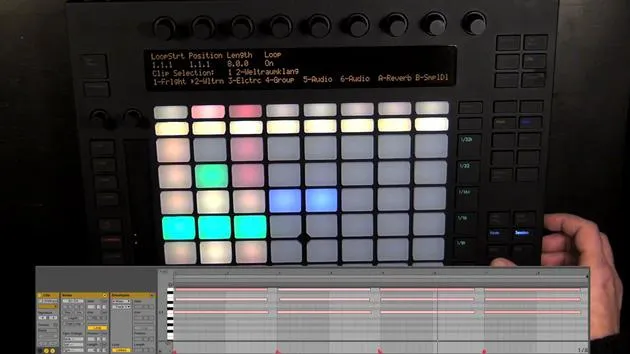
- First up, we have the volume button. If you press it, we can adjust the volume for the eight tracks that are currently in focus, each with a corresponding encoder.
- Currently, we only have five tracks in the live set, which means that focus is also on the two return tracks.
Track Selection and Arm Status
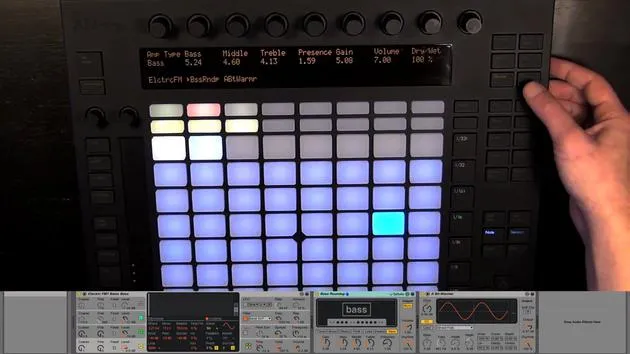
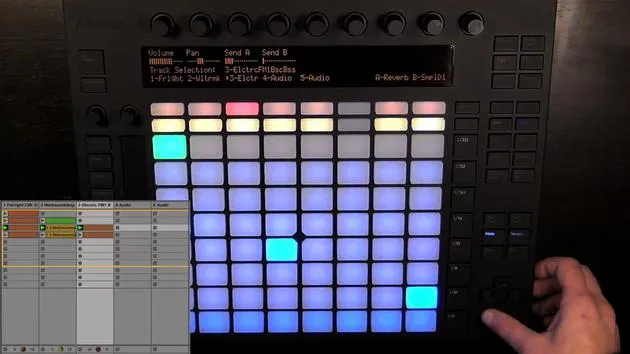
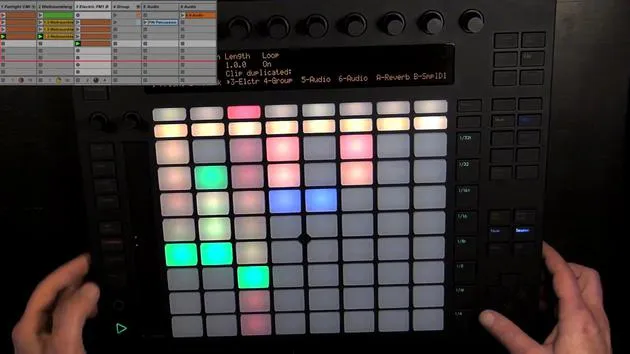
- With the top row of pads, you can select the track on MIDI tracks. Once you select a track, it's automatically armed as well.
- For audio tracks, it works a bit differently:
- Press it once: Track is selected.
- Press it again: Track becomes armed.
- Return tracks, of course, can't be armed at all; they are only selected.
Note: This track here is still light red, meaning it's armed but no longer selected.
Mute and Playback Controls
- Let's reselect this one. The second row of pads allows you to mute the respective tracks.
Practical Steps:
- Press Play.
- Adjust Volumes:
- Turn down the volume of the bass.
- Turn up the volume for the beat.
Always keep an eye on the master track so it doesn't go over zero.
Adjusting Master Track Volume
- If you want to adjust the volume for the master track:
- After pressing volume, that's not possible because you have a specific encoder for the master track.
- To adjust, press Track, select the master, and then change the volume there.
Navigating Tracks
- To change focus from the master track, simply select another track up here, or use the arrow keys (left and right).
- The right arrow key can take you to the master track on the far right, while the return tracks are positioned before that.
Mute and Solo Functionality
- When in volume mode, use the second row of pads to mute tracks.
- You can also use them to solo tracks:
- Press Solo and then the corresponding pad.
- Unsolling can be done by pressing the pad again, or you could choose another one.
Exclusive Arm Feature: This only works when "Exclusive Arm" is enabled under Live preferences (Record Warp Launch).
- By default, it is enabled.
- If disabled, you can arm more than one track.
Additional Track Management
- The muting and soloing of tracks works similarly in Pan and Send mode, Track mode, and Clip mode but differs in Browse mode.
Panning and Sending Effects
- The top four buttons allow control in conjunction with the pads of the second row.
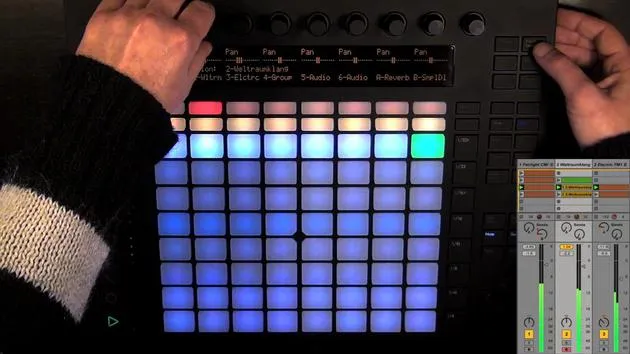
- Entering Pan and Send mode for the first time shows the panning for the selected tracks:
- Change panning using the encoders.
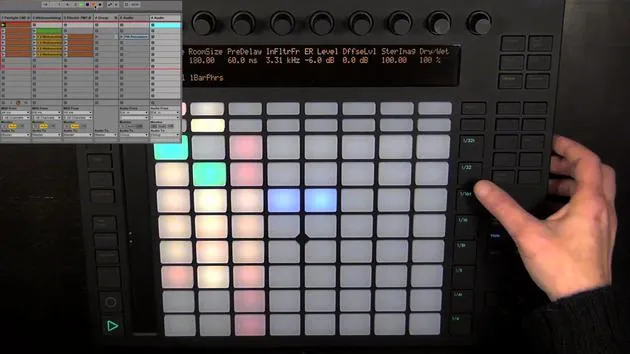
Pressing Pan and Send Again: Toggles through all the sends in the current live set.
Sending Audio Effects
- You can send audio from the track to the first return track (e.g., containing reverb).
- Pressing Pan and Send again allows you to send audio from the track to Return Track B (containing a delay).
- Note: Sends of return tracks are deactivated by default; they need to be activated in Live first.
Track Adjustments
- For the currently selected track, you can adjust:
- Volume
- Panning
- Amount for the first six sends (if available).
Stopping Clips
- To manage clips:
- Press Play and hold Stop to see what clips are playing in the first three tracks.
- Press one of those pads to stop the clip on that track.
Stopping All Clips
- To stop all playing clips across all tracks:
- Hold Shift and press Stop. Playback continues, but all clips are stopped.
Scene Management
- While still in note mode, use the up or down arrow keys to launch either the previous or next scene.
- Let's launch the next scene.
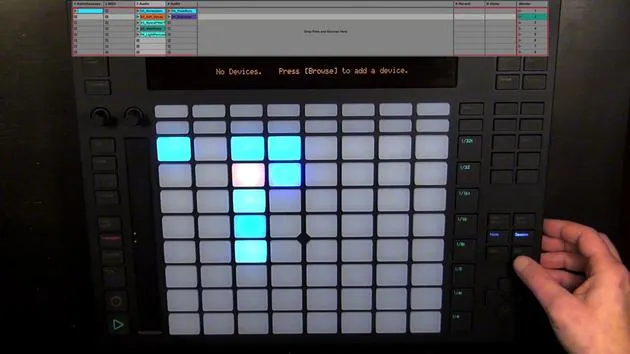
Grouping Tracks
- To group tracks:
- Select the two tracks in Live, then group them.
- This action reflects on Push, and tracks remain unfolded.
- To fold them up, hold the Group Track pad pressed.
- To unfold again, simply hold it once more.
Conclusion
This guide serves as a comprehensive overview of mixing with Push, enabling you to efficiently manage tracks, volume, effects, and clip playback. Happy mixing!
16 Lektionen
3 Std. 6 Min. strukturierte Videolektionen
Erweiterte Videofunktionen
Verlangsamen, Passagen loopen, mitlesen
Handy, Tablet & Desktop
Üben, wo du willst
100 % Zufriedenheitsgarantie
30 Tage Geld-zurück-Garantie
Lern deinen Guru kennen
Lern deinen Guru kennen
Madeleine Bloom ist eine klassisch ausgebildete Musikerin, Produzentin, Multiinstrumentalistin und Sängerin aus Berlin und Gründerin des Labels Quixotica Records. Sie studierte elektroakustische Musik am Franz-Liszt-Konservatorium bei Prof. Robin Minard und überträgt diese Methoden auf ihren eigenen Mix aus Electronica-Pop. Ihre Musik wurde von den Produzenten Guy Sigsworth und Rupert Hine gelobt und brachte ihr eine persönliche Einladung von Imogen Heap ein, deren Tour sie eröffnete.
Als ehemalige technische Support-Mitarbeiterin von Ableton gründete sie 2012 die Online-Plattform Sonic Bloom, auf der sie in Kursen, Workshops und Einzelstunden Ableton Live und Musikproduktion unterrichtet. Sie hat Menschen auf der ganzen Welt mit Ableton Live, Push und Max for Live sowie mit Audio Engineering, Musiktheorie, Komposition und Sounddesign geholfen.







