



Beats II - Step-Sequencing
Das steckt im Kurs
16 Lektionen (3h 6m) · 1 gratis
Transkript der Lektion
Recording with the Step Sequencer
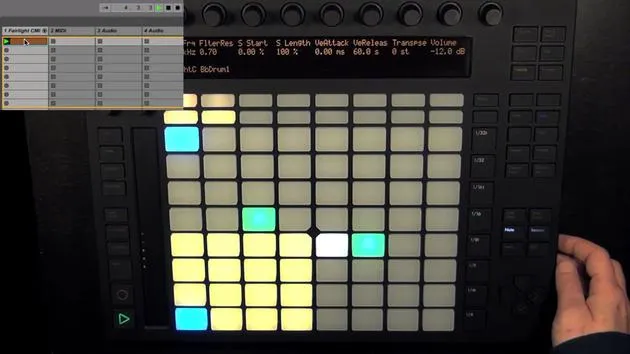
So now it's time to start recording something. We're actually going to start with the step sequencer. As I said, we have a resolution of 1:16 notes. By default, we can change them to whatever we find most convenient, but we'll start with 1:16 now.
Selecting Pads and Adding Steps
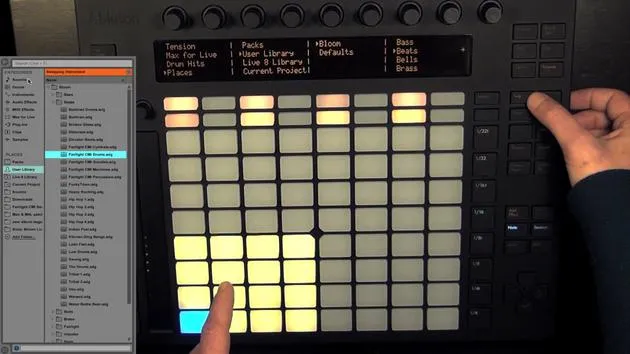
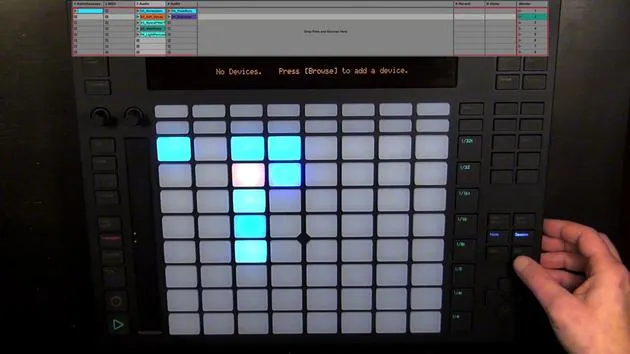
- Choose the Pad: Let's choose the kick.
- Playback: As soon as we enter something into the step sequencer, playback starts.
- A clip was created that is two bars long.
- Add Steps: We can add steps, in this case, that can be 16th note steps wherever we like.
Next, let's choose the next sound and add steps again in the step sequencer.
Pressing Pads Silently
- If you want to press a pad without it making a sound, simply:
- Hold, select, and then press the pad.
Changing Sounds and Resolutions
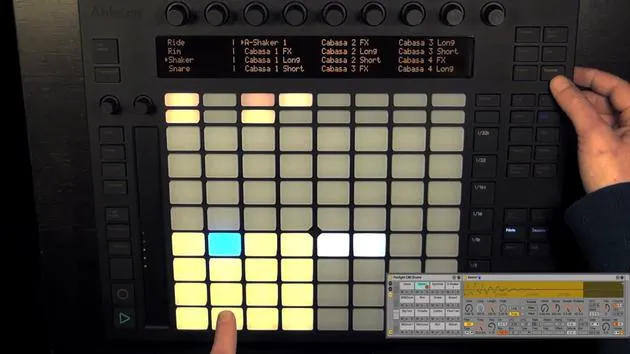
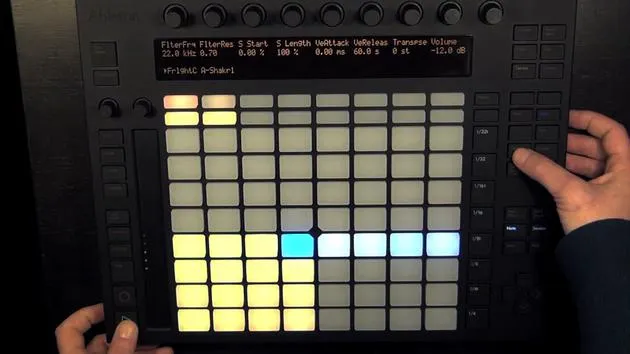
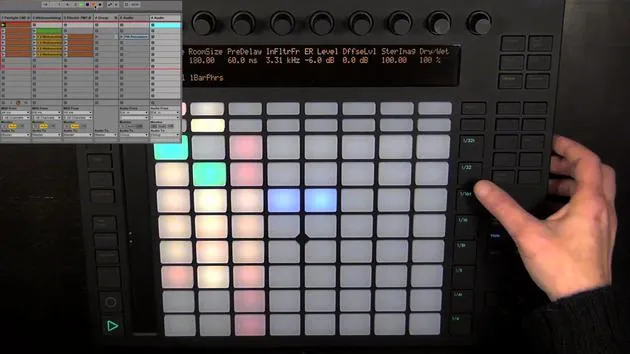
Now we have the shaker selected, and we could change the resolution to fourth notes.
- We can see that the first row is only active for two bars. If we don't like that:
- Delete Steps: Either press the pads again to delete the notes, or hold delete and press the pad to delete all nodes.
Muting Steps
It's also possible to mute individual steps to see if it might sound better:
- Go back to 16th notes.
- Hold mute pressed and then press the steps that you want to mute, allowing you to deactivate them without deleting them.
Visual Indicators
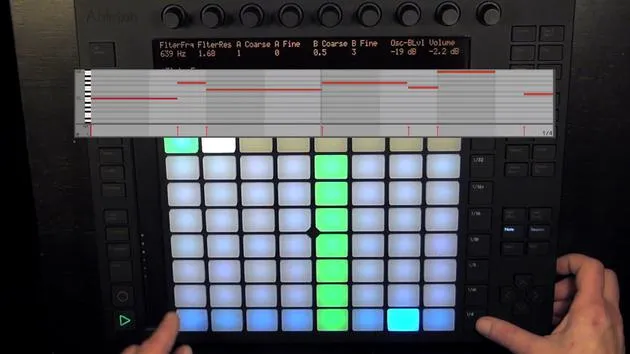
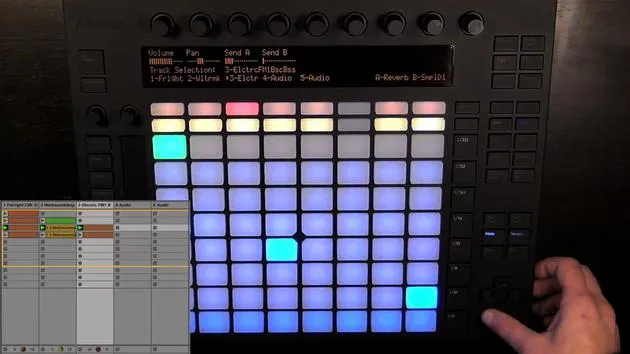
- The playing position is displayed in green.
- If we go into record mode, this turns red, more on that later.
- Steps containing nodes are blue, recorded with default velocity (100).
Adjusting Velocity
Let's choose the kick and change the velocity for certain steps:
- Hold a step to see what settings we can change, such as:
- Notch: Move it forward and backwards.
- Length: Change either coarsely or fine tuning.
- Velocity: Change, for example, to 127.
Alternatively, press the other stack and press accent to set the nodes to full velocity.
Changing Velocity for All Notes of a Pad
- To change the notes of one pad sound:
- Press select and then choose the pad.
- Keep it pressed to change the velocity for all notes of that pad sound.
The lights will indicate the new velocity:
- Higher velocities have darker blues.
Loop Length
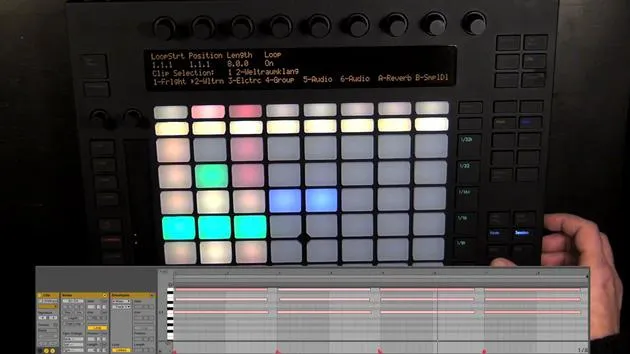
The loop length is automatically set to two bars.
- If I double-tap on one pad, it's set to that page, and the loop length is now one bar.
- Double-tapping the second pad sets the loop to the second bar.
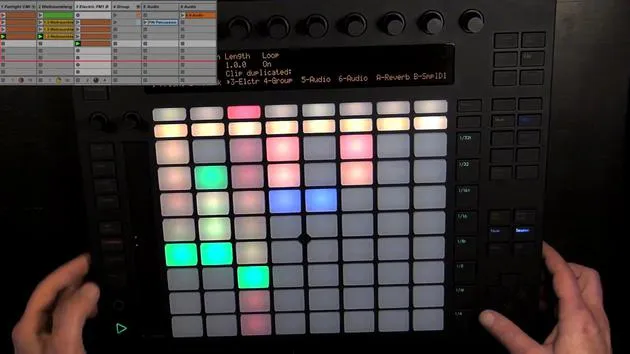
Of course, I could set the loop length to up to 16 bars. If I set it to four bars but see nothing in the second half, we can just:
- Press double, and all the notes within the loop will be doubled. Now the loop is four bars long.
Adding Variations
- We can add more variations:
- Press a pad once to not fold the play position anymore, but stay on that page, allowing for the addition of more notes.
Creating Variations in the Beat
- We can add 16 bars and create many different variations.
- Choose certain bars that should play at one time and switch between those.
Visual Indicators for Bar Status
- Dull yellow lights indicate those currently visible but not playing.
- Green shows the page that is currently playing.
- White indicates those not shown in the step sequencer but are within the loop.
- Unlit pads mean they're outside of the loop.
Triplet Resolutions
We have a lot of resolutions to choose from, including triplet resolutions.
- You will see dull red lights here, indicating that you can't set any steps there because:
- Triplets only allow for six steps instead of eight, this applies to all triplet resolutions.
16 Lektionen
3 Std. 6 Min. strukturierte Videolektionen
Erweiterte Videofunktionen
Verlangsamen, Passagen loopen, mitlesen
Handy, Tablet & Desktop
Üben, wo du willst
100 % Zufriedenheitsgarantie
30 Tage Geld-zurück-Garantie
Lern deinen Guru kennen
Lern deinen Guru kennen
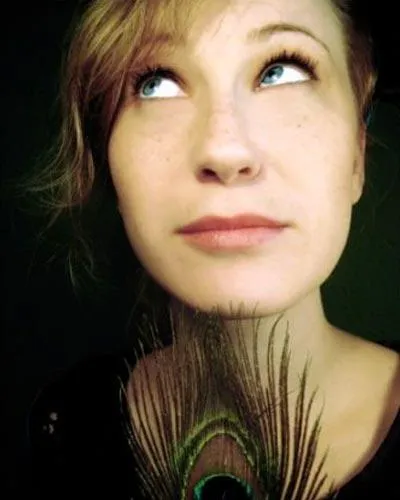
Madeleine Bloom ist eine klassisch ausgebildete Musikerin, Produzentin, Multiinstrumentalistin und Sängerin aus Berlin und Gründerin des Labels Quixotica Records. Sie studierte elektroakustische Musik am Franz-Liszt-Konservatorium bei Prof. Robin Minard und überträgt diese Methoden auf ihren eigenen Mix aus Electronica-Pop. Ihre Musik wurde von den Produzenten Guy Sigsworth und Rupert Hine gelobt und brachte ihr eine persönliche Einladung von Imogen Heap ein, deren Tour sie eröffnete.
Als ehemalige technische Support-Mitarbeiterin von Ableton gründete sie 2012 die Online-Plattform Sonic Bloom, auf der sie in Kursen, Workshops und Einzelstunden Ableton Live und Musikproduktion unterrichtet. Sie hat Menschen auf der ganzen Welt mit Ableton Live, Push und Max for Live sowie mit Audio Engineering, Musiktheorie, Komposition und Sounddesign geholfen.







