



Beats I - Das Layout
Lerne das Drum-Layout auf dem Ableton Push kennen - das 4x4-Pad-Raster, was die Pad-Farben bedeuten und wie du Sounds stummschaltest, solo schaltest und im laufenden Betrieb austauschst.
Das steckt im Kurs
16 Lektionen (3h 6m) · 1 gratis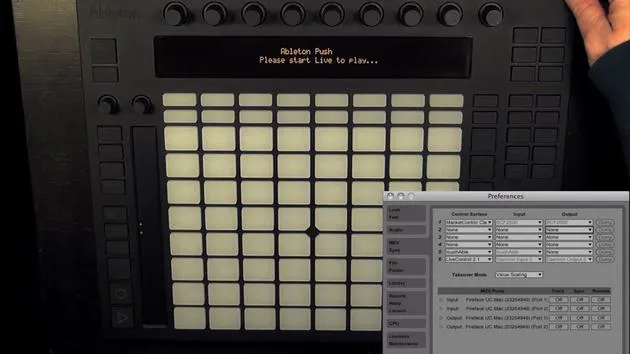
Transkript der Lektion
Drum Layout Overview
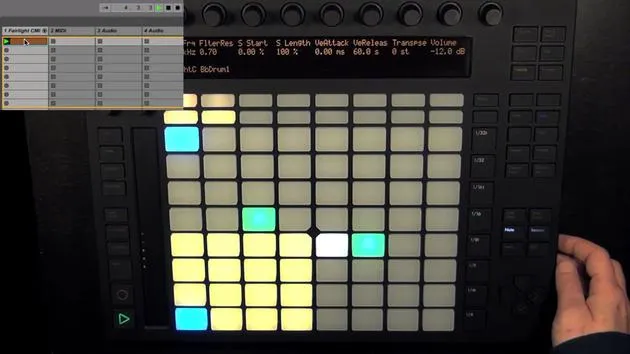
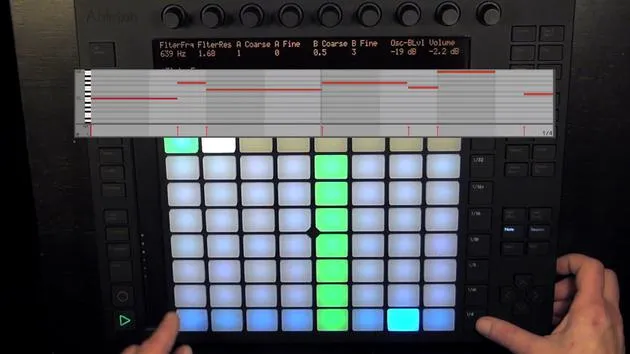
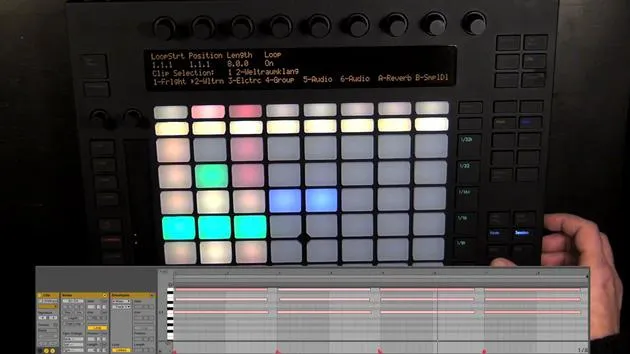
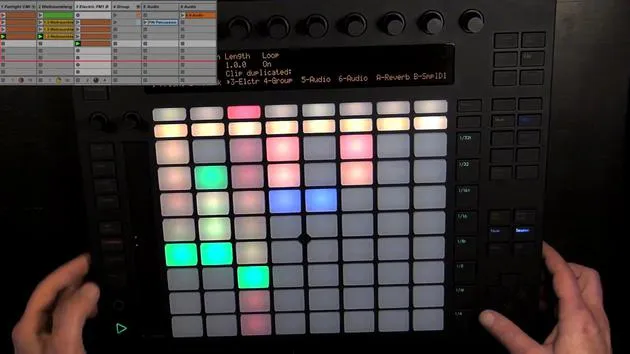
Here we can already see the drum layout, which is divided into three sections.
1. Drum Rack Pads
- Configuration: The drum rack pads are set up in a 4x4 grid, and they can be moved to the next 16 pads either with the touch strip or with the octave up and down buttons.
- Pad Colors:
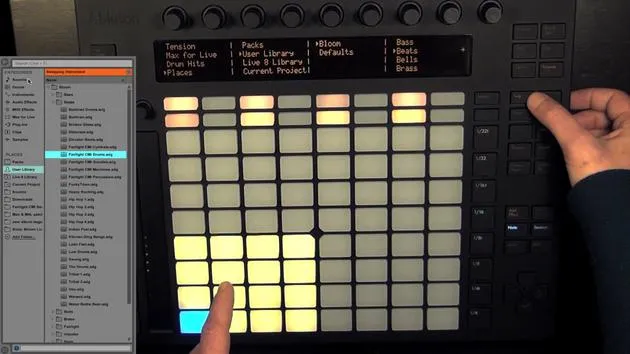
- Bright Yellow Pads: These are filled and can be played live to record rhythms.
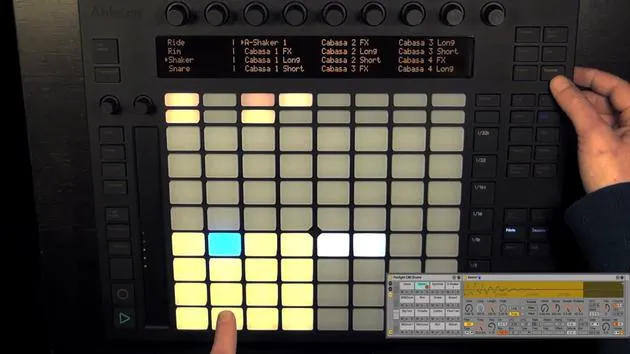
- Selected Pad: Displayed in blue. When held, it turns green to indicate that it is playing.
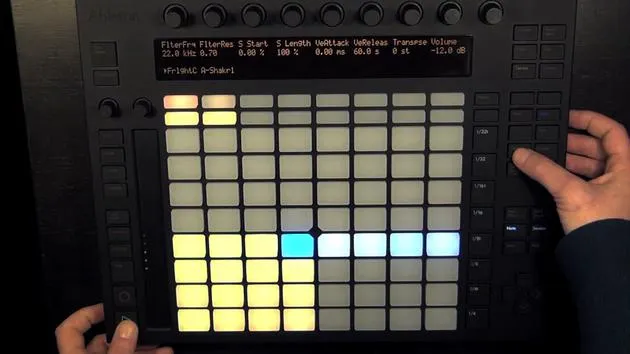
Muting and Soloing Pads
-
Muting:
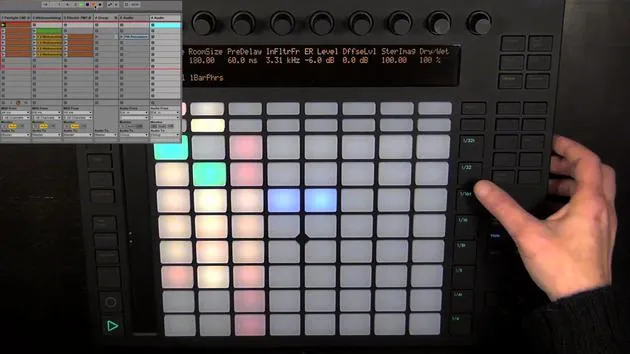
- Press mute and select the drum pad(s) you want to mute.
- Muted pads turn orange to indicate their status.
- To unmute, hold mute again and press the muted pads.
-
Soloing:
- Hold solo, choose the pad(s) you want to solo.
- Soloed pads will show a different shade of blue.
- To exit solo mode, press solo again.
Navigating Pads
- Empty Pads: Dull yellow pads indicate that they're empty.
- Moving Between Rows:
- Hold shift and use the touch strip or octave buttons to navigate through the rows of pads.
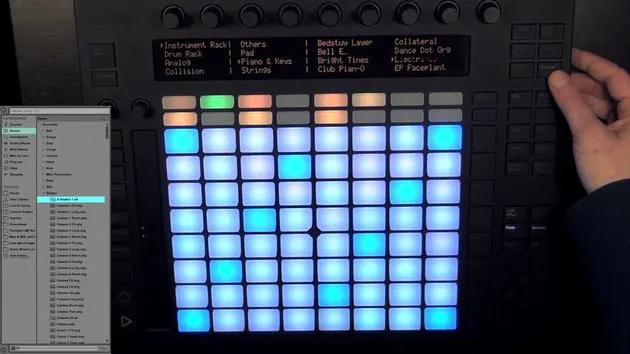
2. Hot Swapping Drum Pad Sounds
As mentioned earlier, you can exchange or hot swap individual drum pad sounds.
-
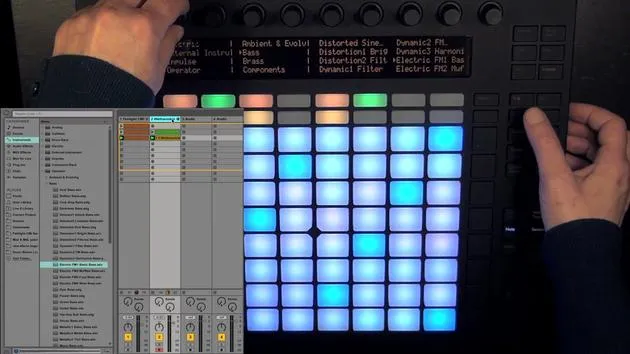
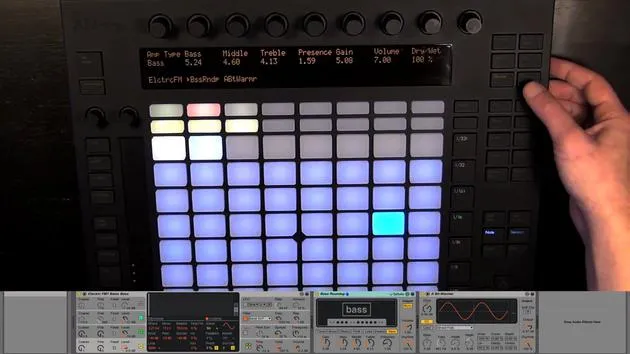
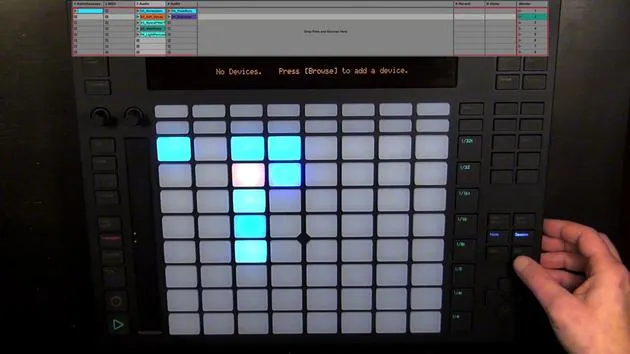
Device View: Ensure you are in the device view to choose sounds.
-
Selecting Sounds:
- Press browse to see everything that can be loaded into a drum pad.
- You can find individual drum hits sorted by type, similar to the live library.
- For example, if you were to exchange a hi-hat sound from the core library, it would open in the hi-hats section.
-
Loading Sounds:
- After selecting a sound (e.g., a shaker), load it by pressing the green button.
- You can also hot swap other sounds or MIDI instruments by pressing the pad and selecting a different sound.
3. Loop Length Controls
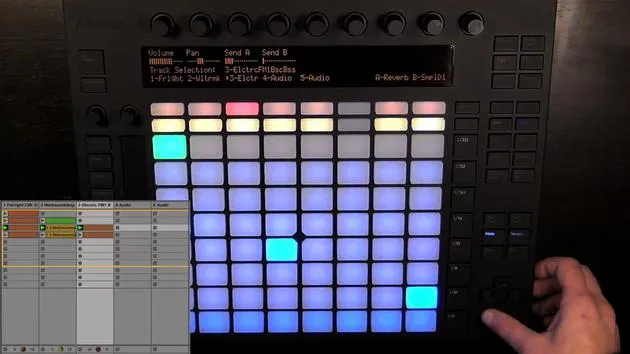
The next section is the loop length controls, which consist of 16 pads again.
-
Default Configuration: Two pages are selected, with each page corresponding to one bar in a MIDI clip, even if there isn't a MIDI clip created yet.
-
Recording Capacity: You can record a total of 16 bars with two pages at a resolution of 1/16th notes, which is the default for the step sequencer.
-
Adding Notes: Simply press the pads to add notes, but we will delve into this more in the next video.
16 Lektionen
3 Std. 6 Min. strukturierte Videolektionen
Erweiterte Videofunktionen
Verlangsamen, Passagen loopen, mitlesen
Handy, Tablet & Desktop
Üben, wo du willst
100 % Zufriedenheitsgarantie
30 Tage Geld-zurück-Garantie
Lern deinen Guru kennen
Lern deinen Guru kennen
Madeleine Bloom ist eine klassisch ausgebildete Musikerin, Produzentin, Multiinstrumentalistin und Sängerin aus Berlin und Gründerin des Labels Quixotica Records. Sie studierte elektroakustische Musik am Franz-Liszt-Konservatorium bei Prof. Robin Minard und überträgt diese Methoden auf ihren eigenen Mix aus Electronica-Pop. Ihre Musik wurde von den Produzenten Guy Sigsworth und Rupert Hine gelobt und brachte ihr eine persönliche Einladung von Imogen Heap ein, deren Tour sie eröffnete.
Als ehemalige technische Support-Mitarbeiterin von Ableton gründete sie 2012 die Online-Plattform Sonic Bloom, auf der sie in Kursen, Workshops und Einzelstunden Ableton Live und Musikproduktion unterrichtet. Sie hat Menschen auf der ganzen Welt mit Ableton Live, Push und Max for Live sowie mit Audio Engineering, Musiktheorie, Komposition und Sounddesign geholfen.







