



Mastering

Lesson time: (12min 0sec)
Course preview
This lesson is part of the course Produziere einen umwerfenden Pop-Track
Watch a preview of the full course below.
Lesson transcript:
Finalizing a Track: A Step-by-Step Guide
So, guys, I'm going to walk you through a couple of the little things here that I do when I'm finishing a track and the processing I apply to all the instrumentals and vocals, and how that all gets glued together.
Master Buss Overview
Grouping
To start with, I'll take you through my master buss for my track here. I like to sum everything down to two separate groups at first:
- One for all the instrumentals and music
- One for all the vocals
Initial Setup
-
Gain Plugin
I've got a little gain plugin here that's just a safekeeping device in case I need to raise or lower the volume coming into this. -
FabFilter Multiband Compressor
This really helps glue all the elements of your instrumental together, pulling all the parts together to create a cohesive record. -
EQ
It's important to use a linear phase EQ. When grouping together many elements, remember that any movement you make is multiplied many times, half a decibel is suddenly a huge movement.- Roll Off: Everything below 30 Hz to get rid of any mud and unwanted noise.
- Carve a Notch: A tiny notch at 1500 Hz creates space for the vocal in the instrumental, allowing the vocal frequencies to sit more comfortably.
-
De-Esser
I use the De-Esser from this unit to get rid of really high harsh frequencies from the instrumental, hi-hats, tambourines, claps, or any particularly aggressive synth sounds. -
Limiter
I run into my limiter, gently raising the gain and compressing everything together to start gluing the final product.
Listening Comparison
If I turn off all my processing, you'll hear what a difference all this does to the overall track. Just adding the multiband and the EQ already starts to help. Then, when you add the De-Esser and the limiter, it starts to sound like a well-put-together track, almost as if it's been mixed and mastered by someone else.
Vocal Processing
Vocal Chain
Next, I come to our vocals. The first half of the strip is largely the same:
- Gain Plugin
- Multiband Compressor: The same as before.
I then run into a slightly different EQ tailored to the singer's sound:
- Roll Off: Pretty much all low end down to about 100 Hz, getting rid of extra noise.
- Top Frequencies: Remove any particular rings that may occur from summing together, especially if the vocals are too bright.
Further Processing
- De-Esser: This just tames any really high frequencies.
- Compressor: Sometimes, I will use the compressor in this unit to glue together big stacks, but I've already taken care of that while summing down.
Limiting Vocals
Finally, I run into a limiter for my vocals.
- Gain Adjustment: I'm adding about 4 dB of gain to the instrumental and 6 dB to the vocals. This helps with issues of people requesting that the vocal be louder or more powerful.
- Having these on separate tracks makes it really easy in your mix stage to raise or lower your vocal or your track as needed.
The Famous Red Channel
Gluing Everything Together
Coming to the famous red channel, this is where everything gets really glued together. When I refined this process, I found it was crucial for getting my tracks out there rather than sitting on my computer.
- Gain Plugin: Controls the level; adjustments can be made coming in or out of this section.
- Compressor: Set to a gentle 1.5:1 ratio. Everything is set all the way to the right, taming any peaks without much gain reduction.
EQ Adjustments
I'm not using the compressor in this channel strip, but I've created this over time to suit my music style.
- Boosting: Adjust areas just to taste, making things really pop.
- Linear Phase EQ: Adding 2 dB at 500 Hz gives it a warm bottom end, reminiscent of analog tape machines and big studios.
Stereo Expansion
I then run into a stereo expander (I particularly like the SPL sound). It brings the high end out of the music and makes it feel wider, no matter the playback device.
Final Stages
Output Limiter
- Taste Dependent: Always keep it on a very slow attack and release.
- Boosting Gain: I typically boost up to 5 dB. Monitor the fader, aiming to knock off between 3 and 4 dB of gain to really glue everything together.
A properly mastered track usually sits between -9 and -12 on the meters to compete against tracks on the radio.
Last Steps
-
I found an additional step that significantly enhanced my music. Adding a compressor (like the Waves compressor or the Solid Bus Compressor in Logic or Ableton) at this stage made a noticeable difference.
- Adjustments: Setting the threshold high, taming absolute loudest parts with the slowest attacks and quick releases.
- Makeup Gain: Adding 2.5 to 3 dB of gain.
Be cautious, as this can lead to clipping, use it wisely.
This step, while individual to my process, has helped my records sparkle and perform well across various platforms.
Conclusion
Getting this right is crucial. While writing and producing, I keep all this turned off. I only add these elements later in the final stages.
Take your time, experiment, and try arranging the plugins differently. Test with references, get close to your favorite tracks, and work on matching volumes and sonic qualities. With patience and practice, you'll find what works for you, and it will greatly benefit your music!
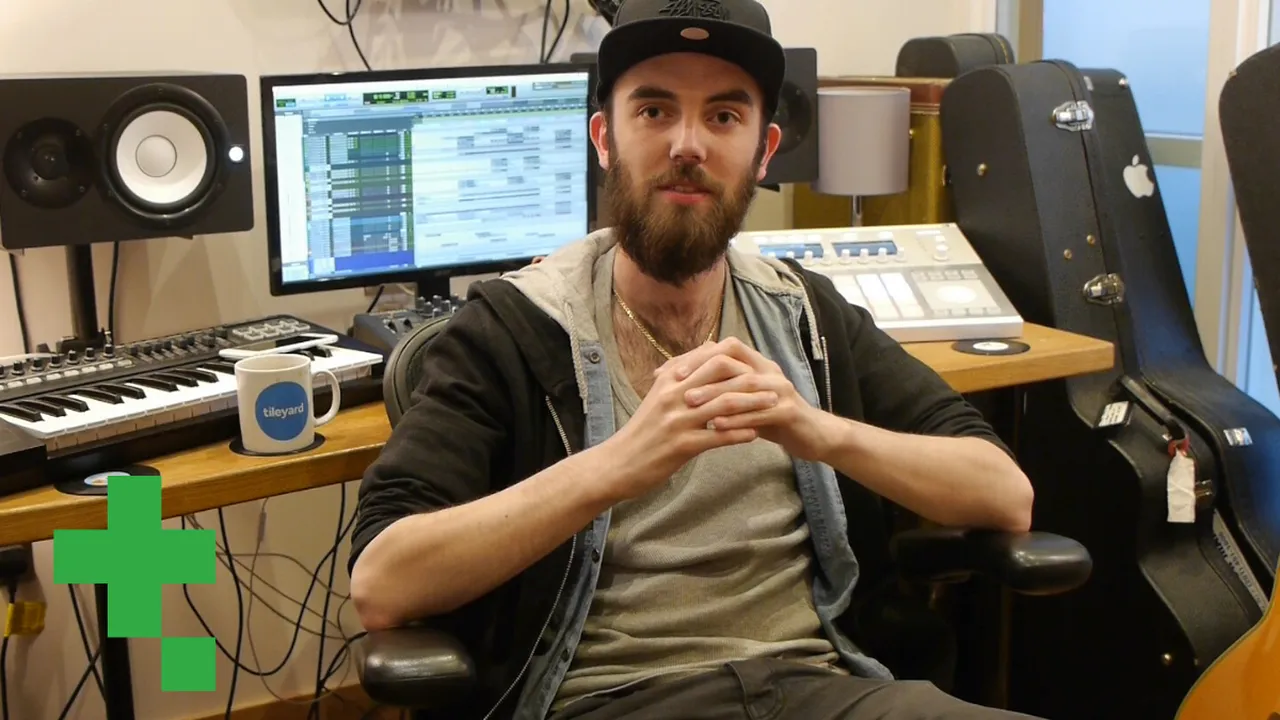
About the instructor
Paul Whalley ist Multiinstrumentalist, Produzent und Songwriter mit einem bewusst breiten Sound. Er verbrachte Jahre als Tour-Session-Musiker mit Künstlern wie Mumford & Sons und Ellie Goulding auf der Straße. Klassisch ausgebildet, besitzt er einen Bachelor in instrumentaler Interpretation und einen Master in Komposition der Guildhall School of Music. Seit er vom Touren in die Produktion und das Songwriting gewechselt ist, hat er mit Künstlern wie NAO, Wretch 32 und Nina Nesbitt gearbeitet und auf Top-40-Platten weltweit gespielt, darunter Little Mix' 'Shout Out to My Ex'. Er ist in den Tileyard Studios im Norden Londons ansässig, wo er für große britische Labels schreibt und produziert und neue Künstler aufbaut. Auf MusicGurus zerlegen er und Emmi Green einen Pop-Song von Grund auf – jede Arrangement- und Produktionsentscheidung offengelegt – für Songwriter und Produzenten, die hören wollen, wie Hits wirklich gebaut werden. read more