



Alchemy-Signalfluss und Effekte
Mit
Dov Waterman
Das steckt im Kurs
14 Lektionen (1h 19m) · 1 gratis
01. Einführung in Rhythmus- und Beat-Programmierung
1:18
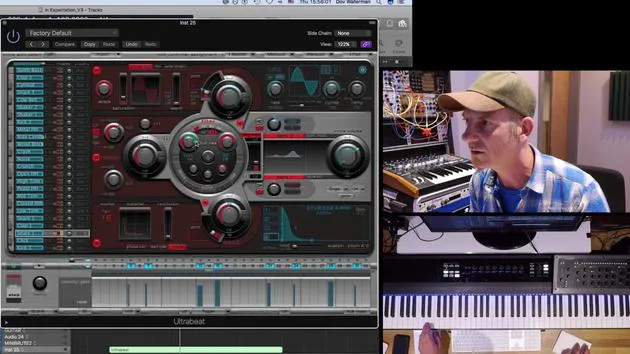
02. Einführung in Ultrabeat
7:56
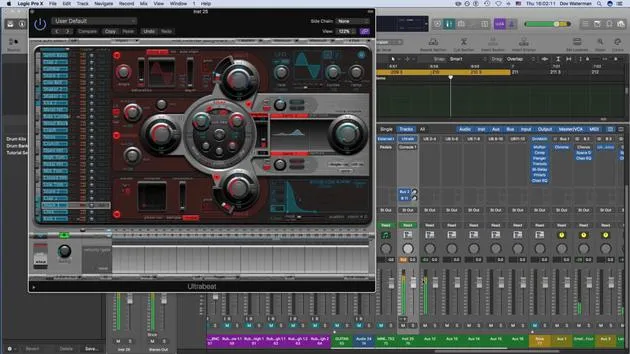
03. Ultrabeat als Multi-Output-Instrument
5:53
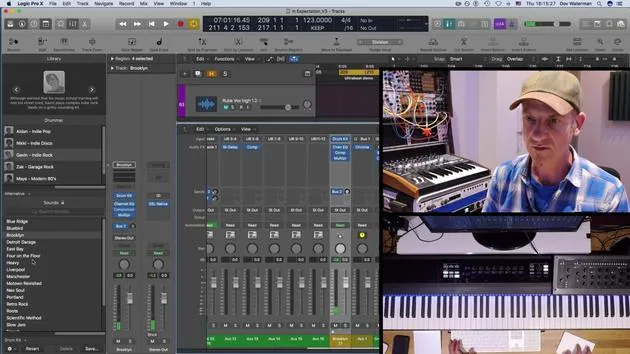
04. Einführung in Virtual Drummer
9:27
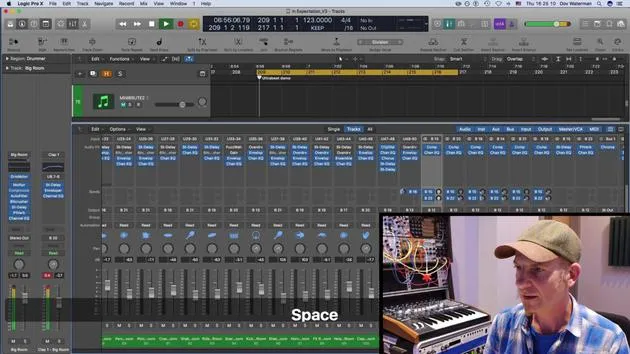
05. Virtual Drummer - fortgeschrittene Effekte und Layering
11:18
06. Einführung in Apple Loops
4:40
07. AUFGABE: Drum Machine Designer
1:07
Transkript der Lektion
Music Lesson: Understanding Signal Flow in Synthesizers
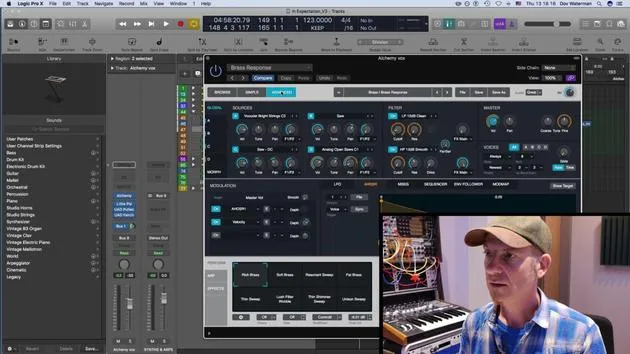
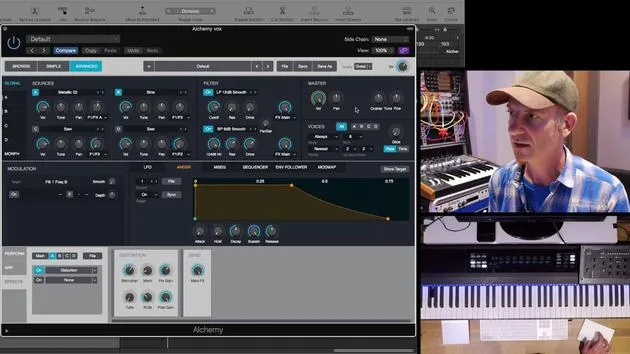
Welcome to our music lesson! Today, we will explore the signal flow of synthesizers, focusing primarily on the Alchemy synthesizer.
Overview of Signal Flow
The signal flow in Alchemy is quite similar to most other subtractive and additive synthesizers. Here's a breakdown of the components involved:
- Sources:
- A
- B
- C
- D
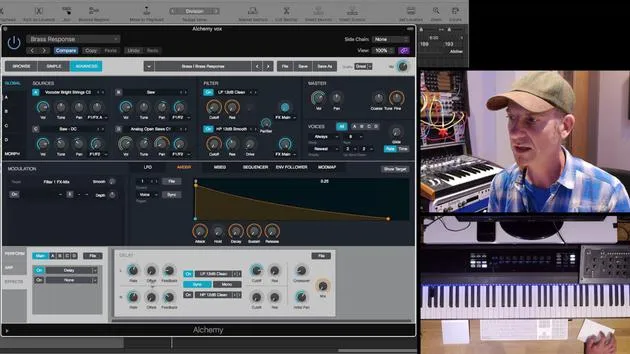
Alchemy allows you to have four different sources running together, visible in the global section. You can highlight each source individually (Source 1, Source 2, Source 3, and Source 4).
Initial Setup
For now, let's close three sources and only work with Source A.
Before diving deeper into each source, it's essential to understand that the signal flow for each synthesizer source is relatively the same:
- Volume & Tune: Basic adjustments for your sound.
- General Modulation Sources: For added dynamism in your sound.
- Filter Send: This sends your source to the filter section (Filter 1 or Filter 2).
Filters Overview
- F1: Left
- F2: Right
- If you want to send your sound to both filters, use the drop-down menu to choose your desired routing.
Effects Section
The effects section is located below the filters. Depending on your selection, here's how to direct your sound:
- Effects A: Click on any of the effects options to apply it to Effect A.
When your sound source goes through the filter section, it sends outputs to the effects, leading to the master output.
Exploring Sounds
Let's delve into the sounds available:
- From the global section, you can select different sounds or choose a specific one.
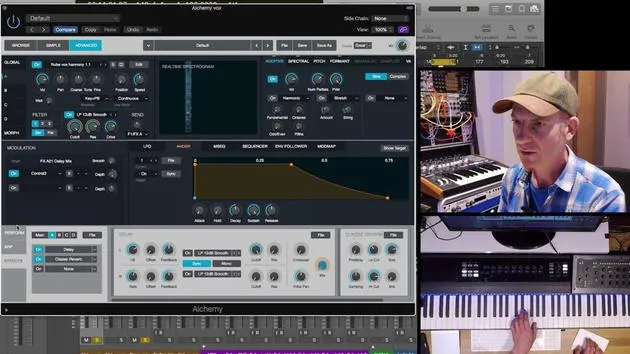
- You can load a Virtual Analog (VA) oscillator to start creating a new patch.
Initializing a New Patch
- Initialize Preset: Start fresh by closing unnecessary effects.
- Loading a VA is straightforward; you can select from basic and complex wave forms (e.g., classic wave table synthesis, sine, square, etc.).
Creating Sound
Let's pull up a wavetable sound:
- Effects Routing: It's currently sending to Effect 1. Adjust the center to route to both effects.
Setting Up the Filter
-
Filter Selection:
- Set Filter 1 to a low-pass filter (12dB).
- Set Filter 2 to a high-pass sharp filter.
- Alternatively, switch to a band-pass filter for experimentation.
-
Drive & Resonance:
- Adjust the drive and resonance for deeper sound shaping.
Layering Sounds
Let's explore what happens when we bring in another sound source:
- Open Source B and configure:
- Initially, set it to send to Filter 1.
As both Source A and Source B can send to effects simultaneously, you have multiple layers of sound processing.
Filter Options
Within the filter section for Source B, you have:
- Three Different Filters:
- Low Pass
- Band Pass
- High Pass
- Additional tube-like and formant-type filters add further complexity to your sound design.
Conclusion
As you can see, very quickly, you can create highly complex sounds by manipulating these individual sound sources, filters, and effects. Instead of pulling up another sound from the browser, let's continue exploring and refining the sounds we have.
Happy synthesizing!
14 Lektionen
1 Std. 19 Min. strukturierte Videolektionen
Erweiterte Videofunktionen
Verlangsamen, Passagen loopen, mitlesen
Handy, Tablet & Desktop
Üben, wo du willst
100 % Zufriedenheitsgarantie
30 Tage Geld-zurück-Garantie
Lern deinen Guru kennen
Lern deinen Guru kennen
Dov Waterman ist Komponist, Pianist und Produzent. Er hat für Filme wie After Earth, Terminator Genisys, Transformers: The Last Knight und The Snowman Musik geschrieben und das Sounddesign gestaltet und arbeitet als Audio-Editor für Sample-Bibliotheken und Sounddesigner mit Firmen wie Native Instruments und SonoKinetic.
Seine Reihe Composition in Logic geht den Aufbau eines Tracks von Anfang bis Ende in Logic Pro durch – von Templates und Workflow über Synthese und Beat-Programmierung, MIDI-Effekte, Editing bis zum finalen Mix – für Produzenten, die ihre Ideen in fertige Tracks verwandeln möchten.







