



Beats II - Step Sequencing
With
Madeleine Bloom
What's in the course
16 lessons (3h 6m) · 1 free
Lesson transcript
Recording with the Step Sequencer
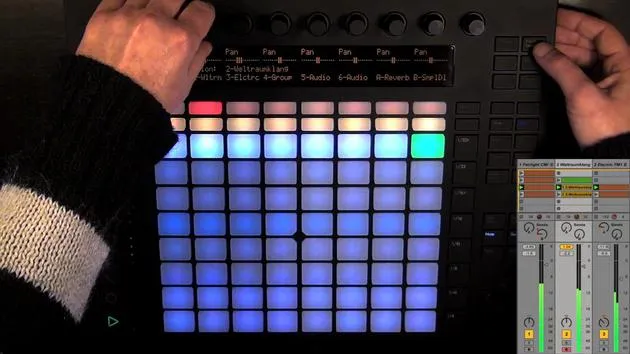
So now it's time to start recording something. We're actually going to start with the step sequencer. As I said, we have a resolution of 1:16 notes. By default, we can change them to whatever we find most convenient, but we'll start with 1:16 now.
Selecting Pads and Adding Steps
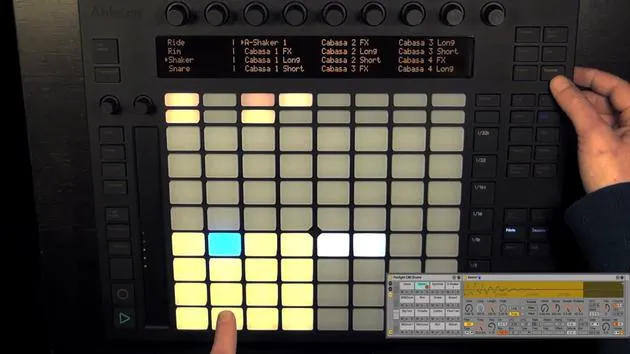
- Choose the Pad: Let's choose the kick.
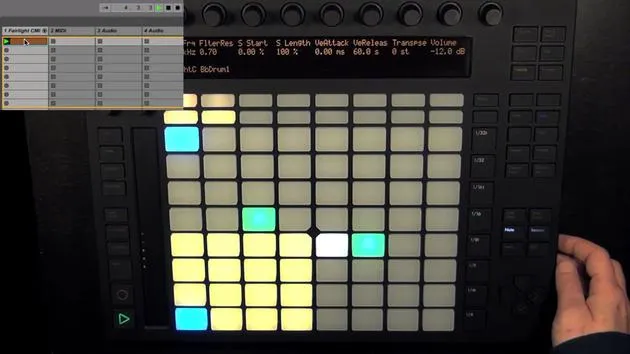
- Playback: As soon as we enter something into the step sequencer, playback starts.
- A clip was created that is two bars long.
- Add Steps: We can add steps, in this case, that can be 16th note steps wherever we like.
Next, let's choose the next sound and add steps again in the step sequencer.
Pressing Pads Silently
- If you want to press a pad without it making a sound, simply:
- Hold, select, and then press the pad.
Changing Sounds and Resolutions
Now we have the shaker selected, and we could change the resolution to fourth notes.
- We can see that the first row is only active for two bars. If we don't like that:
- Delete Steps: Either press the pads again to delete the notes, or hold delete and press the pad to delete all nodes.
Muting Steps
It's also possible to mute individual steps to see if it might sound better:
- Go back to 16th notes.
- Hold mute pressed and then press the steps that you want to mute, allowing you to deactivate them without deleting them.
Visual Indicators
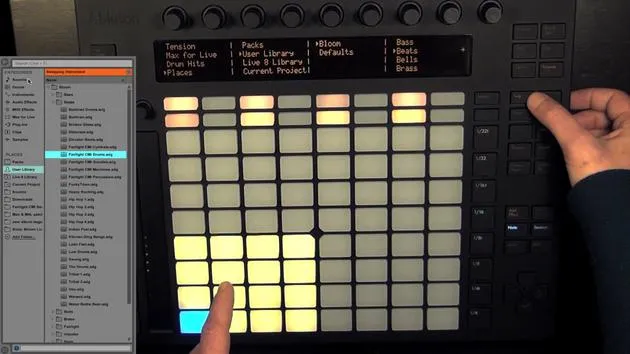
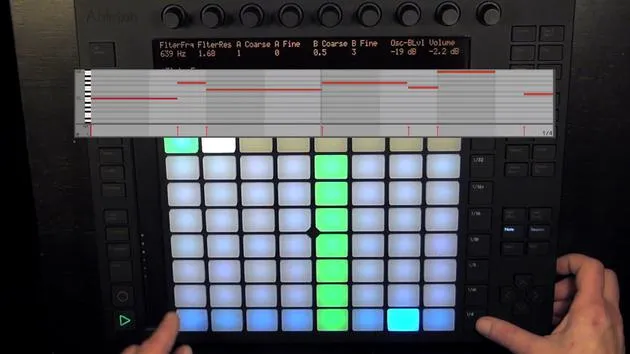
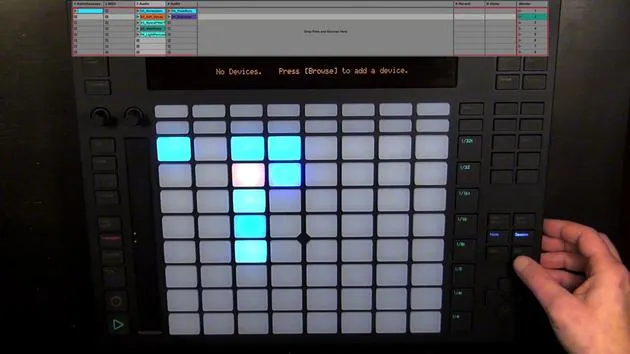
- The playing position is displayed in green.
- If we go into record mode, this turns red, more on that later.
- Steps containing nodes are blue, recorded with default velocity (100).
Adjusting Velocity
Let's choose the kick and change the velocity for certain steps:
- Hold a step to see what settings we can change, such as:
- Notch: Move it forward and backwards.
- Length: Change either coarsely or fine tuning.
- Velocity: Change, for example, to 127.
Alternatively, press the other stack and press accent to set the nodes to full velocity.
Changing Velocity for All Notes of a Pad
- To change the notes of one pad sound:
- Press select and then choose the pad.
- Keep it pressed to change the velocity for all notes of that pad sound.
The lights will indicate the new velocity:
- Higher velocities have darker blues.
Loop Length
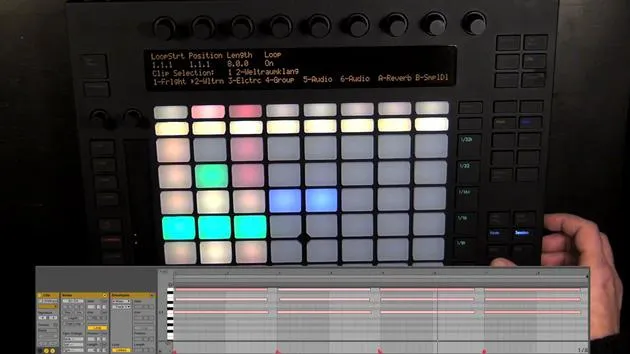
The loop length is automatically set to two bars.
- If I double-tap on one pad, it's set to that page, and the loop length is now one bar.
- Double-tapping the second pad sets the loop to the second bar.
Of course, I could set the loop length to up to 16 bars. If I set it to four bars but see nothing in the second half, we can just:
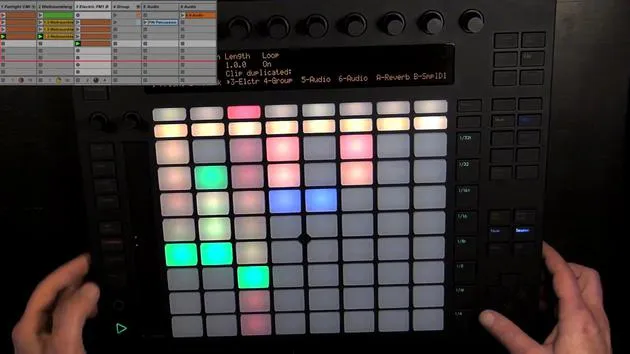
- Press double, and all the notes within the loop will be doubled. Now the loop is four bars long.
Adding Variations
- We can add more variations:
- Press a pad once to not fold the play position anymore, but stay on that page, allowing for the addition of more notes.
Creating Variations in the Beat
- We can add 16 bars and create many different variations.
- Choose certain bars that should play at one time and switch between those.
Visual Indicators for Bar Status
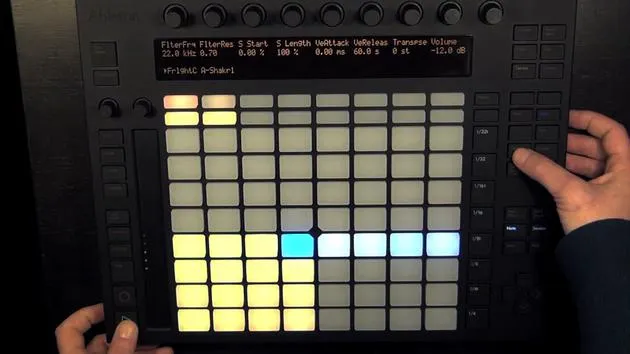
- Dull yellow lights indicate those currently visible but not playing.
- Green shows the page that is currently playing.
- White indicates those not shown in the step sequencer but are within the loop.
- Unlit pads mean they're outside of the loop.
Triplet Resolutions
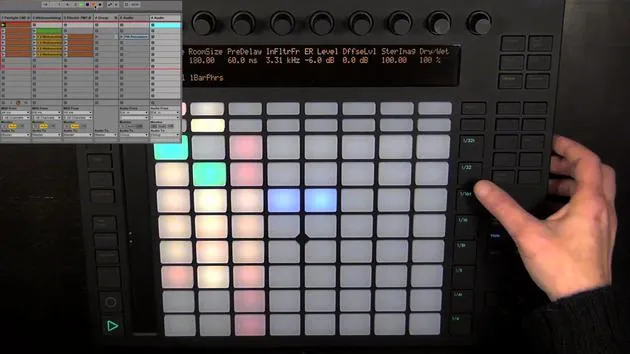
We have a lot of resolutions to choose from, including triplet resolutions.
- You will see dull red lights here, indicating that you can't set any steps there because:
- Triplets only allow for six steps instead of eight, this applies to all triplet resolutions.
16 lessons
3h 6m of structured video lessons
Advanced video features
Slow down, loop a passage, follow along
Mobile, tablet & desktop
Practise wherever you are
100% satisfaction guarantee
30-day money-back guarantee
Meet your guru
Meet your guru
Madeleine Bloom is a classically trained musician, producer, multi-instrumentalist and singer from Berlin, and founder of the label Quixotica Records. She studied electroacoustic music at the Franz Liszt Conservatory under Prof. Robin Minard, and brings those methods to her own blend of electronica pop. Her music has earned praise from producers Guy Sigsworth and Rupert Hine, and a personal invitation from Imogen Heap, whose tour she opened.
A former Ableton technical support agent, she founded the online platform Sonic Bloom in 2012, where she teaches Ableton Live and music production through courses, workshops and one-to-one classes. She has helped people around the world with Ableton Live, Push and Max for Live, as well as audio engineering, music theory, composition and sound design.







