



Ableton Push Overview
With
Madeleine BloomMadeleine Bloom gives a tour of the Ableton Push hardware - getting it connected, and what the Play, Record and other key buttons do.
What's in the course
16 lessons (3h 6m) · 1 free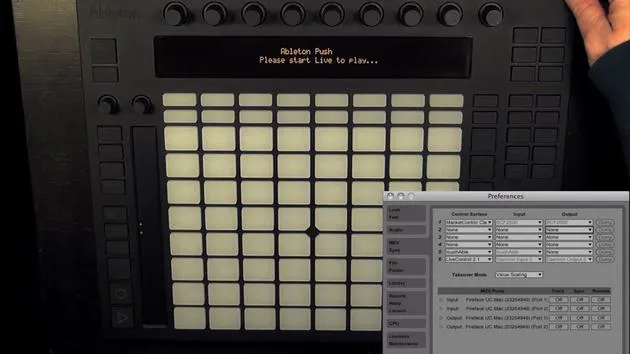
Lesson transcript
Ableton Push Setup and Overview
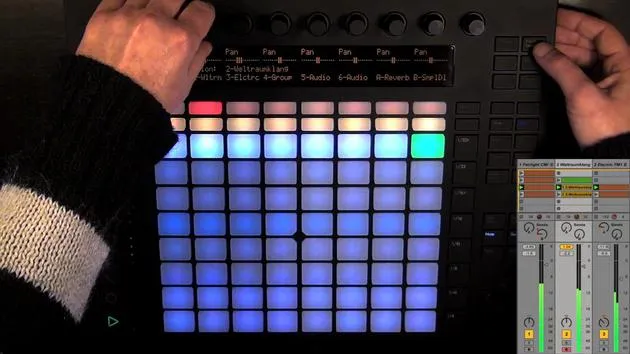
Okay, let's go through the setup of Ableton Push real quickly. It's actually really simple:
- Connect the USB Cable
- On one side to Push.
- On the other side to your computer.
- Start Live and then turn on Push.
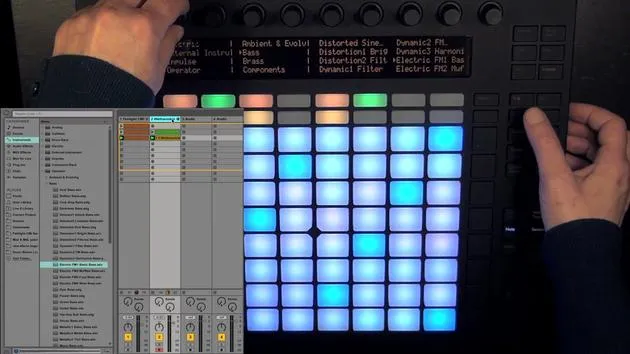
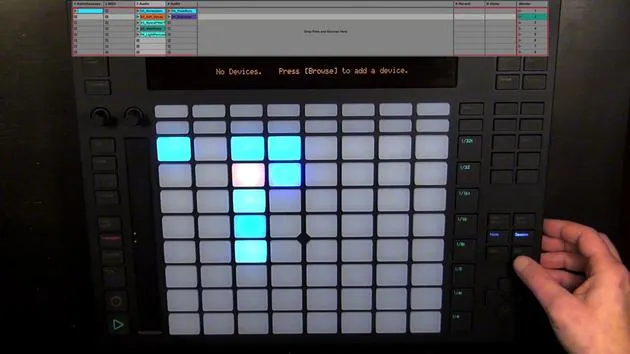
As you can see in the Live Preferences, MIDI sync Push is getting configured all by itself. You don't have to do anything except when you want to use the user mode, and we're going to get to that later on. It's really just plug and play.
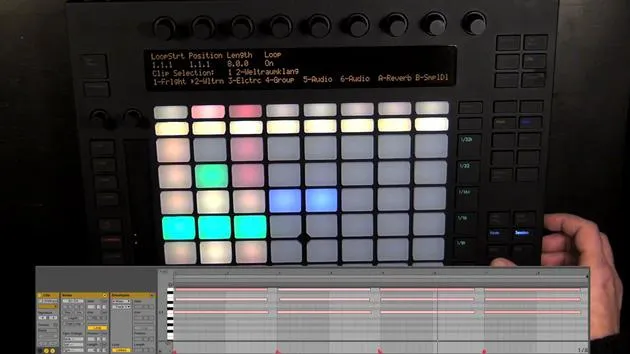
Overview of Everything on Push
First, we've got Play, which is connected to Play in Live. When I press it, you see that the Transported Live starts with 1, 1, 1. Press it again, and playback stops.
Record Button
Next up, we have the Record button, which is connected to session record in Live. We don't have anything for global record on Push, so it simply toggles session record between on and off.
- Automatically records a clip in the first track (the one that's selected and armed).
- Triggers playback right away.
New Take Button
The next button is new and is to prepare a new take. It's connected to the new button in Live as well.
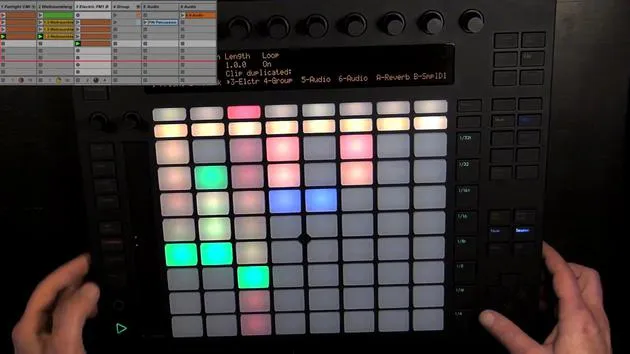
Duplicate Button
Here we have Duplicate, which duplicates either the scene or just a clip, depending on the workflow we set.
Automation Record
We have the Automation Record button, which is red. With it, we can record automation, and it can be toggled on and off.
Fixed Length
Then we have Fixed Length. When we enable that, we can simply record and don't have to press session record again. By default, that's two bars.
- It will automatically stop recording after the fixed length we've set.
Transport Section
So that's it for the transport section. Now, in the edit section:
- Quantize - To quantize clips.
- Double - Don't confuse it with Duplicate. This duplicates the content within the loop (all the MIDI notes within the loop braces) and doubles the loop itself.
- Delete Button - Deletes all kinds of things, and we'll get to that in detail later.
- Undo Button - Directly connected to the undo function in Live. You can undo anything done in Live, even via mouse or keyboard.
- To redo something, hold Shift and press Undo; the last action is redone.
Tempo Section
Up here, we have the Tempo Section.
- The left encoder controls the tempo in increments of 1 BPM.
- Hold Shift for smaller increments (0.1 BPM).
- The right encoder sets the swing amount (0-100%). This works like grooves in Live and is used for quantization.
Metronome and Tap Tempo
Here we have the Metronome button to turn on/off the metronome in Live, and the Tap Tempo, which is connected to the tap tempo in Live.
- If we have a time signature of 4x4, we press it four times, and playback will start with the tempo we've tapped.
Performance Section (PET)
This is one of the most used parts, looking differently based on the mode we're in.
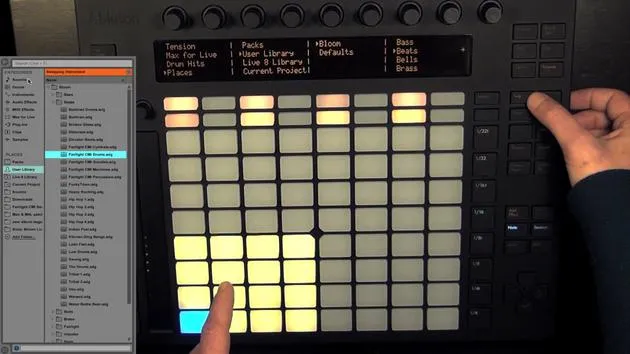
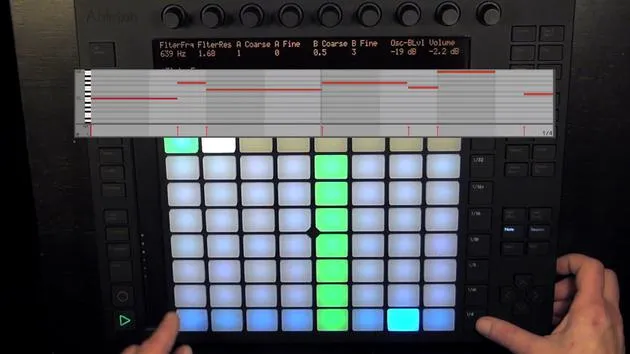
- In Note Mode: Either a key layout, melodic step sequencer, or drum layout with a step sequencer (when a drum rack is selected).
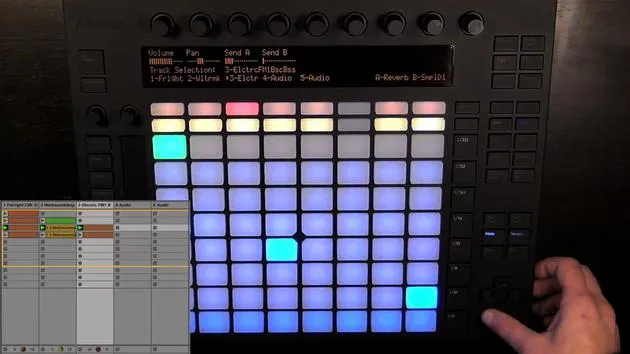
- In Session Mode: Launch clips or scenes from the session view in Live. It's also possible to momentarily toggle between the two modes.
Touch Strip
To the left, we have the Touch Strip.
- When it contains a MIDI instrument, it's mapped to pitch bend.
- Otherwise, it can change the range of the selection (e.g., the next 16 drum pads in a drum rack).
Focus Navigation Section
Next up is the Focus Navigation Section.
- Use the left/right arrow keys to move through tracks (including return tracks and master).
- Up/down arrow keys navigate through scenes differently depending on the mode:
- In note mode, pressing these keys launches the next scene.
- In session mode, use them to move focus on tracks and scenes.
Adding Effects and Tracks
We have Add Effect and Add Track:
- Add Effect: Audio and MIDI effects.
- Add Track: Add MIDI tracks, audio tracks, or return tracks.
Shift Functionality
Shift can change the functionality of other buttons. Next to it is Select, which can select different things.
Octave Controls
Then we have Octave Down and Octave Up. In note mode, they go up or down octaves or select different drum pads.
Repeat Function
Repeat: A simple note repeat. Hold it down or enable it, and whatever you play will be repeated according to the chosen resolution.
Scene Grid Section
In the Scene Grid Section, we have Accent:
- When enabled, all played or step-sequenced notes become full velocity (127).
Scales and User Button
Next is the Scales button, which lets us choose the scale played on the pads (only for tracks with MIDI instruments).
- The User Button enables user mode for manual mappings on Push.
Track Controls
Up here, we have Volume, Pan, Sends, Track, and Clip controls:
- Volume: Control the volume of the eight selected tracks with the encoders.
- Pan: Adjust the panning for the selected tracks.
- Track: Adjust volume, panning, and the first six sends of the selected track.
- Clip: Access clip settings for the selected clip.
Device and Browse
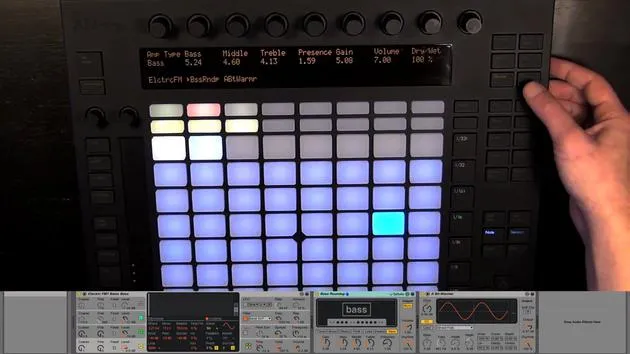
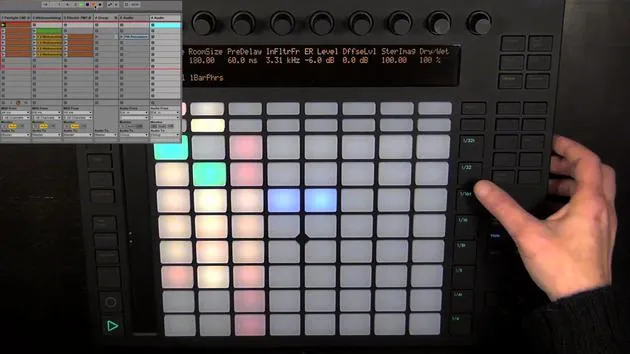
With Device, access device parameters (MIDI instruments or effects), and Browse leads to the browser, useful for accessing device parameters or different banks.
Stop, Mute, and Solo
Next, we have a row of buttons:
- Stop: Stop clips (individual or all).
- Mute: Mute tracks, clips, or notes.
- Solo: Solo anything that can be soloed.
The top row of pads can select tracks or devices, while the second row changes the state of something (stop clips, mute, solo tracks, deactivate devices).
Additional Features
Of course, you can also connect Push to a power source with a cable (included) to make the pads brighter.
Last but not least, you have two ports on the back of Push to connect foot switches:
- The first is for a sustain pedal to sustain MIDI instruments.
- The second allows hands-free recording: tap the footswitch to toggle the record button on/off. A quick double tap functions as the new button.
16 lessons
3h 6m of structured video lessons
Advanced video features
Slow down, loop a passage, follow along
Mobile, tablet & desktop
Practise wherever you are
100% satisfaction guarantee
30-day money-back guarantee
Meet your guru
Meet your guru
Madeleine Bloom is a classically trained musician, producer, multi-instrumentalist and singer from Berlin, and founder of the label Quixotica Records. She studied electroacoustic music at the Franz Liszt Conservatory under Prof. Robin Minard, and brings those methods to her own blend of electronica pop. Her music has earned praise from producers Guy Sigsworth and Rupert Hine, and a personal invitation from Imogen Heap, whose tour she opened.
A former Ableton technical support agent, she founded the online platform Sonic Bloom in 2012, where she teaches Ableton Live and music production through courses, workshops and one-to-one classes. She has helped people around the world with Ableton Live, Push and Max for Live, as well as audio engineering, music theory, composition and sound design.







