



Automation
Mit
Aamir YaqubAutomatisiere jeden Parameter in Logic Pro - Lautstärke, Panorama oder eine Plugin-Steuerung -, damit sich ein Klang mit der Zeit entwickelt. Aamir Yaqub zeigt, wie man das aufnimmt und bearbeitet.
Das steckt im Kurs
12 Lektionen (0h 56m) · 1 gratis
Transkript der Lektion
Enhancing Your Tracks with Automation
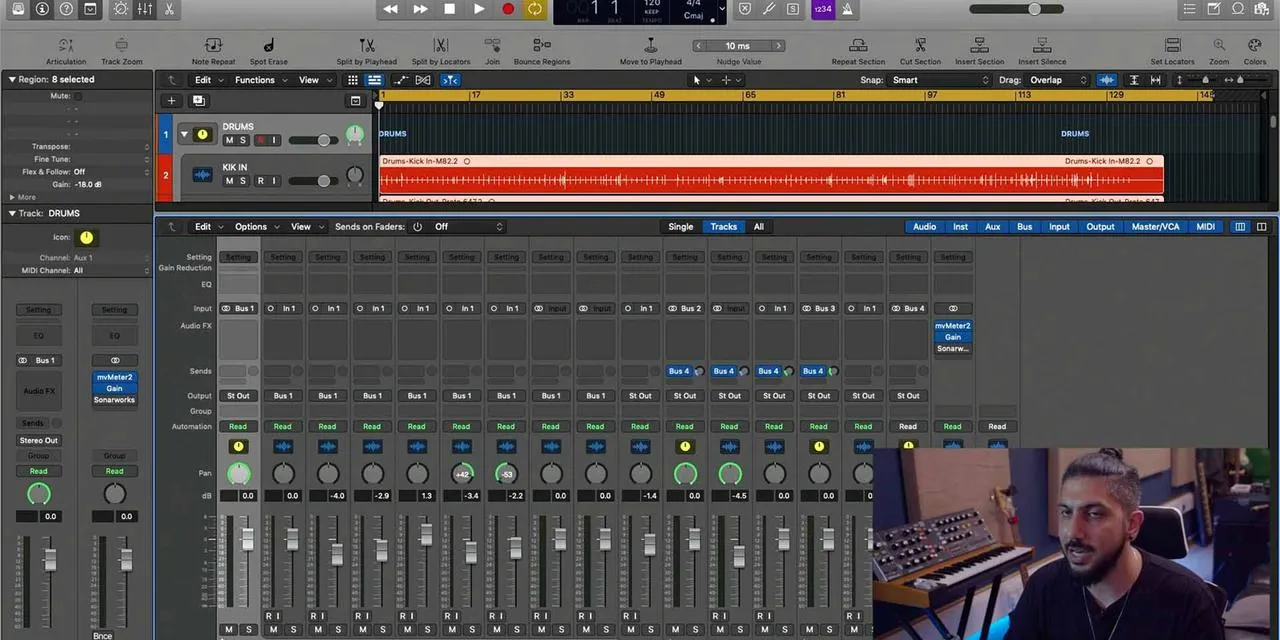
One of the things that will really help to finish off your tracks is something called automation. Automation is where we can take any parameter of any sound, whether that's an audio sound or a software instrument sound, and we can adjust it to the point where we help that sound to evolve over time.
Understanding Automation Parameters
The parameters that you can adjust can be simple, like:
- Volume
- Panning
They can also be more complex, like the parameters of any plugin.
Getting Started with Automation
To begin working with automation:
-
Go to Automation View:
- Press A to show or hide any automation that is on the track.
- You will be presented with a new way of looking at the workspace.
-
Adjusting Volume:
- If I wanted to adjust the volume of a track to make it rise over time, I'd look for the faint yellow line, double click on it, and create what are called automation nodes.
- Now, this sound will rise in volume over time.
-
Verify Changes:
- You can double check the volume change by looking at the fader on the left-hand side.
Curving Automation
You can curve the automation like we did with our fades by:
- Selecting the automation curve tool
- Creating a curve that goes upwards or downwards, or even an S curve.
- Remember to check that tool out when you're working with automation.
Experimenting with Other Parameters
To explore different parameters:
- Click on the dropdown to see the various options.
- For example, if I want to work with Main and select Pan Absolute, I can change the panning as needed.
Note: If you want to revert changes or keep something at its previous state, you need to create nodes around where you're trying to have your automation.
Working with Remix Effects
What if I wanted to work with another parameter? Let's explore our Remix Effects.
-
Select Filter Cutoff:
- I will set this to a nice, easy parameter. Currently, it's doing nothing, but I want to show you how to use automation mode.
-
Choose Touch Mode:
- Now, as I press play and start moving around in my remix effects, watch what happens.
- This movement will now be written in as automation.
-
Switch Back to Read Mode:
- After writing automation in touch mode, go back to read mode.
- You'll see the automation points for cutoff and resonance.
Exploring Automation Modes
- Touch Mode: When you touch a parameter, moving it captures the data, but once you release it, it goes back to its initial state.
- Latch Mode: Moving a parameter means it latches onto that state ? it will hold that setting until you change it again.
Final Adjustments
- If I'm not happy with my panning data (for instance, I wouldn't pan my bass), I can easily click, hold, and drag to delete that automation.
Now, I have something with much more movement than before.
Conclusion
Automation is a powerful tool that adds depth and interest to your tracks, allowing you to create new sounds from what you have in your production.
I always use automation on practically everything, it's that effective!
12 Lektionen
0 Std. 56 Min. strukturierte Videolektionen
Erweiterte Videofunktionen
Verlangsamen, Passagen loopen, mitlesen
Handy, Tablet & Desktop
Üben, wo du willst
100 % Zufriedenheitsgarantie
30 Tage Geld-zurück-Garantie
Lern deinen Guru kennen
Lern deinen Guru kennen
Aamir Yaqub ist ein in London ansässiger Musikproduzent und Toningenieur. Er hat mit einigen der größten Namen der Musik gearbeitet, darunter Alicia Keys, David Guetta, Rihanna, Sia und will.i.am, und fördert außerdem unabhängige Künstler.
In seinen Kursen vermittelt er seinen kompletten Logic-Pro-Workflow – von der Oberfläche und dem Aufnehmen über Beatmaking, Synthese und MIDI-Effekte bis zum Mixing und Finalisieren eines Tracks.







