



Comment faire le bounce de ton morceau
Avec
Aamir YaqubAamir Yaqub montre comment faire le bounce, ou exporter, ton morceau terminé dans Logic Pro, en choisissant entre un WAV de haute qualité et un MP3 à 320 pour partager ta chanson.
Le contenu du cours
12 leçons (0h 56min) · 1 gratuites
Transcription de la leçon
How to Bounce Your Track
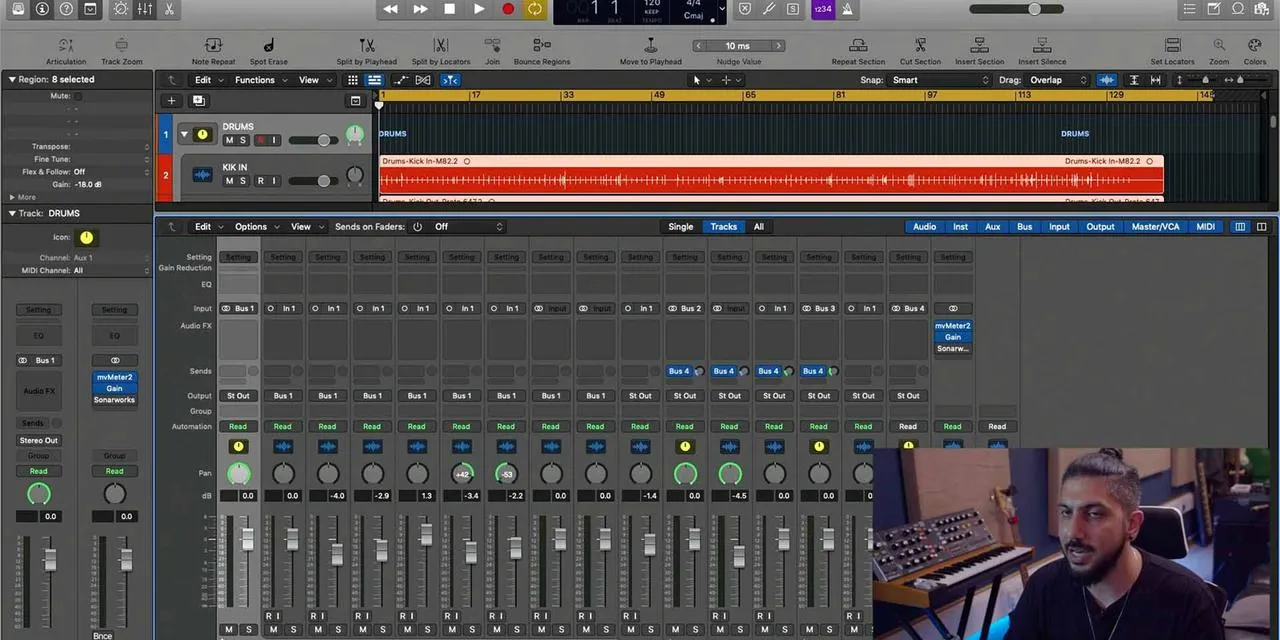
Once you've created, arranged, and finalized your track, it's essential to know how to bounce or share it, essentially making it a file you can send to someone, like your mum, who you want to hear your new song! Here's how to do it:
Steps to Bounce Your Track
-
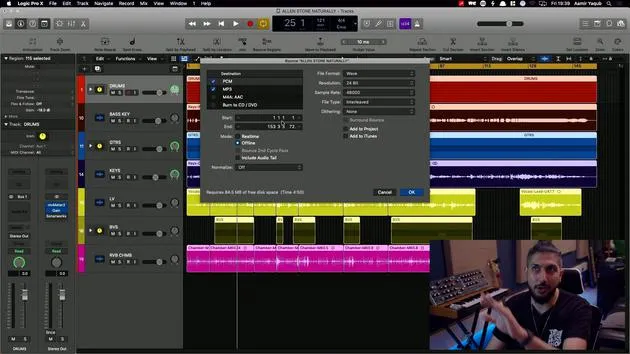
Navigate to Bounce:
- Go to File.
- Select Bounce.
- The shortcut for this action is Command + B.
-
Understand Bouncing:
- Bouncing is exporting a file of your mix, song, production, or demo.
- You will encounter several options during this process.
-
Choose Your Format:
- On the left side, PCM provides high-quality formats.
- This format is ideal for sending to a mastering engineer or when you want the best sound quality.
- The default format is WAV, which is readable on both Mac and PC.
- You can also bounce an MP3 version at the same time.
- An MP3 with a bitrate of 320 is the highest quality and easy to send over email.
- On the left side, PCM provides high-quality formats.
-
Define the Start and End Time:
- Typically, this will be the start and end of your session. However, if there's extra space at the end, you might want to exclude it.
- My preferred method:
- Use Command + A to select everything.
- Use Command + U to set the cycle range.
- Use Command + B to return to the bounce dialog.
-
Select Bounce Mode:
- You have two modes to choose from: Real Time or Offline.
- Offline is recommended, especially if you're not using any external hardware, it's quicker and bounces straight to your disk.
- Real Time is necessary if you need to pass audio through hardware.
- You have two modes to choose from: Real Time or Offline.
-
Additional Settings:
- Generally, keep Normalize off.
- You can choose to include the audio tail if preferred.
- You can add the bounce file back to your project or to iTunes, or both.
-
Naming and Saving Your File:
- After setting everything up, you'll be prompted to name your file and choose where to save it.
- For example, you might call it "My Mix of My Great Song".
Conclusion
That's how you take your production, whether it's your final mix or a demo of just your vocals and guitar, and bounce it to share with others!
12 leçons
0h 56m de leçons vidéo structurées
Fonctions vidéo avancées
Ralentissez, bouclez un passage, suivez la partition
Mobile, tablette et ordinateur
Pratiquez où vous voulez
Satisfaction garantie à 100 %
Garantie remboursement 30 jours
Rencontrez votre guru
Rencontrez votre guru
Aamir Yaqub est un producteur et ingénieur du son basé à Londres. Il a travaillé avec certains des plus grands noms de la musique, dont Alicia Keys, David Guetta, Rihanna, Sia et will.i.am, tout en développant des artistes indépendants.
Au fil de ses cours, il enseigne l'intégralité de son flux de travail sur Logic Pro : de l'interface et de l'enregistrement à la création de beats, la synthèse et les effets MIDI, jusqu'au mixage et à la finalisation d'un morceau.







