



Configurer un bus de reverb avec un send

Avec
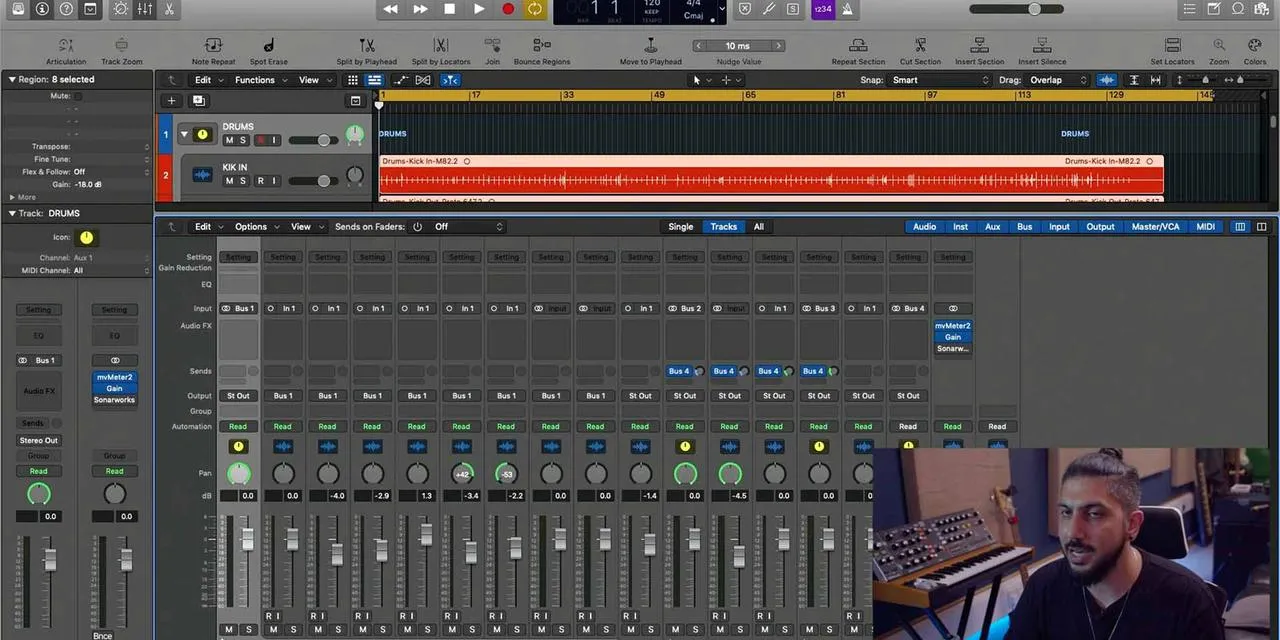
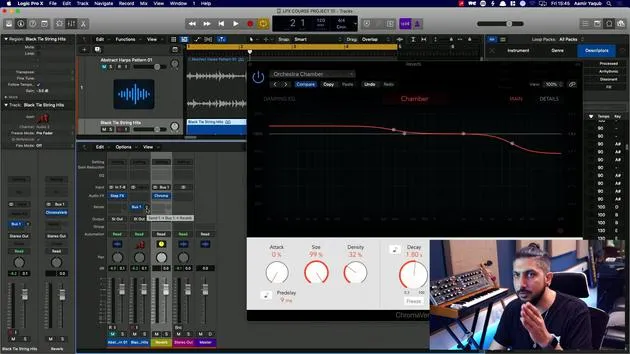
Aamir YaqubAamir Yaqub montre comment configurer une reverb sur un send dans Logic Pro, en routant les pistes vers un aux ChromaVerb pour mieux contrôler le son et alléger la charge CPU.
Le contenu du cours
16 leçons (1h 33min) · 1 gratuites
01. Bienvenue dans les effets audio
Leçon gratuite0:46
02. Effets audio
3:00
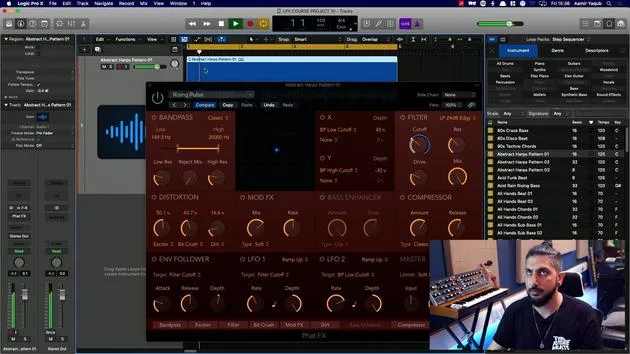
03. Utilisation des Multi Effects - Phat FX et Step FX
5:11
04. Configurer un bus de reverb avec un send
Tu es ici3:58
05. Utiliser les reverbs dans Logic Pro
3:27
06. Utiliser les delays dans Logic Pro
8:02
07. Plugins de distorsion
6:35
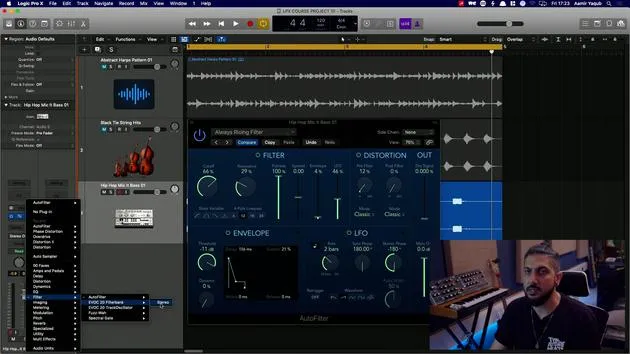
08. Plugins de filtre
5:35

09. Conclusion sur la distorsion et les filtres
0:30
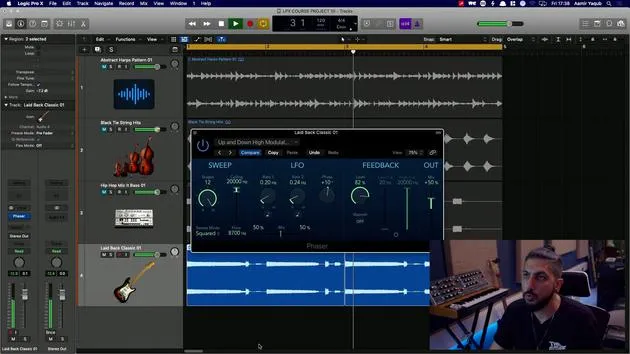
10. Plugins de modulation
12:54
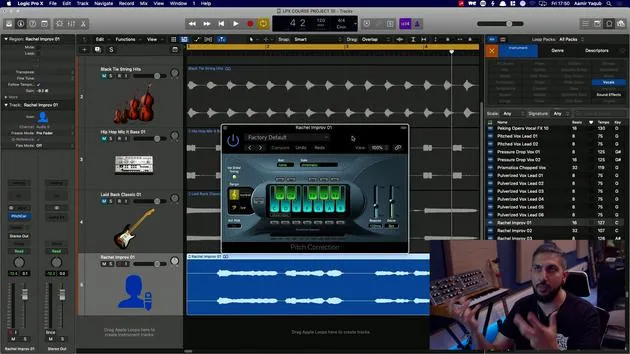
11. Plugins de pitch
6:50

12. Conclusion sur la modulation et le pitch
1:03
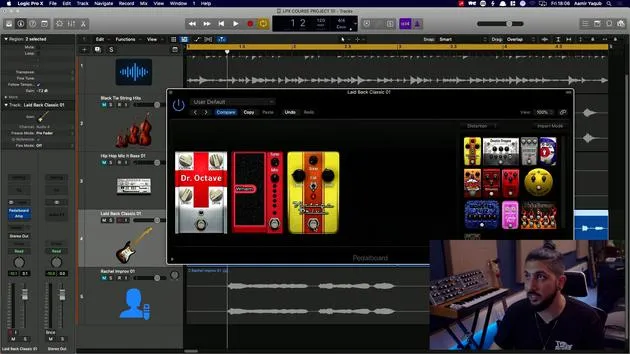
13. Amplis et effets de pédale
10:38
14. Effets spécialisés
5:49
15. EQ (égaliseurs)
7:18
16. Dynamique et compression
11:43
Transcription de la leçon
Understanding Reverb Effects in Logic
Introduction to Reverb Effects
So let's start by looking at reverb effects that are available to you in Logic. One important aspect of reverb effects is that if you add them directly to a track, you actually have less control over the sound of the reverb. This is crucial, especially when mixing and trying to tie instruments together.
Sending Reverb via a Send
- To achieve better control, you want to send your reverb via a send.
- This feature is found in the channel strip under the audio effects.
Setting Up a Reverb on a Send
-
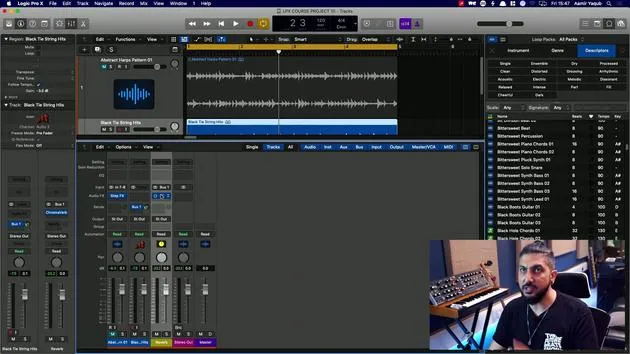
Open the Mixer View:
- This helps visualize the setup.
- You can see your audio track and the auxiliary track feeding in from bus one.
-
Create the Reverb Track:
- Rename the auxiliary track to Reverb.
- Insert a reverb effect at the beginning of the audio effects chain.
- Choose the first available reverb effect, which is ChromaVerb.
-
Sending the Dry Signal to Reverb:
- You need to send some of the dry signal (the original sound) into the reverb.
- This process splits the signal into:
- Dry Signal: Original sound
- Wet Signal: Reverb-affected sound
Benefits of Using a Send
- Independent Control: You can process the dry signal with any audio effects you want.
- CPU Optimization:
- If you had 100 tracks with individual reverbs, your computer might struggle.
- Instead, using a few reverb sends for multiple tracks reduces CPU load.
Enhancing Your Mix
- By sending different instruments to the same reverb, you can tie together the sound better.
- Currently, there is no reverb on the strings.
Selecting a Reverb Preset
- Choose a preset, such as a chamber for an orchestra.
- Adjust the send pot:
- Click and drag up to send an amount of the dry signal into the reverb.
Listening and Adjusting
- You can hear the reverb effect applied now.
- To hear the original signal, simply mute the reverb.
- To listen to the reverb by itself, press solo on the reverb track.
- You can adjust the balance or amount of reverb using either the reverb track fader or the send pot.
Conclusion
That's how you would set up a send, particularly for a reverb and for a delay. This method not only enhances your mixing capabilities but also helps maintain the integrity of your sound!
16 leçons
1h 33m de leçons vidéo structurées
Fonctions vidéo avancées
Ralentissez, bouclez un passage, suivez la partition
Mobile, tablette et ordinateur
Pratiquez où vous voulez
Satisfaction garantie à 100 %
Garantie remboursement 30 jours
Rencontrez votre guru
Rencontrez votre guru
Aamir Yaqub est un producteur et ingénieur du son basé à Londres. Il a travaillé avec certains des plus grands noms de la musique, dont Alicia Keys, David Guetta, Rihanna, Sia et will.i.am, tout en développant des artistes indépendants.
Au fil de ses cours, il enseigne l'intégralité de son flux de travail sur Logic Pro : de l'interface et de l'enregistrement à la création de beats, la synthèse et les effets MIDI, jusqu'au mixage et à la finalisation d'un morceau.







