



Bending de cuerdas
James Barratt desglosa el bending de cuerdas y el bending de dobles cuerdas, una de las técnicas más expresivas que ofrece la guitarra.

Qué incluye el curso
43 lecciones (3h 34m) · 1 gratis
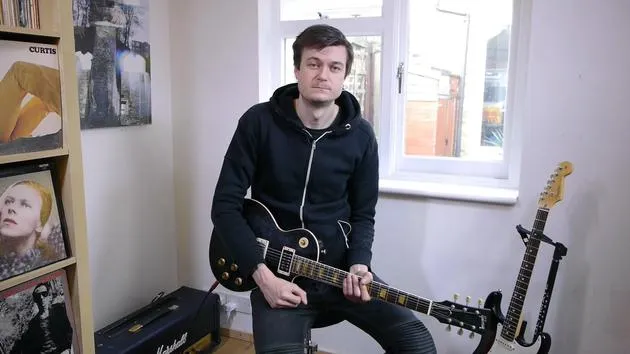
Transcripción de la lección
String Bending Techniques
Alright then, guys. Let's check out some string bending techniques, as well as some double stop bending techniques.
Importance of Bending Technique
It's really important as a guitar player to have a firm grasp on bending technique. This is one of the most common techniques you'll come across, and compared to other instruments, it's unique to stringed instruments like the guitar. On a piano, for instance, you can't achieve that subtle change in pitch like you can on a guitar. It's so expressive, and we're lucky to access those unique sounds.
Practicing String Bending
Let's go through a few things to consider when practicing string bending.
-
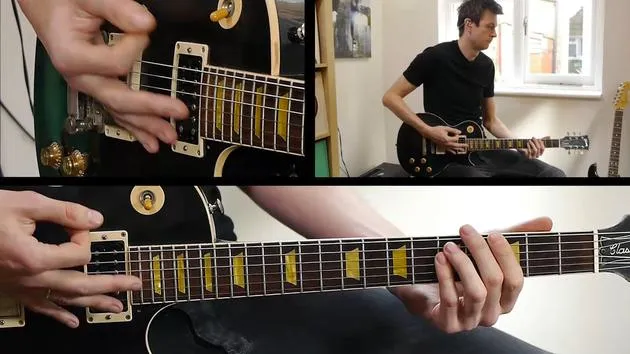
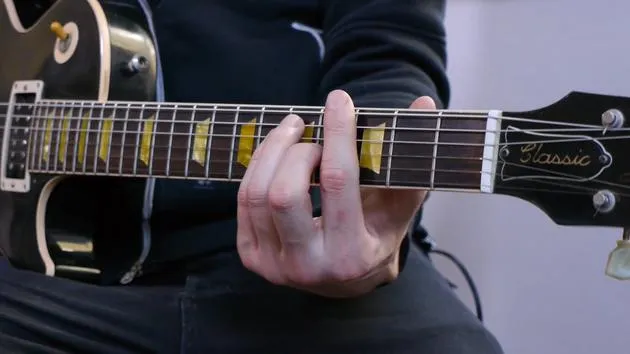
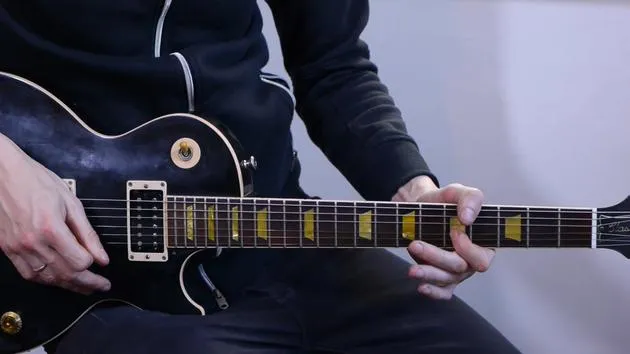
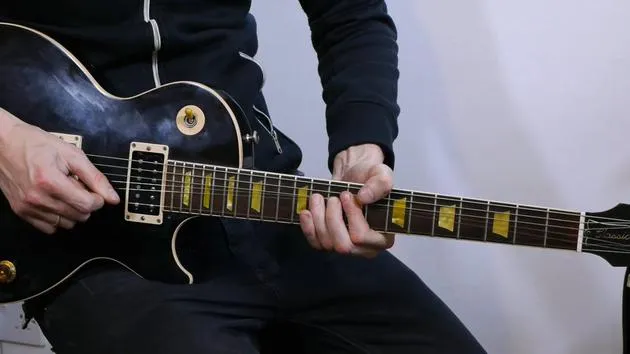
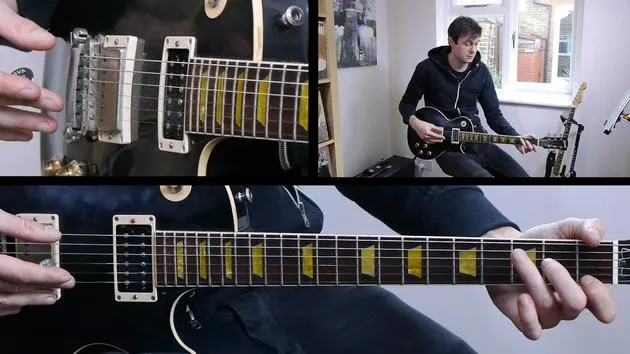
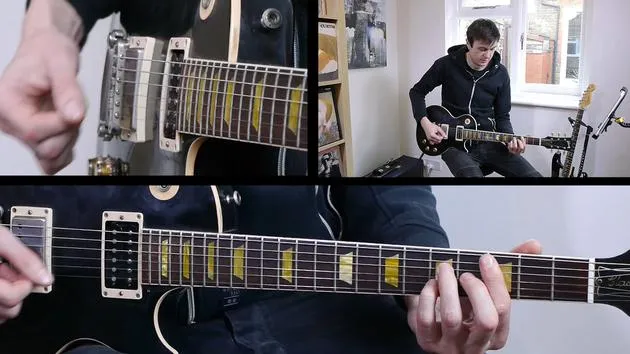
Starting Note: Take the 11th fret on the B string and bend that note up a tone.
- Definition: Bending up a tone means we're bending up the equivalent of two frets or two semitones.
- We're moving from the sound of the 11th fret (B flat) to the 13th fret (C).
-
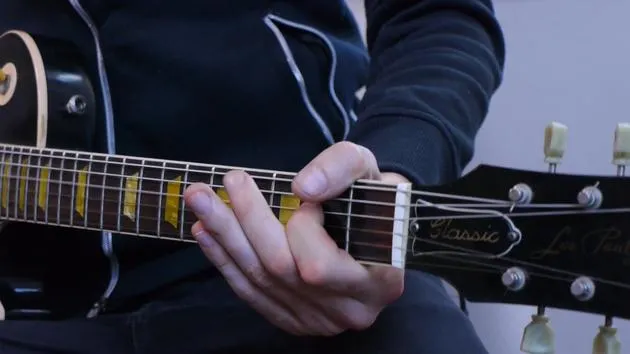
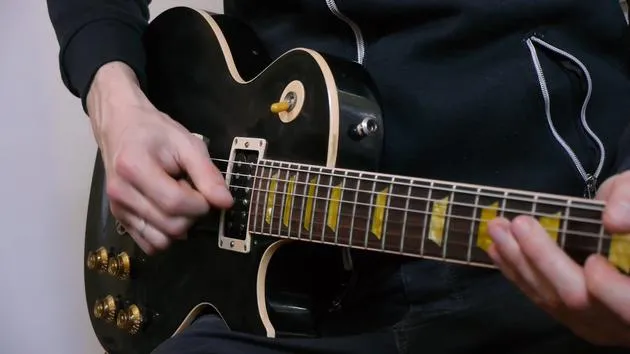
Supporting Fingers: It's crucial to support your leading finger (the one furthest forward on the fret) with at least one other finger.
- For example, I have my third finger on the 11th fret and my second finger on the same string behind it.
- This helps me use the strength of two fingers to move the string.
-
Muting Noise: My first finger is used as a muter, keeping the other strings quiet.
- If I aligned my first finger like the others and used it to help bend the string, open string noise would be an issue when returning to the original pitch.
- By resting my first finger across the strings above, I can bend cleanly without unwanted noise.
Bending Techniques and Finger Use
Bends feel different across the neck of the guitar due to the different thicknesses and gauges of strings.
- Lower vs. Higher Distances:
- Bending near the nut can feel trickier, requiring more effort, while bending higher up can feel free and easy.
- Bending with First Finger:
- First finger bends may not require as much distance to move as those led by other fingers. Notably, players like B.B. King could produce huge bends with just their first finger, sometimes even achieving a tone and a half!
Notation for Bends
Understand the symbols used in notations:
- BU = Bend Up
- BD = Bend Down
- You'll often see a number in brackets next to a bend. This indicates the pitch of the note you're aiming for. For example, fret number 11 written on the B string would have "BU" next and then the number 13 in brackets.
Practice Technique
Here's a practical exercise:
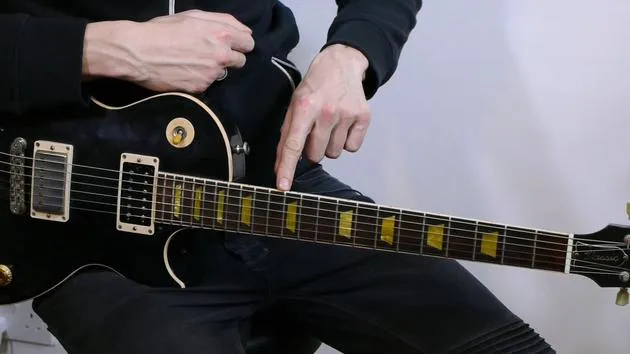
- Target Note Fret: Fret the target note (the 13th fret).
- Prebend the String: Pre-bend the string below and guess where it needs to be.
- This is a good way to learn how much to move the string for achieving the desired pitch.
Double Stop Bending Techniques
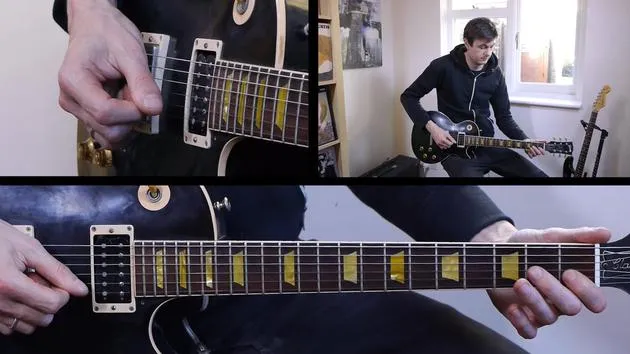
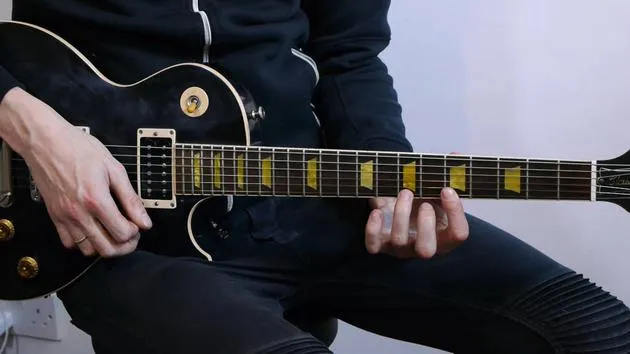
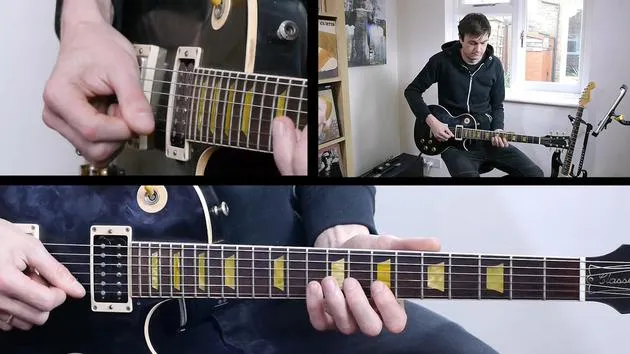
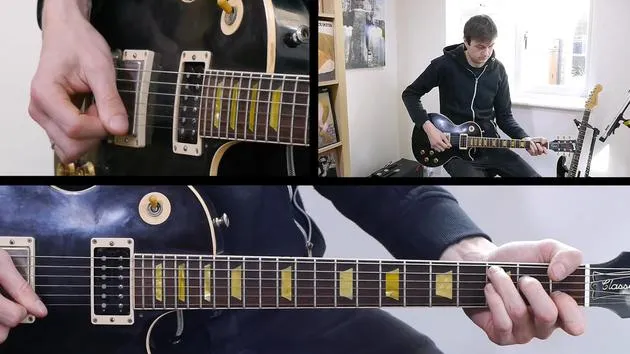
In a blues context, you'll come across double stops, playing two adjacent strings. A common type is perhaps barring with your first finger on the 8th fret on the G and B strings:
- Quarter Tone Bends: Release a little quarter tone bend, just a fraction of a semitone. This small movement can make all the difference in achieving that bluesy sound.
Finger Support in Double Stops
When bending with double stops, remember to support other fingers with at least one supporting finger.
- Up vs. Down Bends:
- Notice that when bending single note strings, I bend up towards the ceiling, but when I bend double stops, I bend down towards the floor.
- Whether you bend up or down depends on your position on the neck.
Conclusion
Controlling your bends is essential for expressive guitar playing. It's one of the most expressive skills you can develop, aside from vibrato. You'll see this technique in countless rock pieces, so experiment, practice hard, and let's move on to the next technique!
43 lecciones
3h 34m de lecciones en vídeo estructuradas
Funciones de vídeo avanzadas
Ralentiza, repite un pasaje, sigue la partitura
Móvil, tablet y ordenador
Practica donde quieras
Garantía de satisfacción 100%
30 días de garantía de devolución







