



Overrated
James Barratt analysiert das Rockschool-Grade-3-Stück Overrated, einen Rocker im Foo-Fighters-Stil, der auf sattem Klang, Akzenten und Palm Muting aufbaut.
Das steckt im Kurs
43 Lektionen (3h 11m) · 1 gratis
01. Einführung in die Ansätze zur Improvisation
1:00
02. Erste Schritte mit der Improvisation
9:22
03. Über Akkordtöne improvisieren
10:18
04. Aufgabe: Akkordtöne finden
4:05
05. Deinen Soli rhythmisches Interesse verleihen
4:11
06. Aufgabe: Improvisieren über einen Akkordwechsel
2:52
07. Challenge: Reiche deine Improvisation ein
0:24
08. Eine Melodie verzieren
5:36
09. Challenge: Reiche deine Melodie ein
0:26
10. Rhythmische Improvisation und Comping
9:55
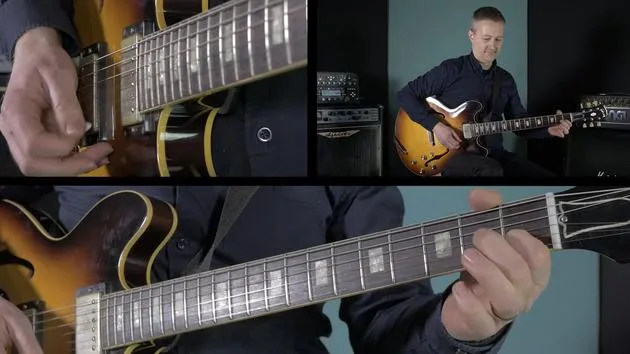
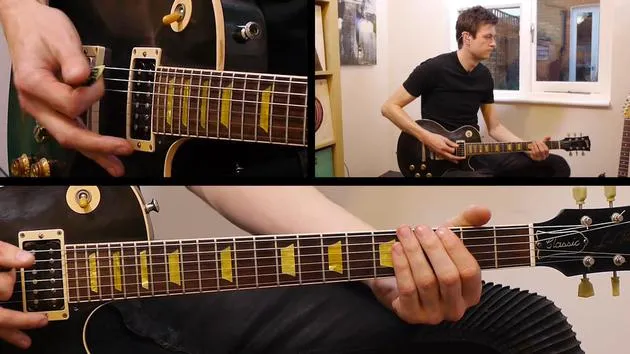
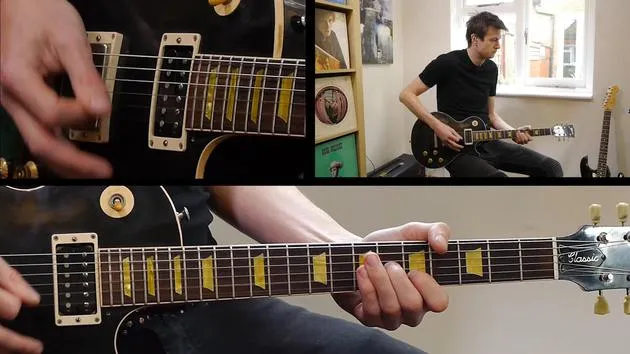
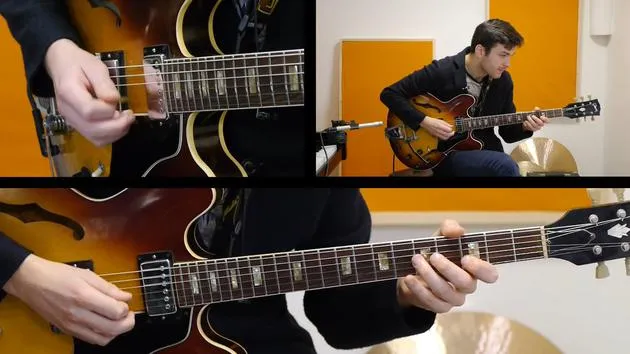

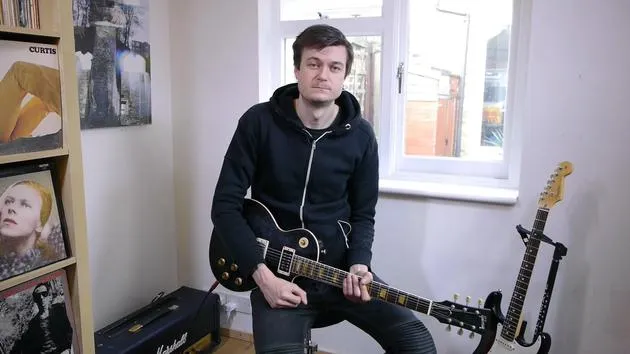
Transkript der Lektion
Grade Three Music Lesson: Overrated
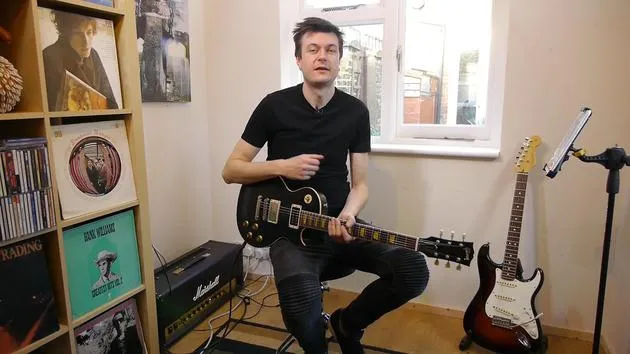
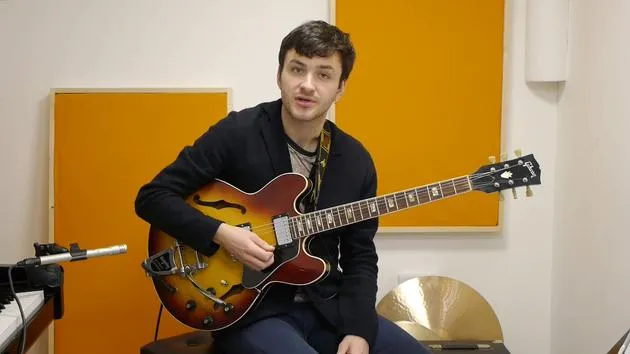
Hey, guys. Right then, grade three. Let's check out Overrated. This is a killer song and definitely one of my favorites at this grade.
Clearly very Foo Fightery, influenced by the Foo Fighters. I absolutely love bands like that; that's my kind of bread and butter playing.
Setting the Tone
Let's kick straight off with the tone. We want something that's pretty heavily saturated in gain. You know, just really rocking, basically.
- Get your overdrive on.
- Increase your gain, but not all the way to 10, because that'll just be too much.
Use your ears and just make sure you get a nice, thick, crunchy tone. That's what we love!
A Section: Stylistic Techniques
Looking at the A section, we've got loads of stylistic techniques going on here:
- Accents
- Palm muting
All on kind of just simple power chord voicings, really. It's the accents and the muting that make it sound really interesting.
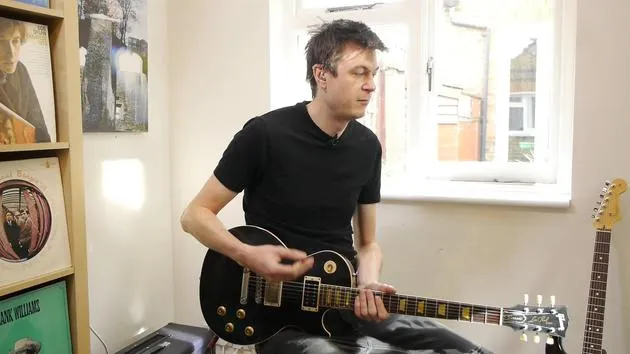
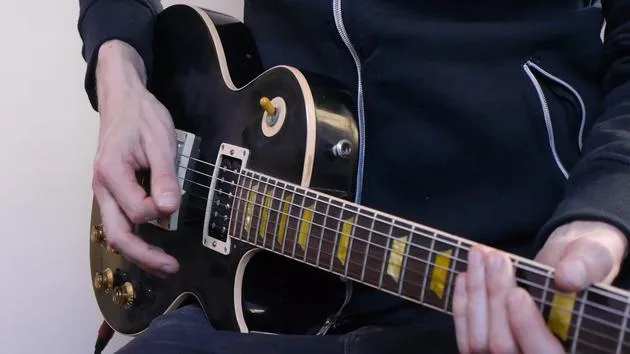
So, that's the bit to work on, what your right hand is doing. That whole sound comes from your right hand. If I just demonstrate that really quickly:
"I'm getting really bouncy with my right hand there to get the accents to really be forced out."
Then, I'm on the bridge of the strings to get my palm muting. It's worth really practicing this because it's a massive part of getting the sound right in this song and any other songs in this style. You see these techniques a lot.
B Section: Octave Parts
Moving on to the B section, again, super common for this style. Often, you'll see an octave part in conjunction with the second guitar part doing sort of power chords at the same time.
So, we're moving on to providing these octave chords; they want to really cut through.
- Pick really hard
- Ensure that your muting is in check using your left hand.
You want to be able to hit all six strings and just hear the two you want to hear. This involves keeping the strings that you're not fretting quiet with your left hand.
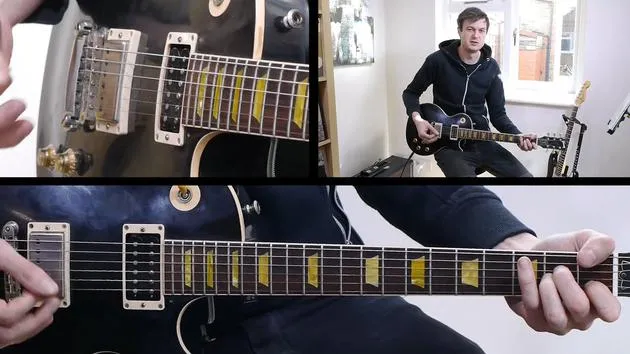
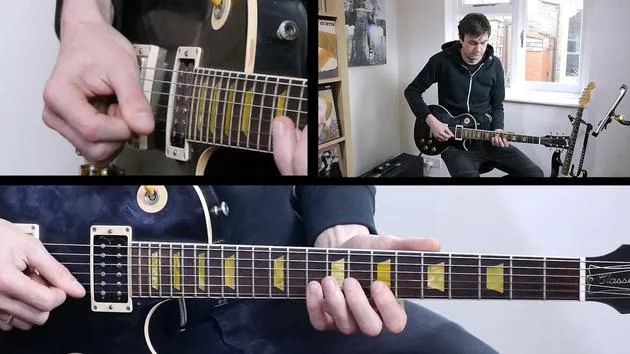
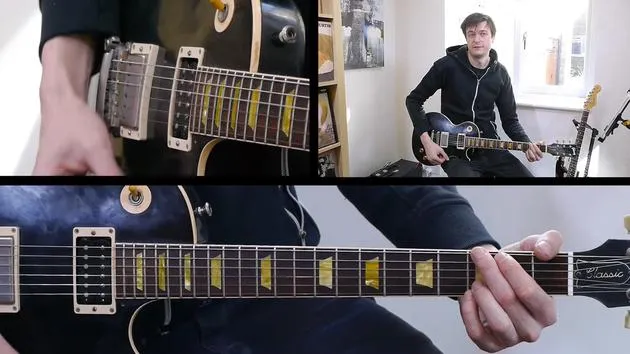
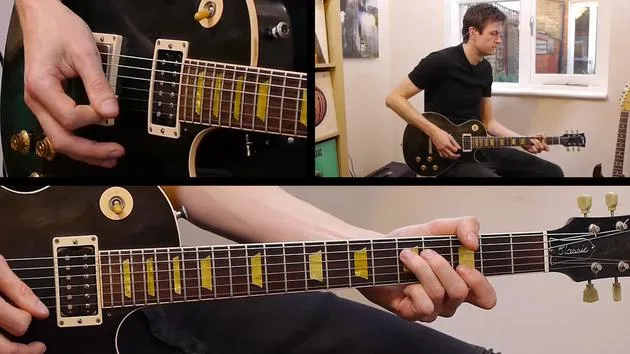
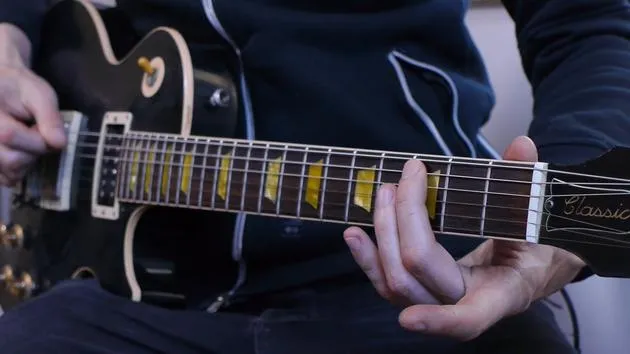
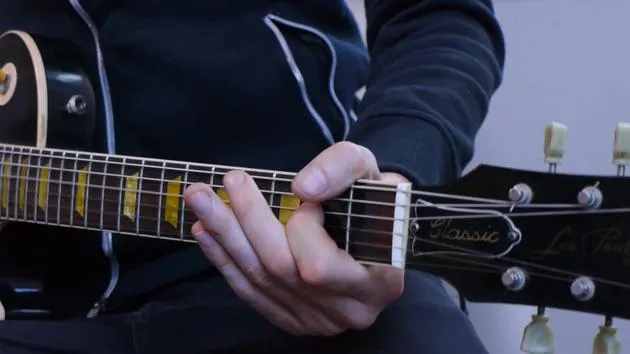
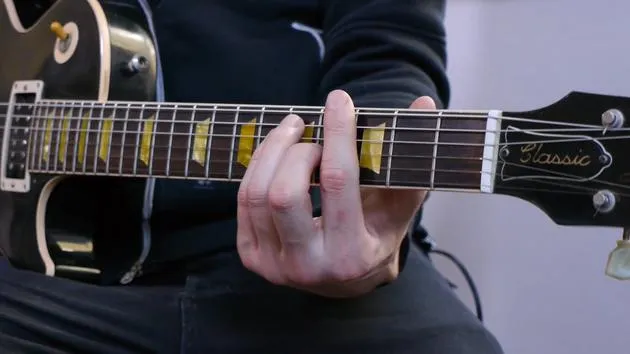
You can see the kind of shape that I've got there:
- My first and little fingers are fretting the notes I actually want to hear.
- I'm using my second finger and the side of my little finger to keep everything muted down really tightly.
This way, I can hit the strings hard without fear.
C Section: Techniques with Vibrato
Looking at the C section, we've got some techniques you'll probably be more familiar with now:
- Hammer-ons and pull-offs (symbolized by the brackets over the tab)
- Vibrato (specifically directed at certain places)
Now, I've talked about this before. A great place to add vibrato is on longer notes.
"You can see here that's where they've directed us to put vibrato on those long notes."
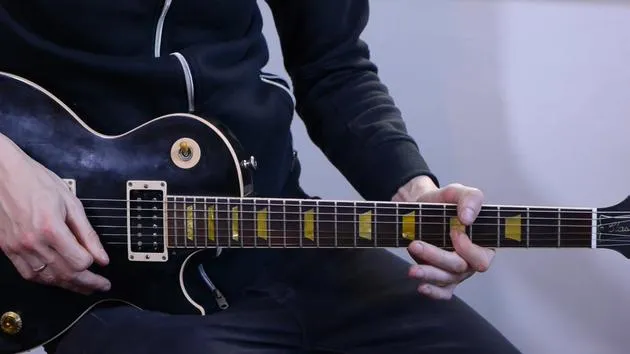
To play that vibrato, I'm actually using three fingers all lined up on the same string, very much like you would do if you're actually bending the string, something we'll perhaps come to later when we look at the solo.
Wherever you see that squiggly line, it's telling you to, at least at this point in the piece, do some vibrato here, please.
D Section: Chord Techniques
Moving on, we've got use of slides (symbolized by the diagonal lines). Specifically, I'm looking at Bar 19 and continuing on through that section.
All we're doing there is picking a note without picking again and sliding up and down. Just keep the pressure down and be accurate with your endpoints.
Chords on D, G, and B Strings
In the D section, we've got these chords on the D, G, and B strings sounding really, really cool.
- I'm playing the E and B chords just with one finger.
- You can, if you want, line up fingers, but I think guitar players are generally a little bit lazy, not in a bad way, but it's all about economy of movement.
If you can do something with less movement and fingers, then do it. It makes sense!
We're using just one finger to play those first two chords in that section. Then, again, we have some really stylistic chords.
"How cool is that? Instant Foo Fighters right there on that chord."
These are simply E major chord shapes moved around, giving you some really cool vibes. You can experiment with that, have some fun!
Soloing: The Exciting Part!
Right then, in terms of the notated bits that remain in the piece after that, it's mostly repetition, especially concerning the techniques we're using.
The bit that I want to get into now, and perhaps the most exciting part at grade three, is that we now get to do solos! Yes!
We've got an eight-bar solo that we can come up with. We can be as creative as we like.
I'd like to walk you through my approach to soloing over all these pieces, but specifically this one.
Key and Chords
I have transcribed my solo for you, so you can look at it, take ideas, use them, or adapt them.
- You might just want to learn my solo and then go off to create yours or simply use my solo. That's great!
The first thing we need to know is the key we're in. The chords we're playing over are very important:
- E
- A major
- F sharp 5 (a power chord)
- A
- B major
All those chords are within the key of E major.
Phrasing and Improvisation
Before we get into what scales we want to use (which is important), the best thing you can do when thinking about writing a solo is to listen to the track, especially the gap where your solo is going to be.
Imagine some phrases. It's much easier to think of phrases in your mind than just instantly play them out. You can think of cool melodies you want to hear.
When you've got an idea, that's when knowing scales comes in really handy.
Writing the Solo
This is how I wrote my solo:
- I sat there, put my guitar down, and listened to the track a few times.
- I thought about what I wanted to hear, thinking about bands like the Foo Fighters.
- Some phrases I've used are similar to Foo Fighters vocal melodies, and I think it worked really well.
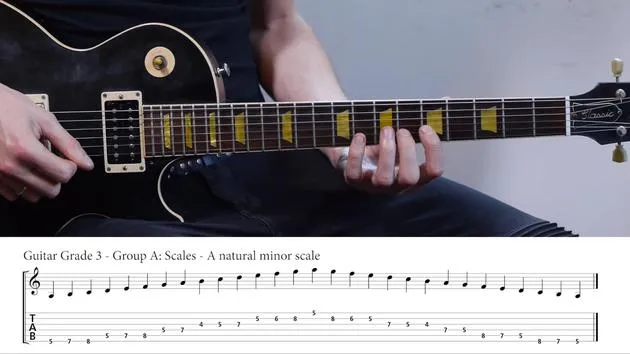
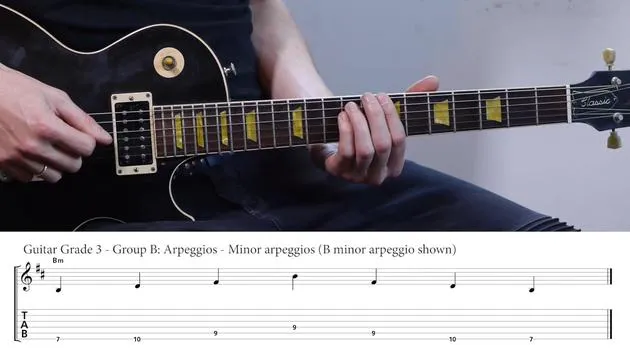
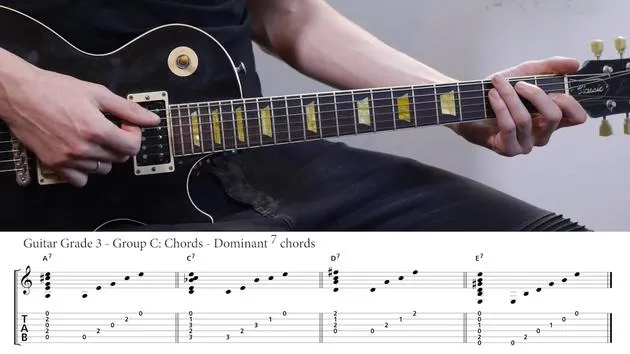
With that in mind, if you want to skip over to your technical exercises section, you'll find some scales there that are useful to know.
Useful Scales
These shapes may not necessarily be in the keys you need for this song, but they are really important tools for creating cool solos:
- Major scale shape: In the key of E, that looks like this.
- Major pentatonic scale shape
These scales are tools to create solos, not boring exercises.
Single String Melody
I've taken a common trick of using a drone string.
"Happily, we're in the key of E, and I can use the E string."
I just created a single string melody using notes straight out of the E major scale.
When I played it on guitar, it sounded cooler including the open E string. This way, I can move around a lot but still work with the same notes.
Understanding a scale's theory helps avoid being stuck in just one shape. It's essential to think of the specific notes in the E major scale: E, F sharp, G sharp, etc.
Picking Notes in the Solo
Outline the chords at certain points in the solo. When playing over an E chord, try to land or start on a note that features in that chord, and likewise with the A chord.
This helps to ensure it sounds convincing because I've started on a good note, played around in the middle, and ended on a good note.
"The start and end points are the main focal points."
It's great practice to get accustomed to moving between these chords and picking out one note per bar that's in each chord.
Even this can sound really, really cool, even if you're just playing minimally.
Closing Thoughts
For the second half of the solo, I played only notes that are in the chords:
"I did this using notes straight out of an E major chord."
Repeating phrases is also a great way to make it memorable; don't feel you've got to fill your solo with eight bars of completely new material.
Remember to use your ears, put the guitar down initially, and think of something that works over those chords. This is a great way to write a musical solo without falling into the trap of just running up and down scale shapes you've learned.
Check out my transcription for that, and best of luck in composing your own solos!
43 Lektionen
3 Std. 11 Min. strukturierte Videolektionen
Erweiterte Videofunktionen
Verlangsamen, Passagen loopen, mitlesen
Handy, Tablet & Desktop
Üben, wo du willst
100 % Zufriedenheitsgarantie
30 Tage Geld-zurück-Garantie







