



Tech advice (early grades)
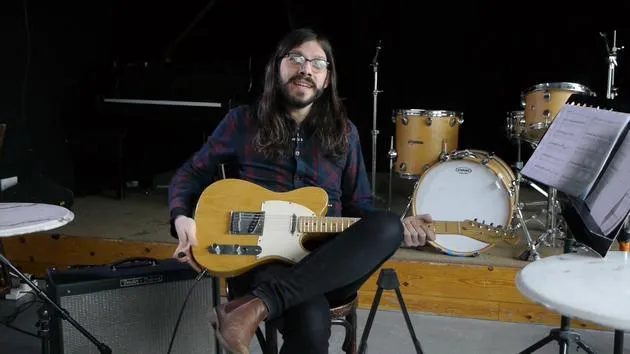
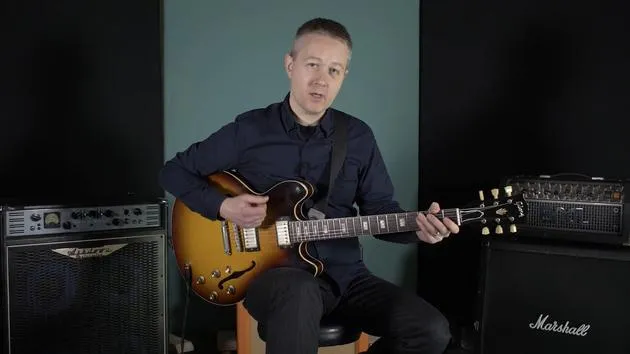
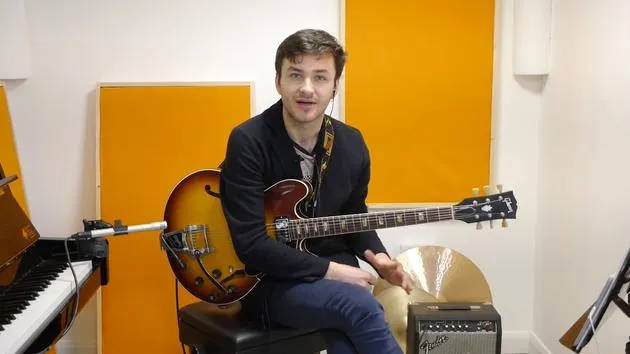
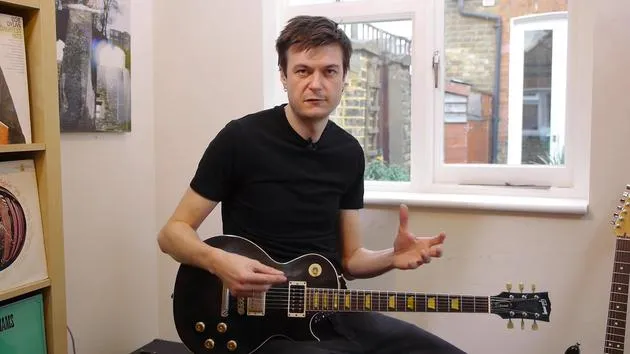
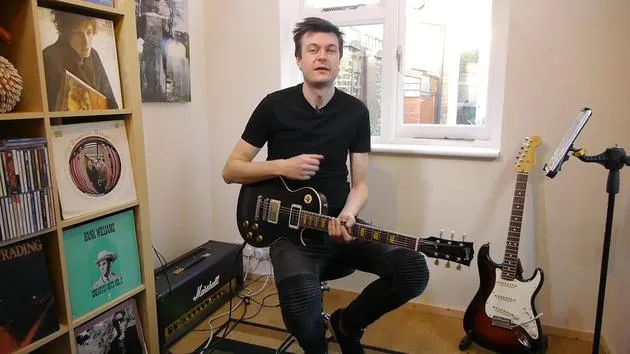
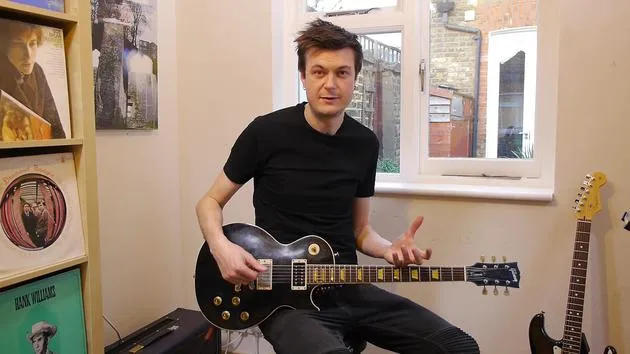
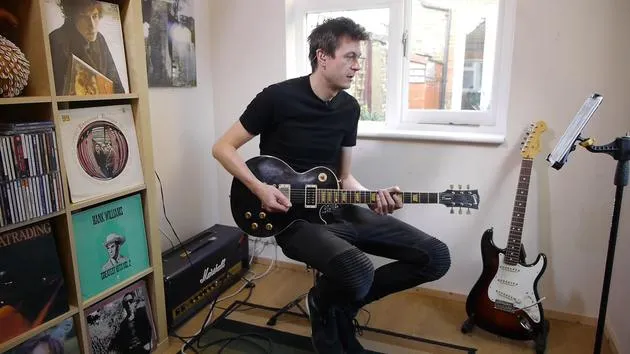
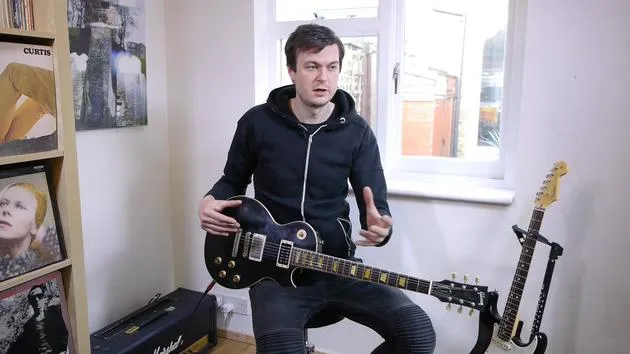
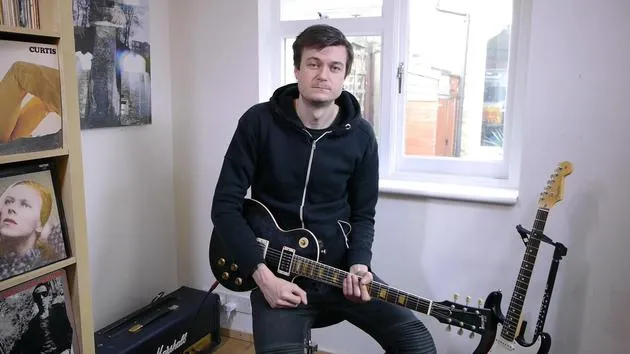
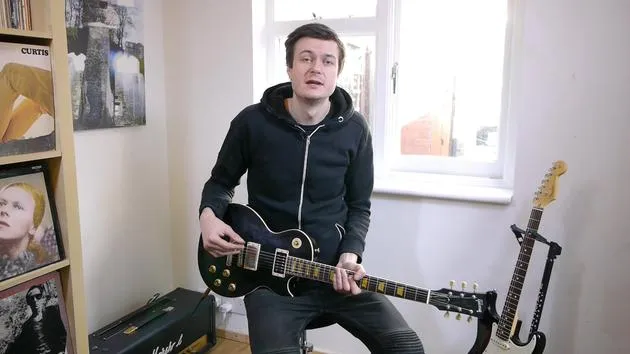
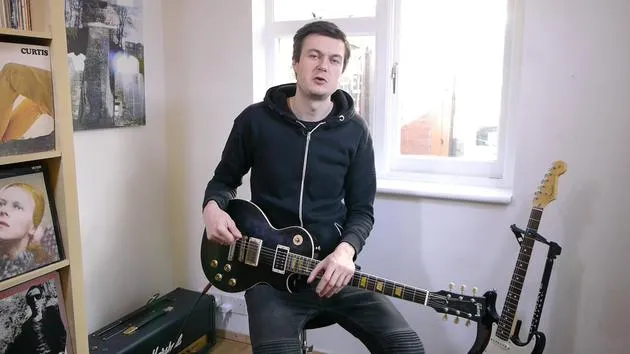
Guitarist James Barratt shares technique tips for the early grades - staying relaxed and using the lightest possible fretting-hand pressure.

What's in the course
41 lessons (2h 51m) · 1 free
01. Intro to Approaches to improvisation
1:00
02. Getting started with improvisation
9:22
03. Assignment: Finding chord tones
4:05
04. Improvising using chord tones
10:18
05. Adding rhythmic interest to your solos
4:11
06. Assignment: Improvising over a chord change
2:52
07. Challenge: Submit your improv
0:24
08. Rhythmic improv & comping
9:55
Lesson transcript
Guitar Playing Techniques
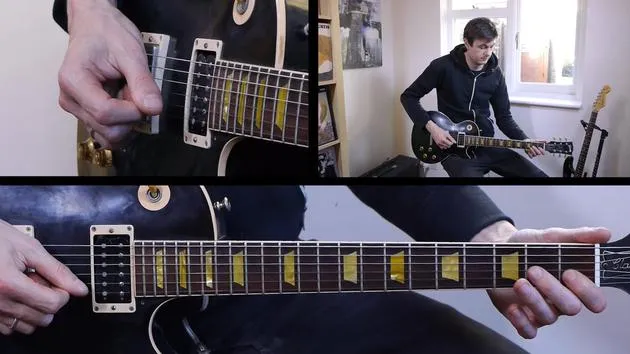
Hey, guys! Before we dive into the specific technical exercises for level one, I want to share a few techniques and things to keep in mind while playing the guitar.
Relaxation is Key
When you're playing scales or a piece of music, remember to relax. Here are a few points to consider:
- It's easy to tension your shoulders, neck, arms, wrists, and fingers when you're focusing.
- This tension wastes energy, so becoming aware of it is important.
- You'll often notice stress, especially in your fingers. If you have deep lines in your fingers after playing, it likely means you're applying too much force on the fretboard.
It's amazing how little pressure you actually need to apply.
Experiment with Pressure
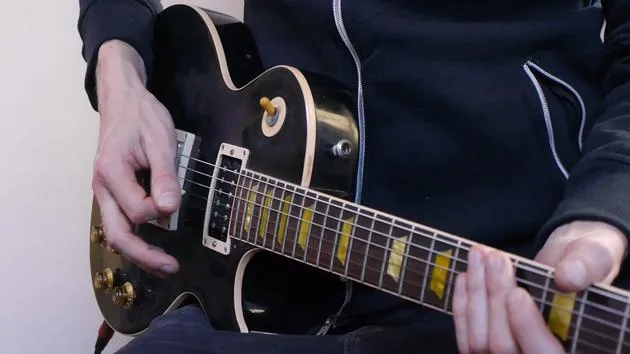
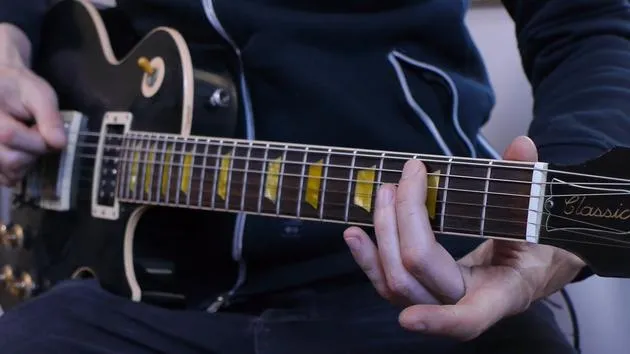
To illustrate this, pick any note on the guitar. For example, let's use the seventh fret on the G string:
- Rest your finger lightly on the string to mute it.
- Gradually increase the pressure until you hear the note you want.
On a scale of 1 to 10:
- 10 = pushing down as hard as possible
- 1 = feather-light pressure
I would say that the pressure I used to get a clear note is about a 3.
Tip: When practicing, try fretting a little bit lighter than you usually do. You'll be amazed at what you can achieve with less tension.
Positioning on the Fret
Importance of Finger Placement
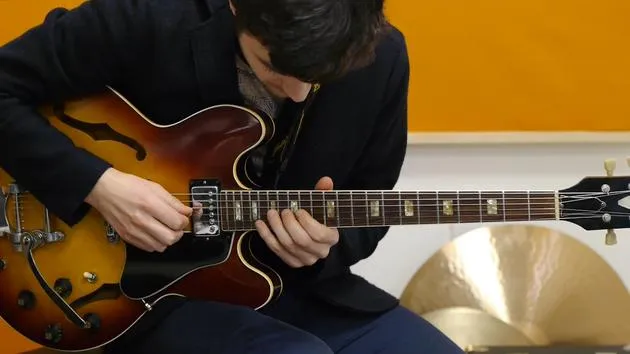
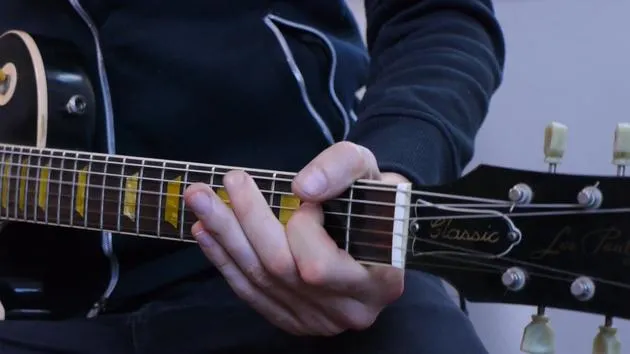
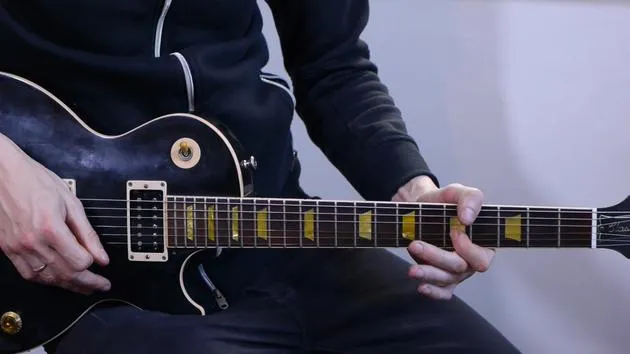
Next, let's discuss getting your position right within a fret. For example, if I choose the third fret on the G string:
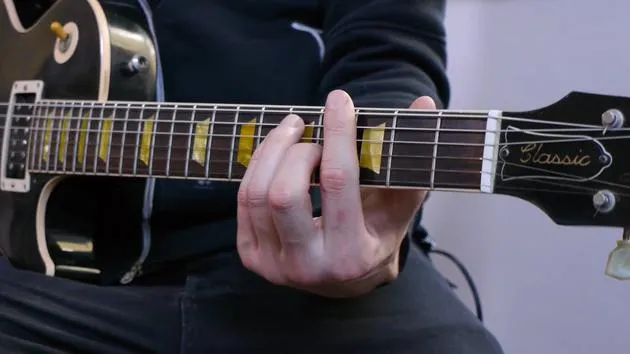
- You can place your finger anywhere in that space, but the best position is right up against the metal of the fret.
- This position requires the least amount of pressure and produces the best tone.
Consequences of Poor Placement
- If you position your finger at the back of the fret, you'll have to work much harder to achieve the same tone.
- Applying the same pressure at the back can produce a buzzy sound, which isn't desirable.
Playing Example
If we're playing a C major scale:
- Start at the front of the fret, not at the back or on top of the metal.
- Playing at the back will issue a bad tone, while placing your finger on top of the metal will create a muted sound.
Always aim to fret nice and into the front of the frets to achieve a lovely sound.
Conclusion
With these techniques in mind, let's take a look at the technical exercises themselves!
41 lessons
2h 51m of structured video lessons
Advanced video features
Slow down, loop a passage, follow along
Mobile, tablet & desktop
Practise wherever you are
100% satisfaction guarantee
30-day money-back guarantee







