



Cómo hacer el bounce de tu pista
Con
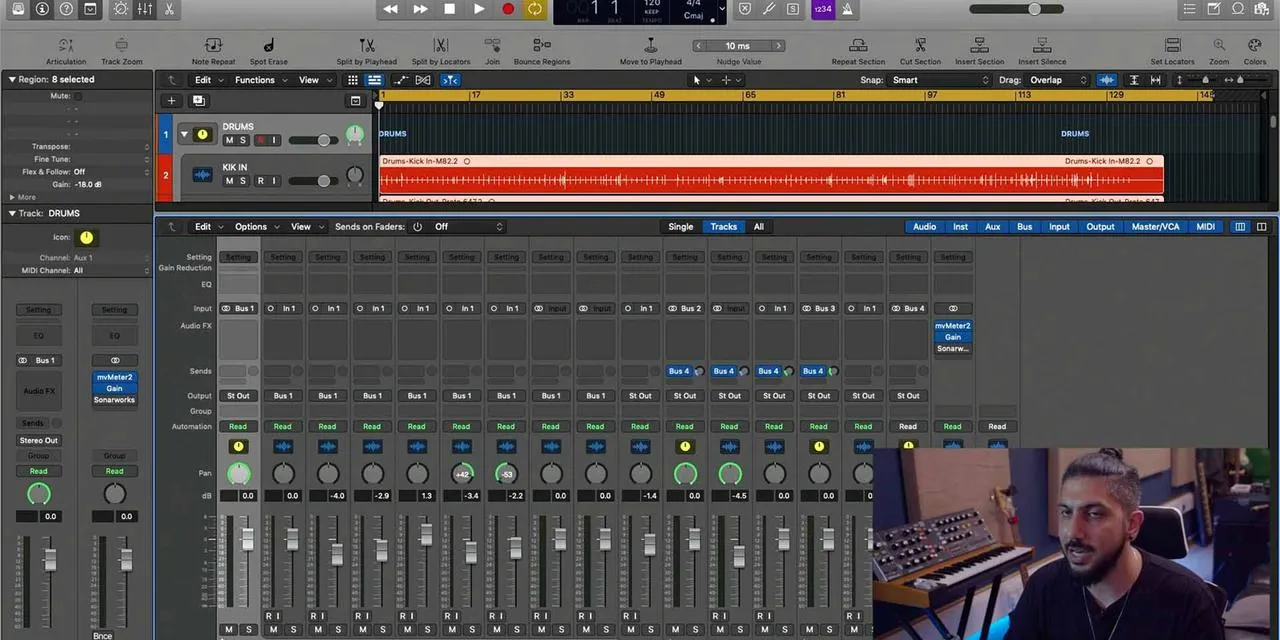
Aamir YaqubAamir Yaqub muestra cómo hacer el bounce, o exportar, tu pista terminada en Logic Pro, eligiendo entre un WAV de alta calidad y un MP3 a 320 para compartir tu canción.
Qué incluye el curso
12 lecciones (0h 56m) · 1 gratis

Transcripción de la lección
How to Bounce Your Track
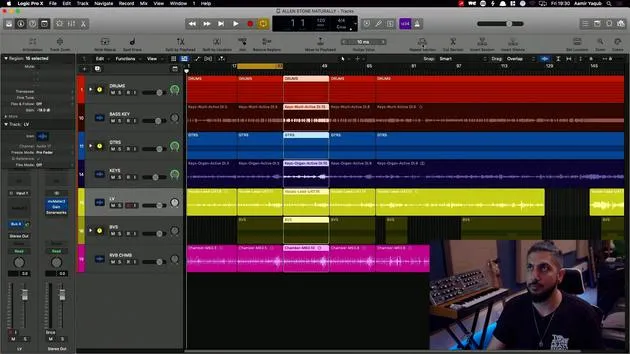
Once you've created, arranged, and finalized your track, it's essential to know how to bounce or share it, essentially making it a file you can send to someone, like your mum, who you want to hear your new song! Here's how to do it:
Steps to Bounce Your Track
-
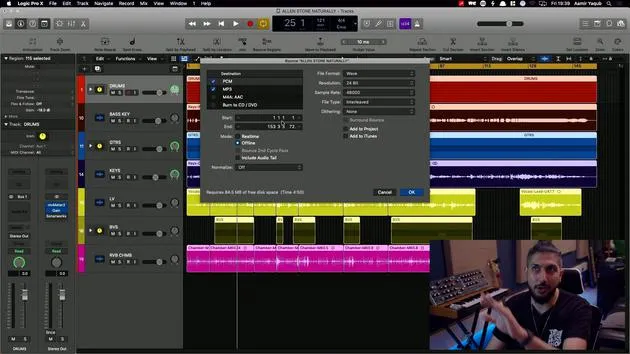
Navigate to Bounce:
- Go to File.
- Select Bounce.
- The shortcut for this action is Command + B.
-
Understand Bouncing:
- Bouncing is exporting a file of your mix, song, production, or demo.
- You will encounter several options during this process.
-
Choose Your Format:
- On the left side, PCM provides high-quality formats.
- This format is ideal for sending to a mastering engineer or when you want the best sound quality.
- The default format is WAV, which is readable on both Mac and PC.
- You can also bounce an MP3 version at the same time.
- An MP3 with a bitrate of 320 is the highest quality and easy to send over email.
- On the left side, PCM provides high-quality formats.
-
Define the Start and End Time:
- Typically, this will be the start and end of your session. However, if there's extra space at the end, you might want to exclude it.
- My preferred method:
- Use Command + A to select everything.
- Use Command + U to set the cycle range.
- Use Command + B to return to the bounce dialog.
-
Select Bounce Mode:
- You have two modes to choose from: Real Time or Offline.
- Offline is recommended, especially if you're not using any external hardware, it's quicker and bounces straight to your disk.
- Real Time is necessary if you need to pass audio through hardware.
- You have two modes to choose from: Real Time or Offline.
-
Additional Settings:
- Generally, keep Normalize off.
- You can choose to include the audio tail if preferred.
- You can add the bounce file back to your project or to iTunes, or both.
-
Naming and Saving Your File:
- After setting everything up, you'll be prompted to name your file and choose where to save it.
- For example, you might call it "My Mix of My Great Song".
Conclusion
That's how you take your production, whether it's your final mix or a demo of just your vocals and guitar, and bounce it to share with others!
12 lecciones
0h 56m de lecciones en vídeo estructuradas
Funciones de vídeo avanzadas
Ralentiza, repite un pasaje, sigue la partitura
Móvil, tablet y ordenador
Practica donde quieras
Garantía de satisfacción 100%
30 días de garantía de devolución
Conoce a tu gurú
Conoce a tu gurú
Aamir Yaqub es un productor e ingeniero musical afincado en Londres. Ha trabajado con algunos de los nombres más grandes de la música, entre ellos Alicia Keys, David Guetta, Rihanna, Sia y will.i.am, además de desarrollar a artistas independientes.
A lo largo de sus cursos enseña su flujo de trabajo completo en Logic Pro: desde la interfaz y la grabación, pasando por la creación de ritmos, la síntesis y los efectos MIDI, hasta la mezcla y el acabado de un tema.







