



Mit dem Rohmaterial arbeiten

Mit
Dov Waterman
Das steckt im Kurs
9 Lektionen (0h 56m) · 1 gratis
01. Einführung in den Editing-Prozess
Gratis-Lektion0:23
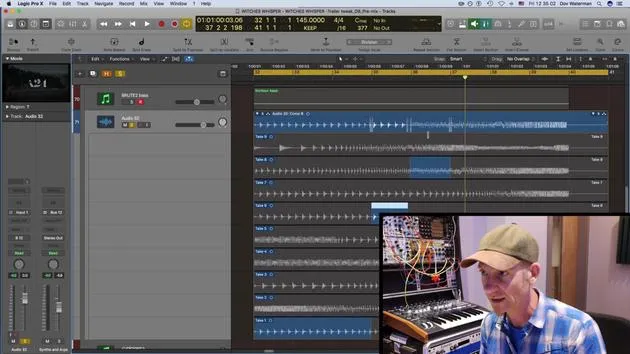
02. Comping in Logic Pro
4:21
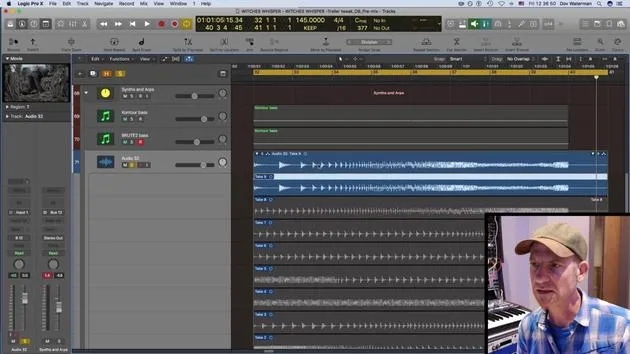
03. Wie du Flex Time verwendest
4:36
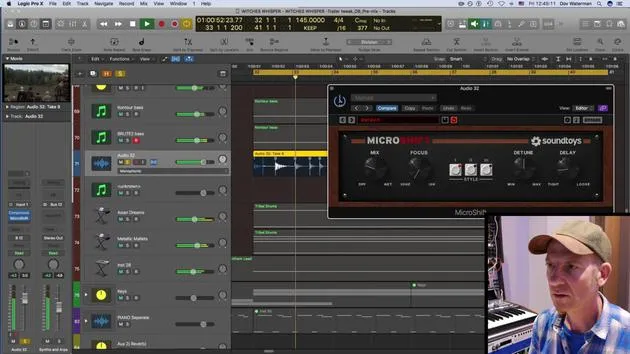
04. Kreativer Einsatz von Kompression, Stereo-Delay, EQ und Reverb
9:28
05. Techniken zum Aufbau eines Tracks
7:03
06. Mit dem Rohmaterial arbeiten
Du bist hier10:18
07. Kreative Ideen entwickeln
12:54
08. Einen Track arrangieren
6:36
09. AUFGABE: Kreatives Editing
0:35
Transkript der Lektion
Music Lesson: Vocal and Guitar Work
Introduction
So I got back these vocals and guitar bits. I'm going to work just for ease of use. For now, I'm going to play the vocals, and we'll work through the rest of the material a little later on in the session. I'll cut to different stages of development that I've gone through. But this was the raw material that I got from the vocals.
Context
He sang to a click and the rest of the tracks, which were sent to him in just three stems:
- Drums
- Loops
- Bass
I'll have the metronome on for a second and you'll hear it's very fluid. It's not in time, really. So, I'm going to flex audio and just synchronize the singing a little bit better, tightening it up.
Flexing Audio
I'll go to my flex mode:
- Turn Flex on over here.
- Turn Flex on over here.
Now, what it's done: Logic has already analyzed this piece of audio. It's not monophonic; I would put it to polyphonic. Although it's a mono signal, it's a vocal, so having a polyphonic algorithm works well.
If I pull this in a little bit, we can see what it's doing. It's really not quite in time. So I'm going to start with actually just pulling this out.
Intonation Changes
In terms of intonation, I'm changing the pitch of the track. Let's just pull this in. I'm going to pull the whole lot in.
He's actually starting on the second beat of the bar. Now let's move him into the first beat of the bar. That can be our starting point for now. He's just a little bit late over here. If I place a marker at the very end (the last marker), then everything I work on throughout this is one region. When I pull stuff over, it means I don't need to keep moving stuff over these markers.
Adjustments
So, I'm going to pull this in here. Now that third note hits the beat a little bit better, and I kind of like it. The fourth note of what he's singing, when he goes up to the major third, is coming a little bit early. I like that. I'm going to leave that.
This section needs a little adjustment, so let's delete that one for a second.
Managing Markers
To delete markers, you see these three little lines; to put a marker in, just click; to delete it, double click it or click on the little X. These markers were put in automatically when it scans everything. Let's leave that there because the last tail works well.
Listening Back
Let's hear it from the beginning for a second. Take one of these out and see what happens. The fewer markers you have with everything related to flexing audio, the better. Nowadays, computers are powerful enough, and the algorithms are good enough to quantize audio effectively.
However, the more quantized you make audio, the less it will sound real and organic. So, subtle tweaks are key.
Further Adjustments
Moving on to the next bar here, he's kind of speeding up a little. I'm just going to make a few little changes. I'll bring him in here as he's kind of falling on a beat a little bit.
I'll stretch him out a little, but not too much. That works! He speeds up a little bit here, but I kind of like it. Let's have a quick listen with the rest of these bits.
Working Efficiently
If you work in a linear fashion from left to right, which I by default do, then you have to do a lot more work. If you work from the end backwards, in sections, then you won't need to move the markers too much. I'm not going into the ins and outs of flex and all its functions. This is just how I use it.
It may not always be the most efficient method, but it works for me when I'm in the flow. I tend to listen to things better in a linear fashion like this, even though I've got a little more work to do on it.
Creative Decisions
Just to fast-forward a few steps, I made a creative decision regarding intonation, moving the vocal harmony to start a little further in.
This is a good example of some extreme flex. I've created a syncopated effect here. He didn't sing it like this, but I thought I'd add a bit of a jump to it.
Final Touches
So, it sounds roughly like this with the drums. Let's put the drums back in, along with the bass, just to give it some body. Actually, I'll just play the synth side of things.
It was just a case of moving this section into place. It quantizes to a beat anyway, so I've got flex time set to remember the division value. The nudge value affects your flex, moving it within the divisions that divide the bar and the beat.
So, I moved it quite an extreme amount to give that slightly syncopated sound. I've flexed the rest of the vocals, anything that needed fixing. He sang lots of different takes of a few different parts.
Let's have a listen to it quickly in its raw state.
9 Lektionen
0 Std. 56 Min. strukturierte Videolektionen
Erweiterte Videofunktionen
Verlangsamen, Passagen loopen, mitlesen
Handy, Tablet & Desktop
Üben, wo du willst
100 % Zufriedenheitsgarantie
30 Tage Geld-zurück-Garantie
Lern deinen Guru kennen
Lern deinen Guru kennen
Dov Waterman ist Komponist, Pianist und Produzent. Er hat für Filme wie After Earth, Terminator Genisys, Transformers: The Last Knight und The Snowman Musik geschrieben und das Sounddesign gestaltet und arbeitet als Audio-Editor für Sample-Bibliotheken und Sounddesigner mit Firmen wie Native Instruments und SonoKinetic.
Seine Reihe Composition in Logic geht den Aufbau eines Tracks von Anfang bis Ende in Logic Pro durch – von Templates und Workflow über Synthese und Beat-Programmierung, MIDI-Effekte, Editing bis zum finalen Mix – für Produzenten, die ihre Ideen in fertige Tracks verwandeln möchten.







