



Technique de la main gauche et gammes
Lesson time: (24min 40sec)
En s'appuyant sur la leçon 1, Roy poursuit avec des exercices pour te mettre à l'aise avec les techniques de la main du médiator et de la main sur le manche. Tu apprendras aussi les gammes chromatiques et comment te déplacer rapidement et facilement sur le manche.
Course preview
This lesson is part of the course Teach Me Bass Guitar vol.1 : démarrage rapide pour débutants
Watch a preview of the full course below.
Lesson transcript:
Music Lesson: Fretting Hand Techniques
Introduction
Play. Okay, now let's take a look at the fretting hand. In my case, it's the left hand. There are two possible techniques I can use:
- Four finger technique: This is useful for playing a passage that resembles a musical scale. You'll see me using this a lot with scale-type bass lines.
- Three finger technique: I use this a lot in slap playing and when I relax my hand into playing roots and fifths. More about what those are in the next lesson. If I'm doing, say, a samba or a country groove, you'll see me relax my hand.
Understanding Fingerings
Now let's talk a little bit about the fingerings so that you're up to speed on that. If any of you guys have taken piano lessons, you're used to the numbering 1, 2, 3, 4, 5. We don't use that on bass guitar. Here's the breakdown:
- Index finger: 1
- Middle finger: 2
- Ring finger: 3
- Pinky: 4
So if you're looking at your instructional book or the tablature on the screen, you'll see 1, 2, 3, or 4.
The Pivot Approach
One of the really important techniques when using either the three or four finger technique is an approach I call the pivot. Here's how it works:
- For our demonstration, I'm going to place my first finger on the fifth fret of the bass.
- Notice that my thumb is directly behind the second finger, right across from each other.
Note: Unless you're bending strings, it's not a good idea to bring your thumb around the neck. You might see me do it from time to time during slap playing, but generally, my thumb stays in the middle of the neck, pointing toward the ceiling.
Hand Position
- Let your hands hang down.
- Avoid too much angle with either your picking hand or your fretting hand to prevent muscle strain.
Practicing the Pivot
I want you to imagine that your thumb is on a hinge, moving back and forth. This is especially useful if you're playing a multi-string bass or at the bottom of the bass register.
Exercise: Four by Four
Let's get our hands warmed up with an exercise called Four by Four. We're going to:
- Play four notes on all four strings, back and forth.
- Pitch is not important right now; focus on the mechanics.
Step 1: Finger Placement
- First finger on the fifth fret
- Second finger on the sixth fret
- Third finger on the seventh fret
- Pinky (fourth finger) on the eighth fret
Step 2: Timing with a Click
Now, we're going to activate this click. In my case, I'm using a drum machine, but you can use a metronome.
- Tempo: Quarter note = 60
Counting In
I'll count you in with four:
-
-
-
-
-
-
- Four.
-
-
-
- FOUR.
-
-
-
- four, four, three, two, one, four, three, two, one.
-
- 4, 3, 2, 1.
- 4, 3, 2, 1.
If you found that difficult, don't worry! Practice it a little more.
Addressing Fret Noise
Many students struggle with fret noise, leading to buzzing sounds. Here's how to eliminate that:
- Tip: Fret right behind the fret, not directly on it. This will produce a cleaner tone.
Speeding Up the Exercise
Now, let's do the same exercise but double the speed and play eighth notes (1 and 2 and 3 and 4).
Reminder about the Fretboard
As you play, you'll notice that the frets get closer together near the top and farther apart down towards the body.
Stretching Your Hand
You don't have to stretch your hand excessively; simply use your pivot technique.
Learning the Musical Alphabet
It's important to learn the notes on your bass guitar.
Overview of Musical Alphabet
Good news: the musical Alphabet has only seven notes:
- A, B, C, D, E, F, G.
After G, it repeats.
Understanding Half Steps and Whole Steps
- Half steps: One fret distance (e.g., C to C#).
- Whole steps: Two frets distance (e.g., A to B).
Chromatic Notes
Let's take the note on the E string, which I know as an F. The note in between, which can be called:
- F sharp or G flat.
This is called a chromatic note.
Enharmonic Equivalents
Two notes that sound the same but have different names (like F# and Gb) are called enharmonic equivalents.
Note Exercise
Let's learn the notes on all four strings up to the 12th fret.
Position Markers
- 3rd fret
- 5th fret
- 7th fret
- 9th fret
- 12th fret (larger dot or double dot)
A String Notes Exercise
We'll do this with quarter note = 60.
Count in: 1, 2, 3, 4.
- A, A#, B, C, C#, D, D#, E, F, F#, G, G#.
- Back down: A, Ab, G, Gb, F, Eb, D, Db, C, Bb, A.
Remember, if it's too difficult to play with a click, turn it off.
D String Notes Exercise
Now let's move to the D string. Count in: 1, 2, 3, 4.
- D, D#, E, F, F#, G, G#, A, A#, B, C, C#.
- Back down: D, Db, C, B, Bb, A, Ab, G, Gb, F, Eb, D.
G String Notes Exercise
Lastly, let's do the notes on the G string.
Count in: 1, 2, 3, 4.
- G, G#, A, A#, B, C, C#, D, D#, E, F, F#, G.
- Back down: G, Gb, F, E, Eb, D, Bb, C, B, Bb, A, Ab, G.
Position and Finger Placement
When I talk about positions on the bass guitar, it's defined by where my first finger sits.
- First position: First finger on the first fret.
- Seventh position: First finger on the seventh fret.
Now, instead of moving up and down strings, let's play across the neck.
Exercise: Across the Neck
Let's play half notes, quarter note = 60, all the way across.
Count in: 1, 2, 3, 4.
- E, F#, G, G#, A, A#, B, C, C#, D, D#, E, F, F#, G, G#, A, A#, B.
Now flats going down:
- Bb, A, Ab, G, Gb, F, E, Eb, Db, C, B, Bb, Ab, G, Gb, F, E.
Conclusion and Stretches
How are your hands feeling? A little tired? Let's do some stretches.
- Cover your first finger with your other fingertips and gently pull back for a stretch.
Do this with your other hand as well.
Final Notes
Take all the material we've covered here. Be patient with yourself and use these exercises as part of your warm-ups.
In the next session, we'll get into playing some real music with real musicians. So, stay tuned!
About the instructor
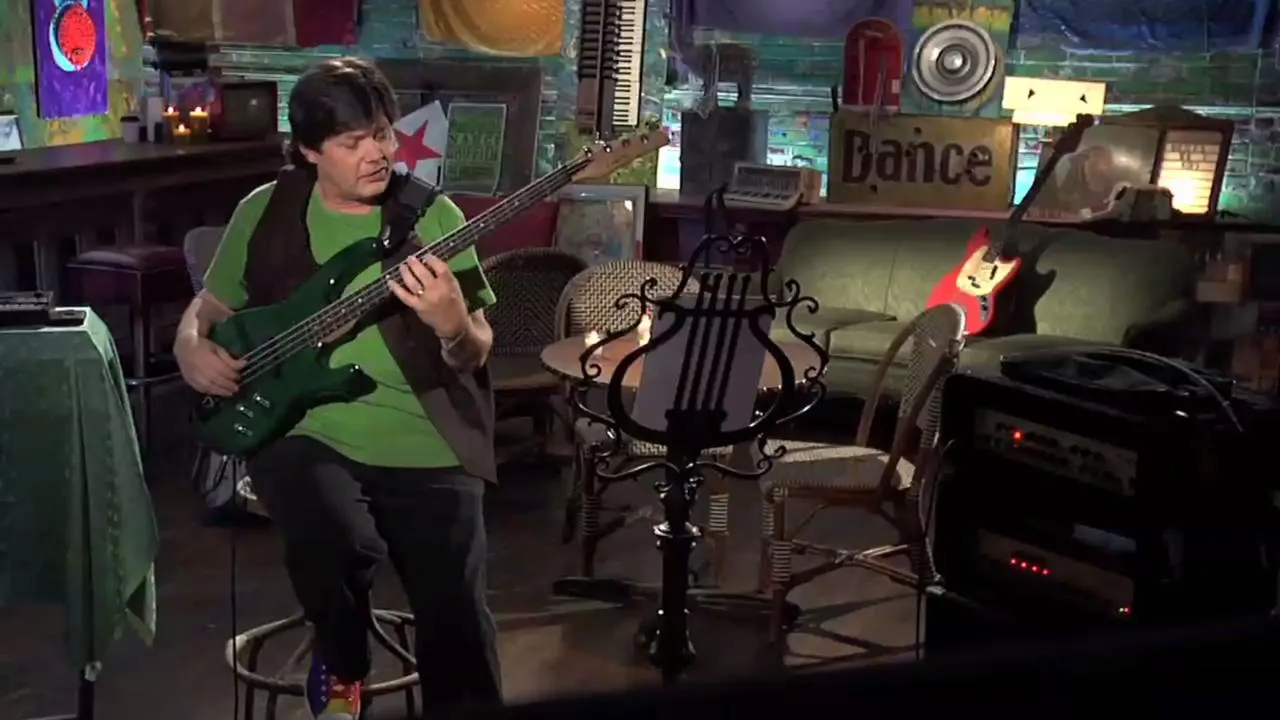
La carrière de Roy Vogt couvre un éventail extraordinaire de scènes, du Headbanger's Ball de MTV, du Montreux Jazz Festival et du Montreal Jazz Festival jusqu'au London Palladium, au Grand Ole Opry et au Kremlin. Du punk au funk, de la simplicité du country et du blues à la complexité du HyperJazz et du World Beat, il a tout joué. Roy a été la première personne à obtenir un master en interprétation de basse électrique, à la prestigieuse école de musique de l'University of Miami, et il poursuit l'art de la basse depuis plus de quarante ans. Il a été le mentor de dizaines de professionnels reconnus, dont le légendaire Willie Weeks. Électrique, fretless, contrebasse - tu l'imagines : si ça joue des notes graves et que ça a des cordes, Roy en est un maître, et il excelle à l'enseigner aux autres. Au cours de sa carrière de quatre décennies, Roy a enregistré ou joué avec une liste stupéfiante de grandes stars, dont Larry Coryell, Victor Wooten, Dave Weckl, Tom Scott et le LA Express, Chester Thompson, Miroslav Vitous, Glen Campbell, BJ Thomas, Chet Atkins, Engelbert Humperdinck, Dickey Betts, Tony Joe White, Charlie Daniels, Jerry Reed, et des dizaines d'autres. Roy enseigne au niveau universitaire depuis trente ans. Depuis 1983, il occupe la chaire de professeur de basse à la prestigieuse Belmont University (Nashville, TN), l'une des très rares écoles à proposer un cursus diplômant en musique commerciale conçu pour transformer les étudiants en musiciens professionnels travaillant au sommet de l'industrie. Les élèves de Roy ont tourné et enregistré avec des stars de renom telles que Trisha Yearwood, Faith Hill, Little Texas, Michael W. Smith, Lady Antebellum, Chick Corea, Sir Tom Jones, Blood Sweat and Tears, Yanni et d'innombrables autres icônes de la musique. Sa série Teach Me Bass Guitar t'apporte cette même approche de niveau universitaire, te menant d'un démarrage rapide pour débutant complet (vol. 1), en passant par les fondamentaux du rythme (vol. 2), la recherche de ton propre style (vol. 3) et une musicalité sérieuse (vol. 4), jusqu'à une boîte à outils de joueur pro (vol. 5), afin que tu développes de vraies compétences étape par étape. read more