



Pilas de pistas
Con
Aamir Yaqub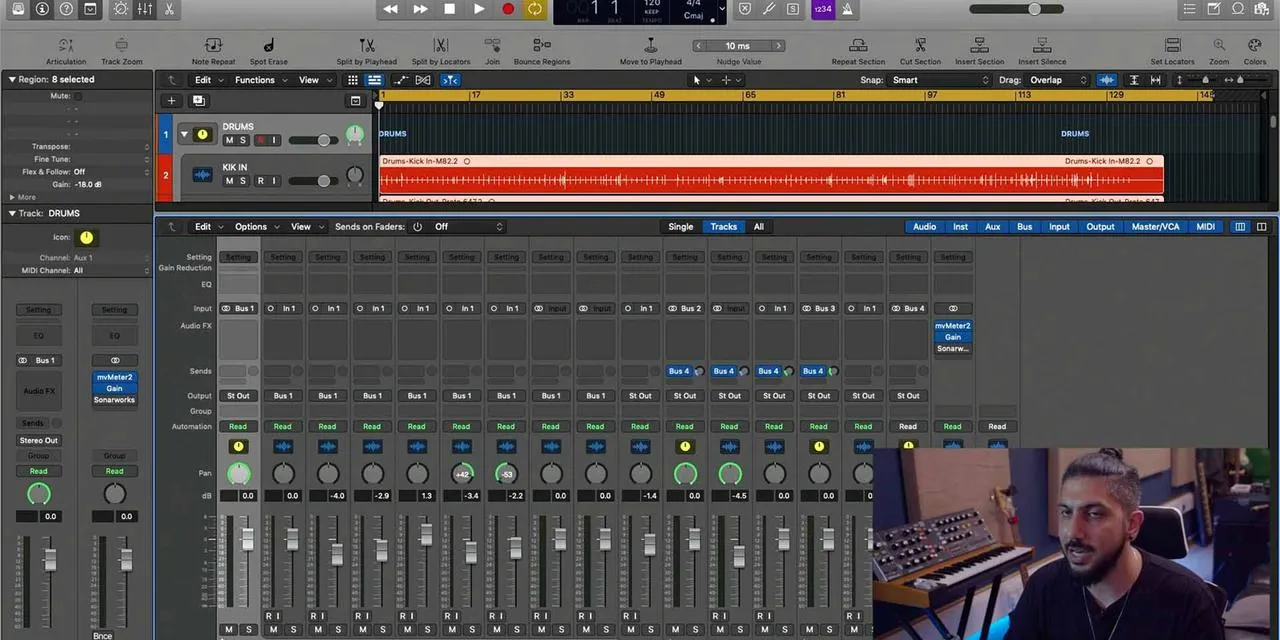
Qué incluye el curso
12 lecciones (0h 56m) · 1 gratis
Transcripción de la lección
Music Lesson: Processing Drums and Layering Sounds
Introduction
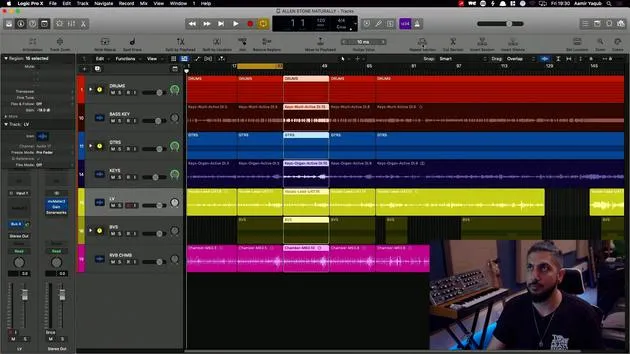
Okay, so here I have something which I need to organize. I have a bunch of drums here, and as it stands, I can control them individually, of course, and I can add plugins and all of that kind of stuff. But I actually want to process them together.
Creating a Track Stack
Selecting Tracks
So, with all of these audio files, what I can do is:
- Click the top one
- Hold down Shift
- Click the bottom one
- Create a track stack.
What is a Track Stack?
A track stack is a way of folding up all of your tracks so that you have control, essentially, of that one track stack of all of your sounds as a group. It's sometimes known as grouping.
Creating the Track Stack
One way of doing this is to:
- Right-click at this point
- Go to "Create Track Stack"
But I prefer the shortcut, of course, which is Shift + Command + D.
Choosing the Type of Stack
With all of these tracks selected in the track header, when I do Shift + Command + D, it's going to ask me what I want to create. I usually create what is called a summming stack.
- You can also create a folder track or a folder stack, which gives you basic, simple controls over the instruments within it.
- However, the summing stack really gives you the most controls that you want.
This takes the signals and puts them together so that you can process them with audio effects.
Applying Effects
Let's say you want to put a compressor on all of your drums. With a summing stack, it will apply the compressor to all of your drums. You can only do that with the summing stack.
Understanding the Mixer View
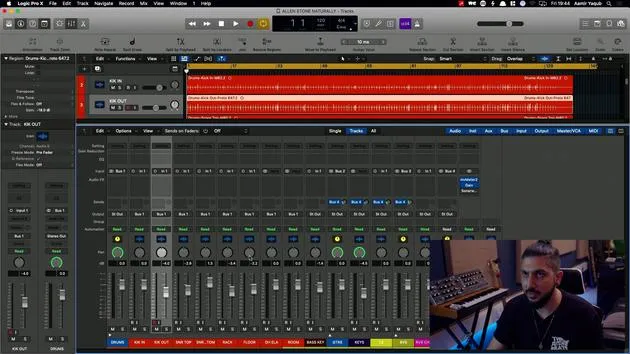
When you create this track stack, it looks similar to a take folder. What it does is allow you to go over to the mixer view. Here, you can:
- Individually adjust any of the sounds
- Pan sounds left and right
- Process them together effectively.
When you close this, they will all output from the same track, which is super handy for processing.
Bussing Overview
The way that this works is on a bus system. We saw this when we were working with sends, like reverbs and delays. Essentially, I have collected all of these tracks and created an audio pathway called Bus 1.
- Your destination will be a new track, which I'll call Drums.
Summary of Bussing
Bussing collects and takes all of your audio tracks and processes them together by putting them on the same audio pathway. This allows for easier control over individual tracks while also managing the group dynamics.
Organizing the Session
When working with track stacks, you can control each track individually and also control the overall amount of the group. You can:
- Pan sounds left and right
- Add audio effects to all of the drums.
This organization simplifies your session and avoids clutter from having loads of individual tracks.
Layering Sounds with Track Stacks
Now, let's look at how track stacks work to allow us to layer sounds.
With the track stack I made for the drums, I already had all of my audio prepared.
Using Synths and Chords
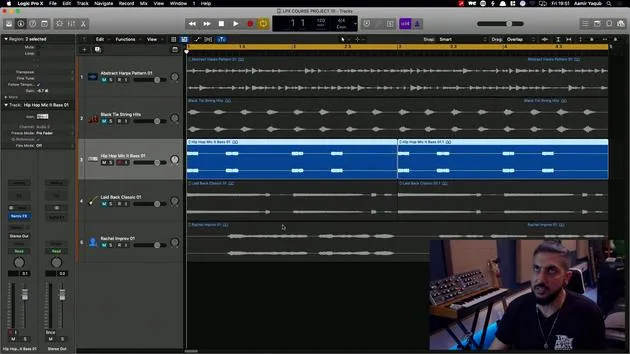
Here, I have two individual separate sounds:
- A synth bass
- Some chords
I'm going to take these sounds and use Shift + Command + D to create a summing stack.
Naming the Track
I can direct both of these sounds together via the bus to this track, which I will call New Synth. The reason I'm calling it that is because I can create individual parts here.
Playing the Sounds Together
I can actually take these sounds and play them together at the top. When I play them, both of them are being triggered at the same time.
Benefits of Layering
This form of layering can really help to flatten out synth sounds. For example, you could have a piano and a pad that blend together, allowing you to play chords on both instruments simultaneously.
This is a fantastic way of working with software instruments, and it's likely to elevate your productions to the next level.
12 lecciones
0h 56m de lecciones en vídeo estructuradas
Funciones de vídeo avanzadas
Ralentiza, repite un pasaje, sigue la partitura
Móvil, tablet y ordenador
Practica donde quieras
Garantía de satisfacción 100%
30 días de garantía de devolución
Conoce a tu gurú
Conoce a tu gurú
Aamir Yaqub es un productor e ingeniero musical afincado en Londres. Ha trabajado con algunos de los nombres más grandes de la música, entre ellos Alicia Keys, David Guetta, Rihanna, Sia y will.i.am, además de desarrollar a artistas independientes.
A lo largo de sus cursos enseña su flujo de trabajo completo en Logic Pro: desde la interfaz y la grabación, pasando por la creación de ritmos, la síntesis y los efectos MIDI, hasta la mezcla y el acabado de un tema.







