



Kanalzüge und Plugins
Mit
Aamir YaqubEin Rundgang durch den Kanalzug von Logic Pro: Patches aus der Bibliothek laden und die Instrumente, Effekte und Plugins, die sie mitbringen.
Das steckt im Kurs
13 Lektionen (1h 23m) · 1 gratis
01. Willkommen zum Kurs
0:39
02. Was ist Logic?
2:21
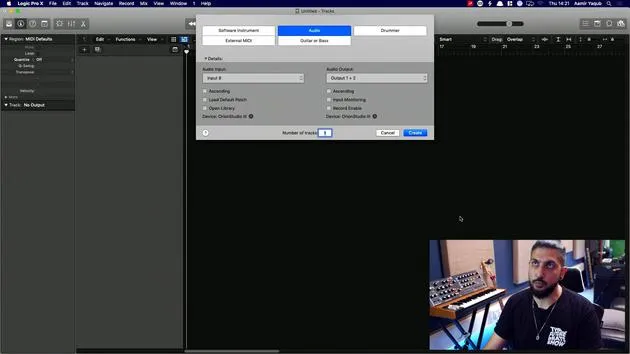
03. Logic starten und die Software anpassen
Gratis-Lektion4:55
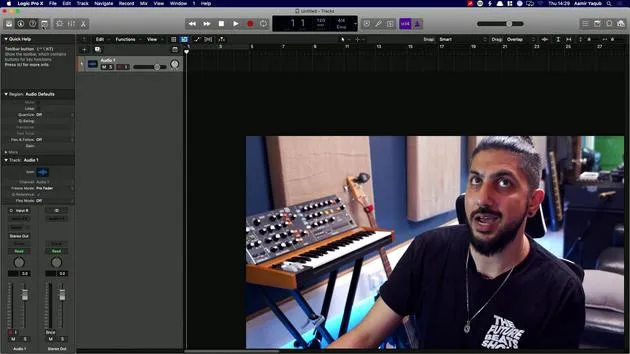
04. Steuerleiste und Anzeigebereich
7:35
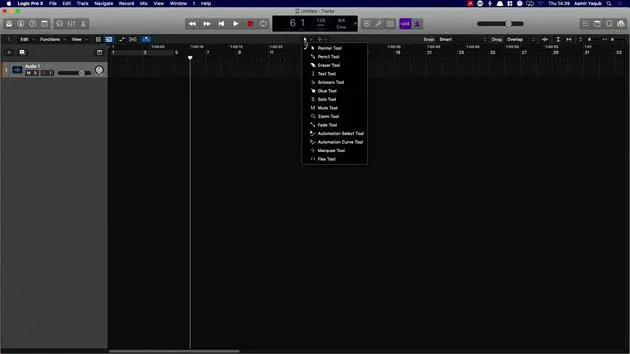
05. Erkundung des Arbeitsbereichs - Linealbereich
5:09
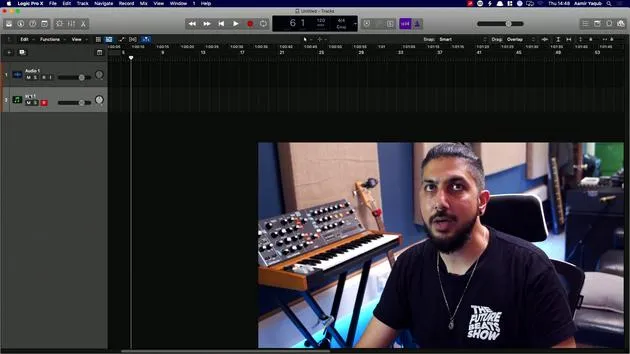
06. Bereich des Spur-Headers
7:35
07. Durch deine ersten Sounds navigieren
7:51
08. Spuren und Regionen verwenden
4:44
09. Kanalzüge und Plugins
Du bist hier4:35
10. Projekteigenschaften, Speichern, Vorlagen
14:58
11. Mit Spuren arbeiten
3:42
12. Mit Regionen arbeiten
8:11
13. Regionen schneiden, loopen und cyclen
11:04
Transkript der Lektion
Building and Enhancing Tracks
So now that we've taken a look at regions, how else can we build and enhance tracks?
Exploring Different Sounds and Styles
What it will come down to is different sounds and different styles. One place we can go for that is obviously the library, which we've already taken a brief look at. But I want to show you a little bit further.
Accessing the Library
- By pressing Y to access the library,
- If I create a new software instrument track (Option + Command + S),
- You can see I'm presented with a bunch of patches and categories that I can load.
Essentially, what this will do here is populate my channel strip with an instrument, some effects, maybe even some delays and reverbs, and stuff like that.
Selecting a Patch
So, I'm going to go ahead and pick something else, which might be like a piano sound, for instance:
- This piano is going to be a Steinway grand piano.
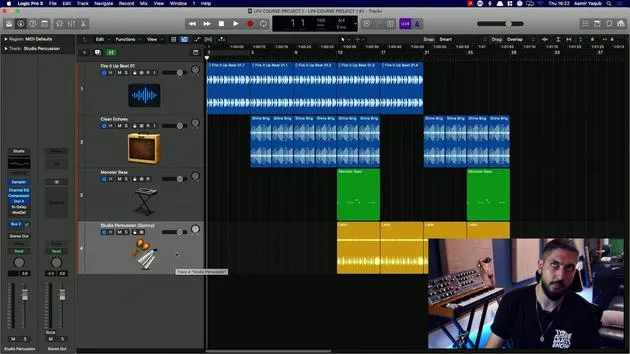
- When I load that patch, things happen in the track header (a piano icon appears) and in the channel strip.
Whenever I load a different patch (e.g., mallet and marimba), it will load a different set of instruments and effects, including delays.
Using Patches for Different Instruments
Your patches can be selected for software instruments in order to trigger those sounds. But we can also load patches for audio instruments as well.
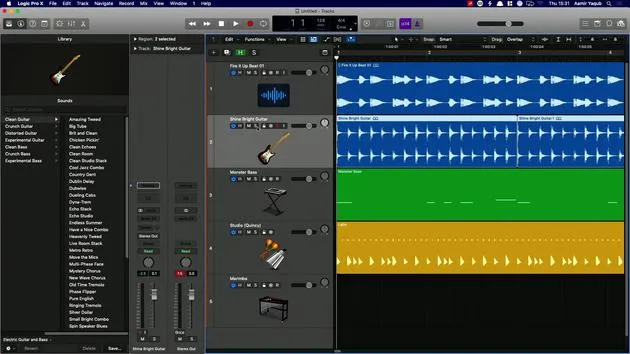
For example, if I go to my guitar part:
- I could load a patch, which is essentially a chain of effects for my guitar sound.
- I could choose electric guitar and bass, and then select something like crunch guitar, distorted guitar, or clean guitar.
- I'm going to do clean echoes, for instance.
Soloing and Comparing Sounds
This will allow me to add something to that sound.
- I can press Command + Z (or Z) and solo this by pressing the S button.
- I can also just press S on my computer keyboard, and this will solo that.
I'm going to play the sound, add that patch in, and you can hear the difference in the sound. Obviously, that sounds a lot better to me there.
Understanding Patches and Channel Strips
What we've established is that a patch is essentially a bunch of different things that change the sound, and it differs whether we're working with software instruments or audio tracks.
Examining the Channel Strip
Now, I want to show you how a patch is made up and focus on the channel strip:
- The channel strip is in the inspector section on the left-hand side.
You can see here that I have effects like:
- A noise gate
- A pedal board
- An amp
- A channel EQ
- Compression
- Sample delay
We'll be going through all of that kind of stuff very shortly.
Plugins in the Channel Strip
What I have are all of these plugins:
- A plugin can be either an instrument plugin (like the one for this bass sound) or it can be audio effects (like the things on this audio channel).
- A patch is essentially us putting all of that stuff together.
When we are in our library, what we're doing is selecting a patch. That patch is comprised of plugins that have been put onto our channel strip.
Channel Strip Functionality
Our channel strip is there to host plugins and software instruments, but it's also there for us to:
- Adjust the volume of something (up or down)
- Pan something to the left or right speaker
- And obviously much more than that.
13 Lektionen
1 Std. 23 Min. strukturierte Videolektionen
Erweiterte Videofunktionen
Verlangsamen, Passagen loopen, mitlesen
Handy, Tablet & Desktop
Üben, wo du willst
100 % Zufriedenheitsgarantie
30 Tage Geld-zurück-Garantie
Lern deinen Guru kennen
Lern deinen Guru kennen
Aamir Yaqub ist ein in London ansässiger Musikproduzent und Toningenieur. Er hat mit einigen der größten Namen der Musik gearbeitet, darunter Alicia Keys, David Guetta, Rihanna, Sia und will.i.am, und fördert außerdem unabhängige Künstler.
In seinen Kursen vermittelt er seinen kompletten Logic-Pro-Workflow – von der Oberfläche und dem Aufnehmen über Beatmaking, Synthese und MIDI-Effekte bis zum Mixing und Finalisieren eines Tracks.







