



Studer C37
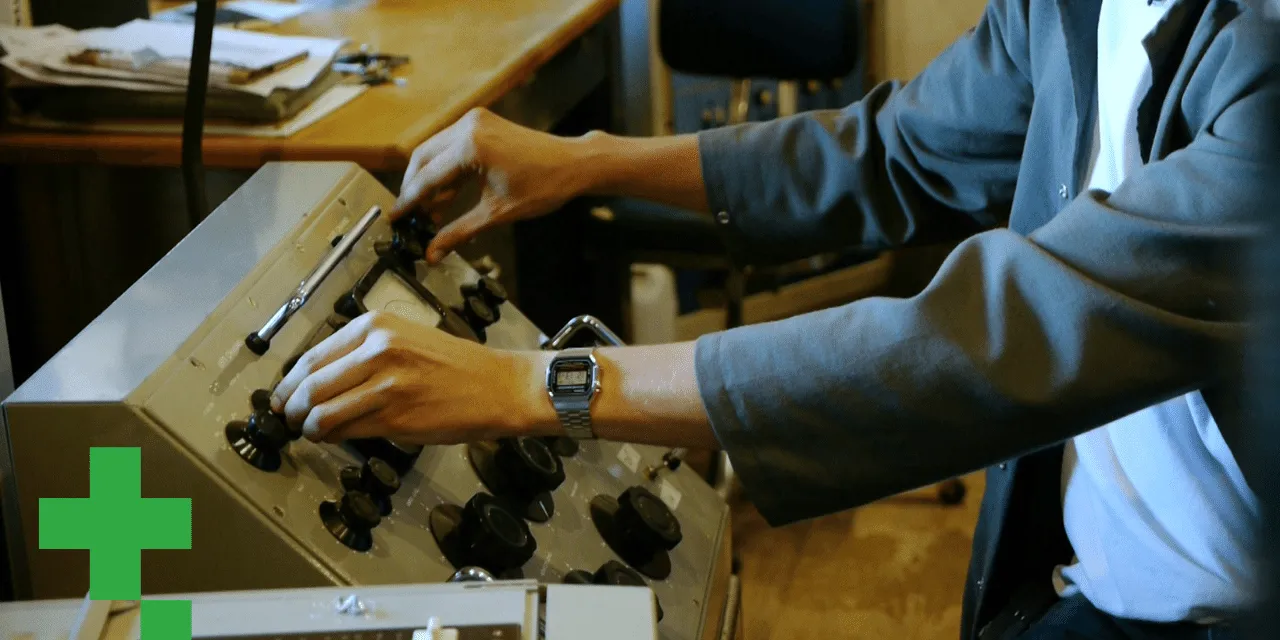
Darrel und Caspar führen ihre restaurierte Studer-C37-Röhrenbandmaschine vor und erklären, wie man auf Band aufnimmt und die Köpfe vor dem Schneiden entmagnetisiert.
Das steckt im Kurs
11 Lektionen (1h 35m) · 1 gratis
01. Einführung in Gearbox Records
Gratis-Lektion4:00
02. Einführung in die Studio-Hardware
8:50
03. Einführung in die Studio-Software
1:53

04. Vorbereitung auf das Mastering
6:21

05. Mastering - Demo
4:33

06. Mastering - Gespräch
13:24
07. Studer C37
Du bist hier26:00
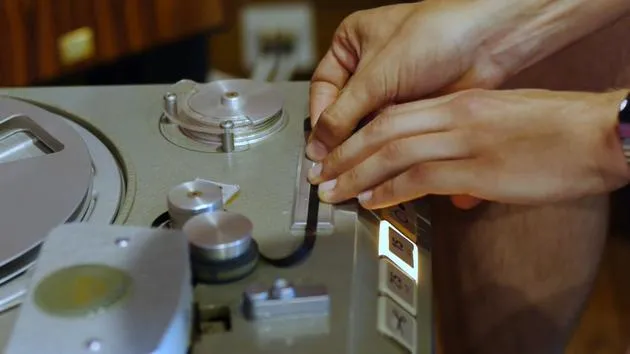
08. Bandschnitt
5:19
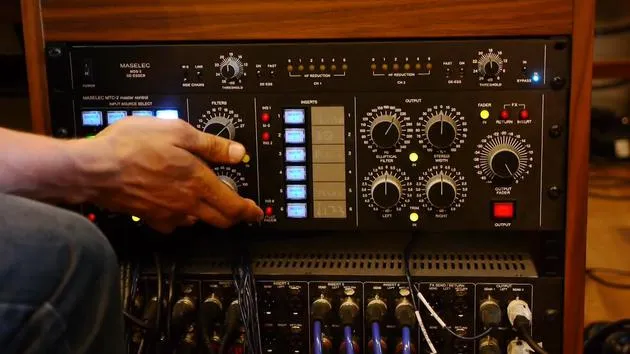
09. Filter & Vorsichtsmaßnahmen vor dem Schneiden auf Lack
4:27
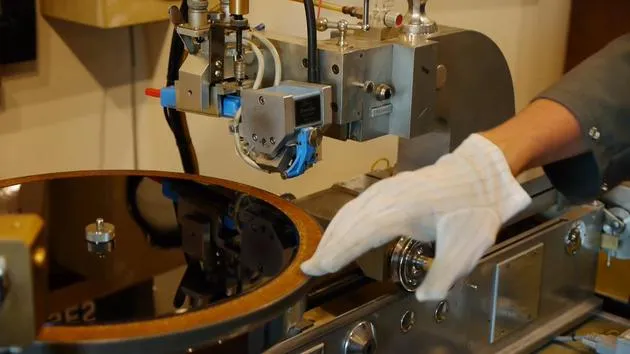
10. Die Lack-Schneidedrehbank
11:32
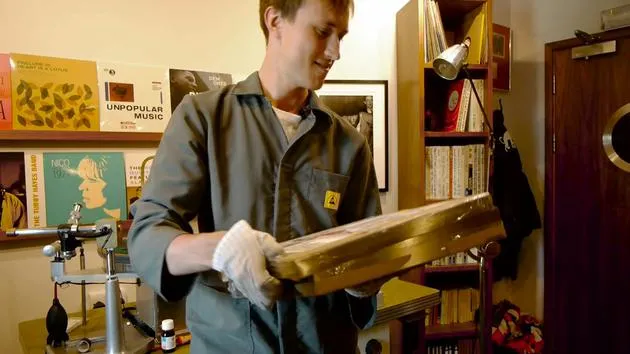
11. Qualitätskontrolle, Testpressungen und Vervielfältigung
9:23
Transkript der Lektion
Music Lesson: Using the Studa C37 Tape Machine
Introduction to the Studa C37
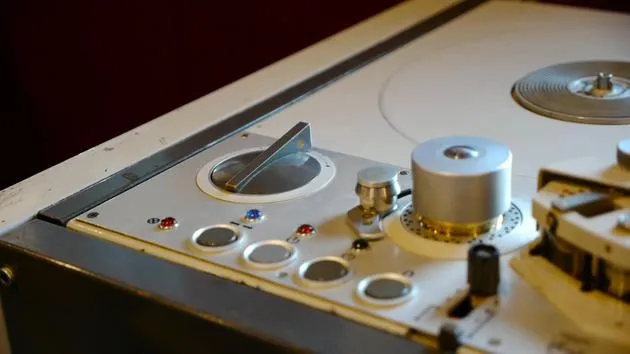
So this is the Studa C37. This is a machine that contributes to the legendary sound of this studio. It's a valve tape machine that has been restored by a talented technician in Switzerland, whose father used to work for Studer.
- Condition: It's in excellent shape.
- Sound Quality: It produces a great sound and excellent soundstage.
One of the reasons we use this machine is to run our digital recordings back through tape before cutting.
Degaussing the Machine
Now, let's go through what you need to do before you start cutting.
Important Note on Tape
First, you must be aware of the tape. Keep tape well away from what we're about to do, which is degauss the machine.
- Degaussing refers to demagnetizing the heads.
Tape is crucial in our philosophy of purity of sound. The tape we use is made by Piral RMG International, France, and their formulations have excellent signal-to-noise ratios.
- No Need for Dolby: High-quality tape has minimal hiss.
Degaussing Procedure
Casper will now demonstrate the degaussing process. Notice that the machine is not switched on, you shouldn't demag when the machine is on. We use a demag machine that removes any excess magnetism from the heads.
- Cleaning Magnetism:
- Iron filings can build up on the heads if magnetized, degrading sound quality.
- The goal is to align the domains in the material.
To perform the degaussing process:
- Precautions: Ensure there's no tape near this machine to avoid wiping any recorded material if it gets within the magnetic field.
- Technique:
- Hold the end of the demag tool close to the tape heads.
- Gently swirl it around near the heads, then draw it away to pull the magnetism off.
Repeat for all heads: erase head, play head, and record head.
Cleaning the Heads and Rollers
- Now, we need to clean the heads and the rollers with pure alcohol.
- Important: Use only pure alcohol as diluted alcohol can leave a residue.
- The pinch roller, which is rubber, requires distilled water instead of alcohol.
Cleaning Steps:
- Using Cotton Buds:
- Carefully wipe from left to right on the heads.
- Tape Lifter: Clean any buildup from the tape lifter.
- Rollers: Don't forget to clean the rollers too.
This alcohol evaporates quickly, preventing buildup on the machine.
Switching on the Machine
Now we can switch the machine on and proceed to realign it.
Importance of Proper Alignment
Proper setup is crucial for any tape machine, whether it's quarter inch, half inch, one inch, or two inch.
- Key Steps:
- Degaussing
- Cleaning the heads and rollers
- Aligning the machine
Many people shortcut these steps, but it's critical for ensuring sound quality. The source is where attention is needed.
Working with Different Types of Tape
Types of Hub Adapters
- NAB Hub: Commonly used by National American Broadcast.
- AEG Hub: More common with European tapes.
- Cine Hub: Used for domestic tapes.
Tensioning the Tape
Casper is now removing a large reel designed for professional machines.
Why Use Pancakes?
Pancakes are preferred because:
- They result in less wow and flutter (slight pitch variations).
- They don't catch against the rim like spools can.
Leader Tape
Leader tape can reduce wow and flutter but may introduce its own issues because of glue consistency.
Azimuth Alignment
The azimuth is the angle at which the heads sit against the tape.
- Adjustment Importance: It only needs adjustment occasionally, generally when transporting the machine.
Although this is a complex setup, it's crucial for ensuring playback quality.
Conclusion
By understanding each step and taking the time to properly set up the Studa C37, you ensure the highest sound quality in your recordings. Remember, the source matters the most!
11 Lektionen
1 Std. 35 Min. strukturierte Videolektionen
Erweiterte Videofunktionen
Verlangsamen, Passagen loopen, mitlesen
Handy, Tablet & Desktop
Üben, wo du willst
100 % Zufriedenheitsgarantie
30 Tage Geld-zurück-Garantie







