



Preamp-Pegel einstellen
Lesson time: (15min 29sec)
In dieser Lektion zeigt dir Nik, wie er die Pegel für die Schlagzeugaufnahme einstellt und worauf man dabei achten muss.
Course preview
This lesson is part of the course Nimm Live-Schlagzeug auf wie ein Profi
Watch a preview of the full course below.
Lesson transcript:
Music Lesson: Setting Up Drum Mics in the Control Room
Welcome to this next section, where we're in the control room.
Recap of Setup
Just to recap:
- We've set up all the mics in the drum room.
- We patched them in, and those lines are running through the wall into the control room and into my preamps.
The next step will be to get a good signal going into the preamp. We're going to get Chris, the cameraman, to play a bit of drums for us, and I'll control the gain to ensure we get just the right signal, not too much and not too little.
Signal Levels
- If we get too much signal, it overloads, goes into the red, and we get distortion, which we don't want.
- If we get too little signal, we get too much noise, and that's not good either.
But mainly for drums, it should be fairly straightforward because it's a loud instrument and relatively easy to adjust the gain.
Microphone List
When I patched in the microphones into the lines, I made a little list of all the microphones I plugged in. It's quite handy because it can get a bit confusing. We're dealing with:
- 13 mics here,
- and it can easily get mixed up.
So I made a list of which mic goes into what preamp, making it clear. I'm going to take it from the top all the way down, make sure I get a nice healthy signal, and then we can start recording.
Gain Staging
The next thing is gain staging, and we're going to get Chris on the drums. Here we go!
Setting Levels
- Chris is in the drum booth.
- I'm going to get down to the preamps and start with the kick.
I have a microphone here so I can talk back to Chris.
"Chris, if you can start with the kick."
- The kick, as we can see here on the list, is going into the API one, and it's on a dynamic mic.
- "Can you play a little bit more?"
The levels are quite hot on this. The way I've set up this preamp is that it has a bit of attenuation, which means the level is being taken down when it comes out of the preamp. I like the way it sounds.
Preamps Setup
- API preamps can actually handle very loud inputs from the mic.
- I made it so I can gain it fairly high, and it will go just into the red.
So we can move on to the snare, a bit more.
- "That's nice and healthy as well."
- You can see the meter going just into the red.
The first two channels are attenuated on the back, allowing me to hit the preamp a little harder, which makes a nice sound on these preamps. Not something I would advise on a normal preamp, but specifically the API ones. They can handle this loud input, and it makes the sound really nice.
Overheads
The next ones are the overheads, API 3 and 4.
- "Can you just play the whole kit with some cymbals?"
That's a nice healthy signal coming through. As Chris isn't playing super hard, I'm going to pad these overheads because I think the signal is a bit loud.
- "If you play again, Chris."
Now I padded it. That's without the pad and with the pad. I need to gain up a little bit again.
"Just play a little bit again."
Yeah, that looks very good. So we move on to the focus right, which is the kick out (4-1-4), and that needs phantom power.
Kick Drum Check
So I'm going to, "Chris, can you play the kick drum?"
- Yeah, that sounds good.
- "Play a bit more kick."
I gained it up way too much; it's basically overloading.
"That's a nice healthy signal."
I can see it here on the input on the sound card (the rme).
Snare and Sub Kick
The next one will be the snare. This is going to be the sub kick, so I'm going to gain that.
- "Can you play the kick again?"
- Yeah, that's nice and healthy as well.
I'm going to gain that down a little bit.
- "Play a little bit more kick."
We can see the sub kick coming in there. That's Focusrite 2, and that looks good. It doesn't need phantom power.
Hall Mic Setup
The next one is the hall mic, which is interesting. We probably need quite a lot of gain because it's far away from the kit, and the sound has to travel out through the door.
- "Can you play the whole kit, just kick and snare, pretty loud?"
I'm trying to gain here, but there's nothing coming through because I haven't turned on the phantom power.
Under Snare Mic
Okay, I looked at the wrong number. It's the under snare mic (Focusrite 3).
- "Can you just hit the snare, please?"
That looks like a pretty healthy signal as well.
Adding the Hall Mic
Now we come to the hallway mic, which also needs phantom power.
- "If you can play a little bit of the whole kit, kick, snare."
I don't know if you can hear that, but suddenly we get this quite strong reverb sound.
"That's the hall mic."
As you can hear, that's quite a nice sound. It adds a lot of texture and tail, and that looks pretty healthy as well.
Toms Setup
Now we can move to the TOMS.
- "Tom 1?"
That's down here on the JLMS, and they're dynamic mics.
- "Can you just hit Tom 2 and Tom 1?"
I think there's a dodgy cable here because there's no signal coming through, really. I need to double-check that we have a good connection.
Troubleshooting Cables
This kind of thing happens in most sessions; you need to double-check a cable.
- "Is it plugged in properly, or is there a loose connection?"
Cool. We've managed to find the faulty cable for Tom 1 and replaced it with a fresh one that works.
- "If we can have Tom 1, that would be great."
Yeah, I'm gaining it up a little bit.
- "Play a bit."
- Yeah, that's too much.
"Play a bit more."
Yeah, that's pretty healthy.
- And for the floor Tom...
Don't want to go too close to 0 dB; you want a little bit of headroom to prevent overloading on the sound card, which could lead to digital overload, a not very pleasant sound.
Final Checks
So it's better to have it too quiet than too loud in that case.
The next mic we're gonna look at is the room mics. They both need phantom power, so let's see if we can hear that.
- "Chris, can you play the whole kit just pretty loud?"
I can see the left one is a little bit louder, so let's gain that down a little bit.
Knee Mic Setup
Now we're going to set the level for the knee mic. It's on this preamp up here, which is a Neve clone from Seven Circle.
- "Sounds great. It's nice and smooth, with lots of low end."
If you could just play the whole kit, kick, snare.
- "I'm gonna try and solo it."
No. Kick, kick, snare.
- "Yeah, that's all coming through nicely and it's got a nice healthy level."
Hi-Hat Mic
And the last mic is the hi-hat mic, which is up here.
- "That was the 57 and that should be coming through on number 6."
So I'm gonna make sure it's on mic.
- "Can you play the hi-hat a little bit?"
That should be all right, and there's no compression.
Conclusion
So that's all the mics set up and pretty much in the right gain range.
We're going to load up the track and record a little bit. Then we can see if there's anything that's too hot or too quiet, and we can fine-tune the levels to get a really nice level on each mic.
But I think we're pretty much in the ballpark.
"Let's have a listen to the tune and see what kind of music it is. I haven't heard it yet, so it's going to be pretty exciting!"
About the instructor
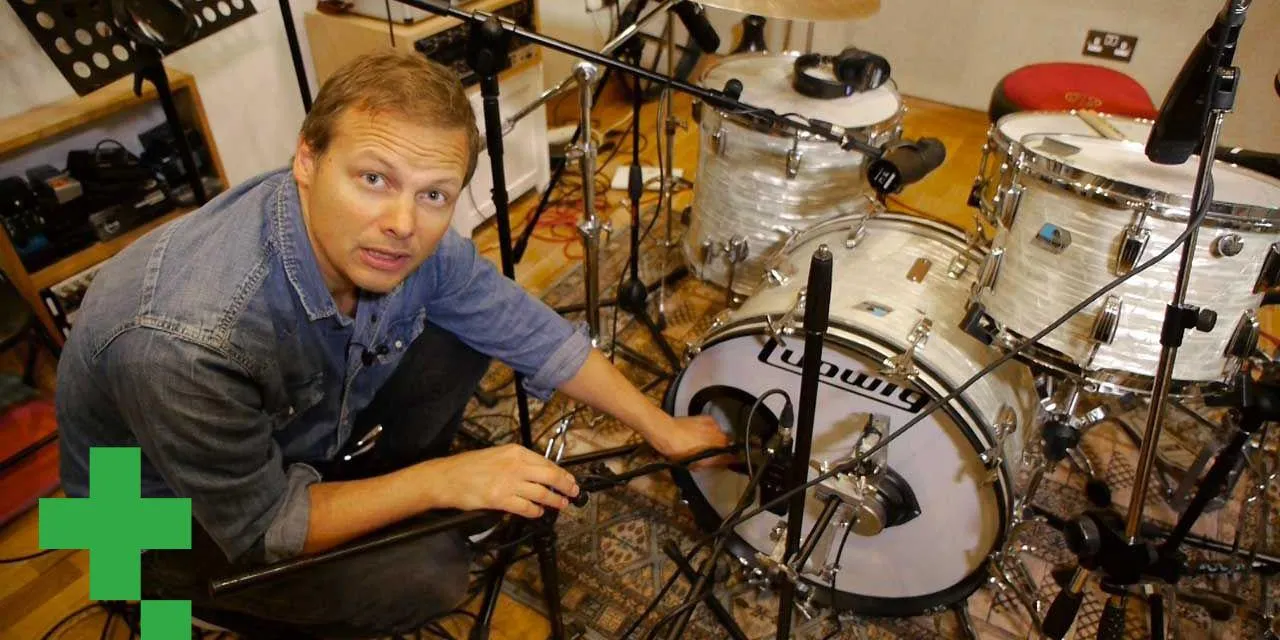
Nikolaj Bjerre ist ein dänischer Schlagzeuger und Produzent mit Sitz in den Tileyard Studios in London, der mit Künstlern und Bands wie Lamb, der Ian Siegal Band, Ella Eyre und Heather Nova gearbeitet hat. Seine Arbeit umfasst Live-Schlagzeug, Produktion, Programmierung und das Schreiben und bewegt sich mühelos von organischem, wurzelig-geerdetem Spiel bis hin zu topaktuellen elektronischen Stilen; er wird von Sabian, Hardcase und Protection Racket unterstützt. In diesem Kurs zeigt er dir, wie du Live-Schlagzeug in professioneller Qualität aufnimmst. read more