



Tiras de canal y plugins
Con
Aamir YaqubUn recorrido por la tira de canal de Logic Pro: cargar patches desde la biblioteca y los instrumentos, efectos y plugins que traen consigo.
Qué incluye el curso
13 lecciones (1h 23m) · 1 gratis
01. Bienvenido al curso
0:39
02. ¿Qué es Logic?
2:21
03. Iniciar Logic y personalizar el software
Lección gratis4:55
04. Barra de control y área de visualización
7:35
05. Explorar el espacio de trabajo - Zona de la regla
5:09
06. Área de la cabecera de pista
7:35
07. Navegando por tus primeros sonidos
7:51
08. Uso de pistas y regiones
4:44
09. Tiras de canal y plugins
Estás aquí4:35
10. Propiedades del proyecto, Guardar, Plantillas
14:58
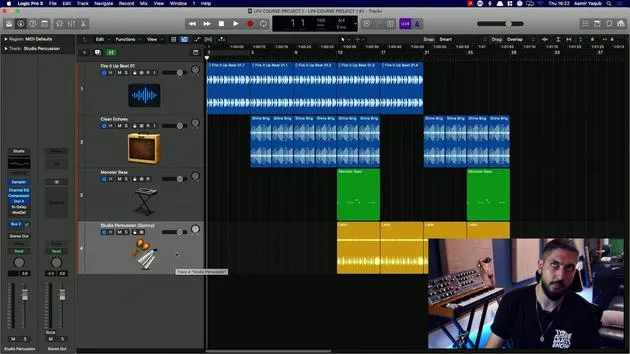
11. Trabajar con pistas
3:42
12. Trabajar con regiones
8:11
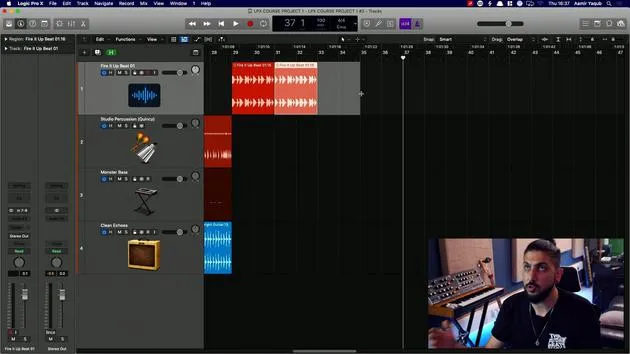
13. Cortar, hacer loops y ciclar regiones
11:04
Transcripción de la lección
Building and Enhancing Tracks
So now that we've taken a look at regions, how else can we build and enhance tracks?
Exploring Different Sounds and Styles
What it will come down to is different sounds and different styles. One place we can go for that is obviously the library, which we've already taken a brief look at. But I want to show you a little bit further.
Accessing the Library
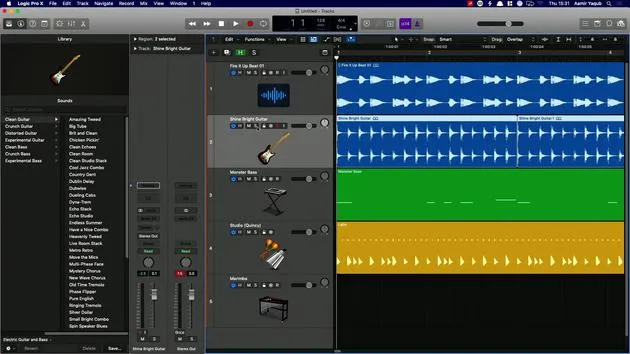
- By pressing Y to access the library,
- If I create a new software instrument track (Option + Command + S),
- You can see I'm presented with a bunch of patches and categories that I can load.
Essentially, what this will do here is populate my channel strip with an instrument, some effects, maybe even some delays and reverbs, and stuff like that.
Selecting a Patch
So, I'm going to go ahead and pick something else, which might be like a piano sound, for instance:
- This piano is going to be a Steinway grand piano.
- When I load that patch, things happen in the track header (a piano icon appears) and in the channel strip.
Whenever I load a different patch (e.g., mallet and marimba), it will load a different set of instruments and effects, including delays.
Using Patches for Different Instruments
Your patches can be selected for software instruments in order to trigger those sounds. But we can also load patches for audio instruments as well.
For example, if I go to my guitar part:
- I could load a patch, which is essentially a chain of effects for my guitar sound.
- I could choose electric guitar and bass, and then select something like crunch guitar, distorted guitar, or clean guitar.
- I'm going to do clean echoes, for instance.
Soloing and Comparing Sounds
This will allow me to add something to that sound.
- I can press Command + Z (or Z) and solo this by pressing the S button.
- I can also just press S on my computer keyboard, and this will solo that.
I'm going to play the sound, add that patch in, and you can hear the difference in the sound. Obviously, that sounds a lot better to me there.
Understanding Patches and Channel Strips
What we've established is that a patch is essentially a bunch of different things that change the sound, and it differs whether we're working with software instruments or audio tracks.
Examining the Channel Strip
Now, I want to show you how a patch is made up and focus on the channel strip:
- The channel strip is in the inspector section on the left-hand side.
You can see here that I have effects like:
- A noise gate
- A pedal board
- An amp
- A channel EQ
- Compression
- Sample delay
We'll be going through all of that kind of stuff very shortly.
Plugins in the Channel Strip
What I have are all of these plugins:
- A plugin can be either an instrument plugin (like the one for this bass sound) or it can be audio effects (like the things on this audio channel).
- A patch is essentially us putting all of that stuff together.
When we are in our library, what we're doing is selecting a patch. That patch is comprised of plugins that have been put onto our channel strip.
Channel Strip Functionality
Our channel strip is there to host plugins and software instruments, but it's also there for us to:
- Adjust the volume of something (up or down)
- Pan something to the left or right speaker
- And obviously much more than that.
13 lecciones
1h 23m de lecciones en vídeo estructuradas
Funciones de vídeo avanzadas
Ralentiza, repite un pasaje, sigue la partitura
Móvil, tablet y ordenador
Practica donde quieras
Garantía de satisfacción 100%
30 días de garantía de devolución
Conoce a tu gurú
Conoce a tu gurú
Aamir Yaqub es un productor e ingeniero musical afincado en Londres. Ha trabajado con algunos de los nombres más grandes de la música, entre ellos Alicia Keys, David Guetta, Rihanna, Sia y will.i.am, además de desarrollar a artistas independientes.
A lo largo de sus cursos enseña su flujo de trabajo completo en Logic Pro: desde la interfaz y la grabación, pasando por la creación de ritmos, la síntesis y los efectos MIDI, hasta la mezcla y el acabado de un tema.







