



Let It Go, Frozen (Lektion)
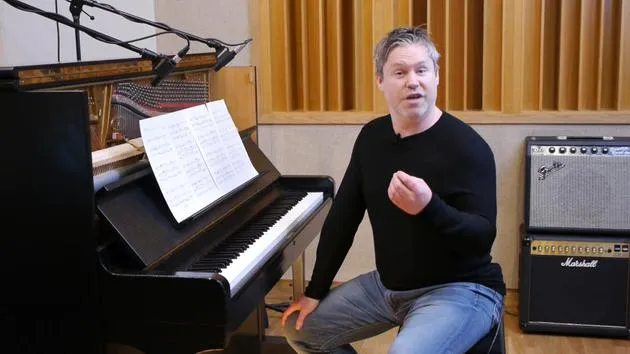
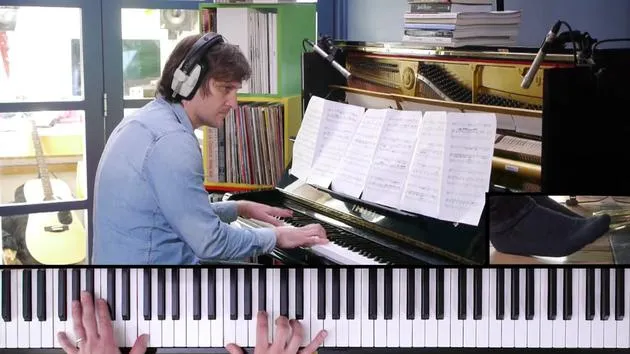
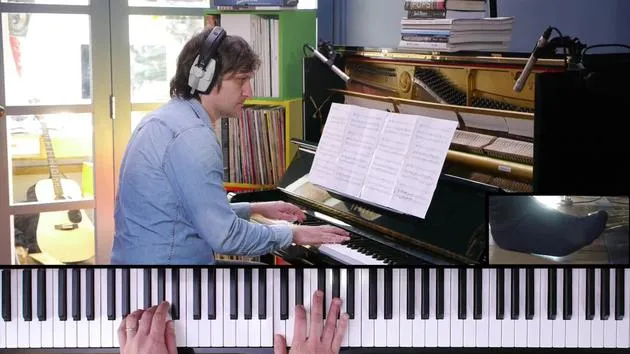
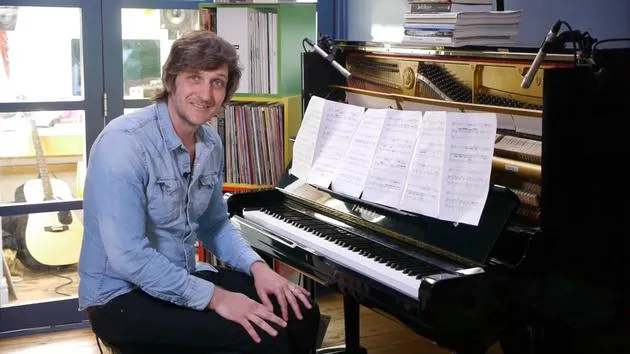
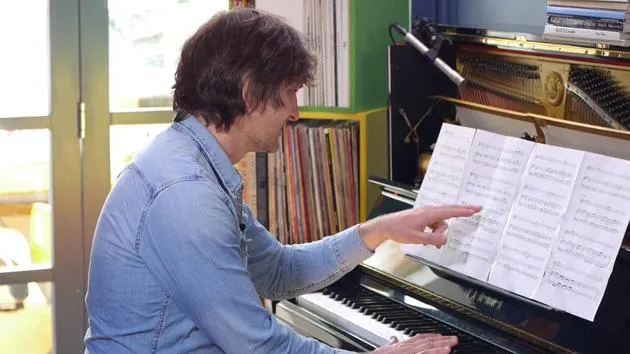
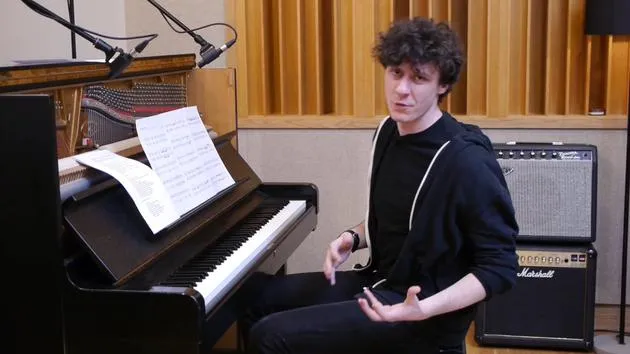
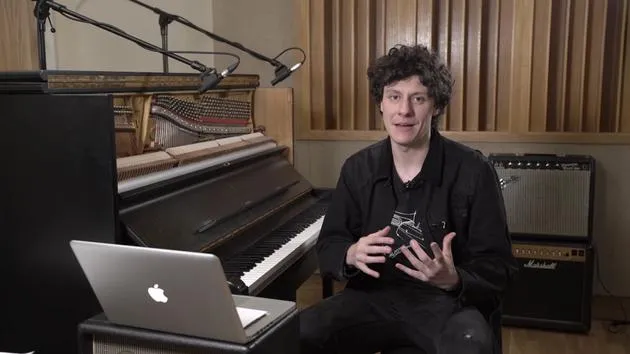
Andrew Johnson geht das Grade-5-Arrangement von 'Let It Go' durch, behandelt es als Begleitung der Gesangslinie und arbeitet an Dynamik und rhythmischem Detail, die es zum Singen bringen.

Das steckt im Kurs
29 Lektionen (2h 19m) · 1 gratis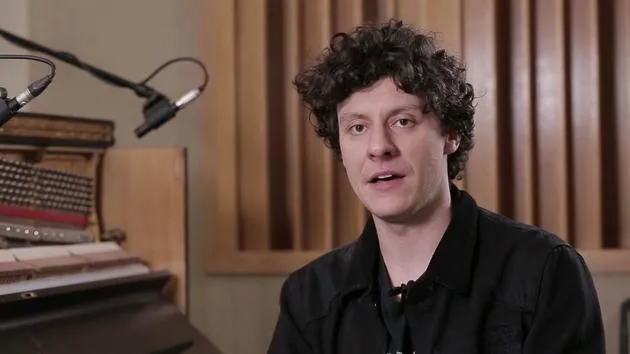
Transkript der Lektion
Lesson on "Let It Go"
Introduction
Hi, everyone! Welcome to the lesson on "Let It Go." This song clearly doesn't need any introduction. I think everyone on the planet knows how famous this song is and how well-known the film is.
Information Guide
I definitely recommend that you take a look at the information guide that you get with the song. It gives you all the background on the piece, the song, and how it features in the film Frozen.
Technical Aspects
Today, we're going to focus on some of the technical aspects of the piece, suitable for Grade 5. We're starting to get more advanced with the technical work that this piece demands, both rhythmically and in terms of pure technical challenges.
As a professional pianist, I've not found this piece easy by any stretch, even for Grade 5. So, if you are learning this song, I take my hat off to you instantly for taking on quite a big piece. It's many pages long, so let's take a look straight from the top.
Observations
Accompaniment to a Vocalist
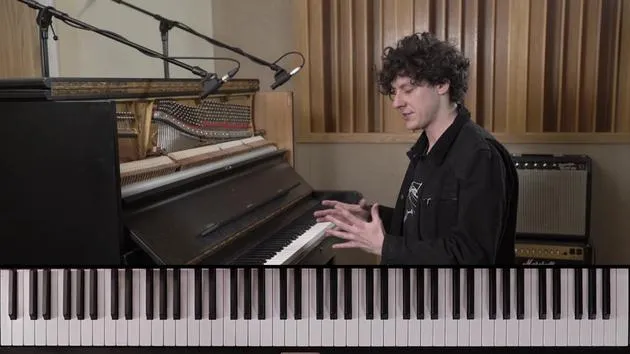
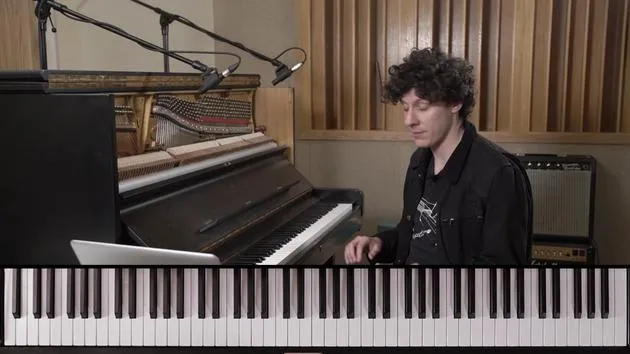
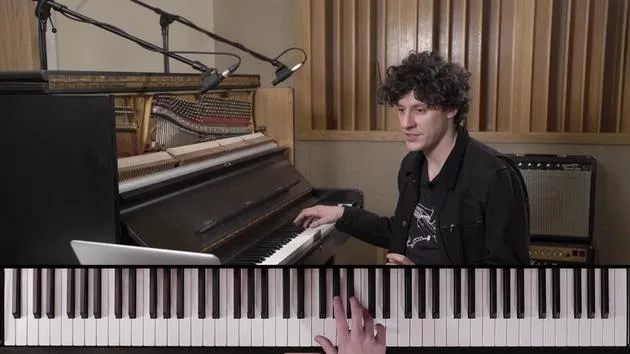
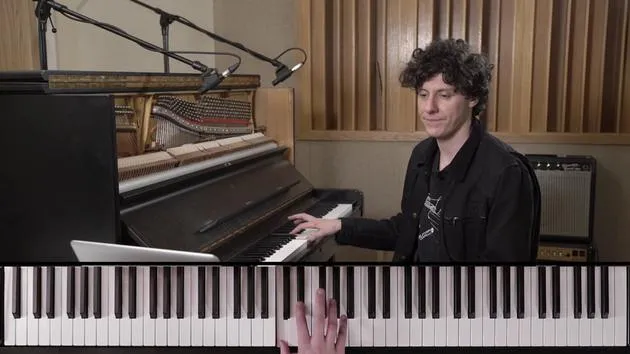
My first observations about this piece would be to approach it as an accompaniment to a vocalist.
- As you can see, you've got the top line with the music, which includes all the lyrics and the melody.
- You're accompanying this big backing track as well.
Dynamics
The first thing I want to emphasize is dynamics.
- Throughout the piece, there needs to be a mix of delicacy and a nice piano pianissimo.
- For example, in the intro, we want it to be really delicate.
- We don't want to bang it; we want to keep it nice and delicate.
If you have a backing track with this, you'll hear these little chimes in the background, creating a kind of snowy landscape, painting a picture with the music. This snowy landscape resembles icicles.
The Chorus
Later on, as the vocal comes in, you've got the same thing, an octave lower. This wants to be more of an accompaniment as it builds up to the first chorus.
- As this chorus builds up, keep a steady rhythmic pace like a metronome.
- Remember that pause: we have a quaver rest to move almost two octaves up from here to this top A flat chord.
- The first chorus should be played pianissimo. Those chords should feel like clouds floating.
We then begin to build up, and suddenly we're in new territory as the piece expands.
Technical Recommendations
Staccato Texture
From this point on, you can have a more staccato texture as the piece suddenly expands. As the piece develops, we've got these strong chords accompanying the vocal.
- I recommend keeping the chords here (Bar 27) nice and staccato to punctuate the rhythm.
- Avoid a lumpy texture.
- Up until Bar 30, you should use the pedal, then go straight into Bar 31 and into the bridge.
The Hardest Part
The hardest part of the piece is when Elsa is creating her big castle.
I personally recommend:
-
Finger Placement: Use every finger you want to play for these sections.
- For example: 1, 2, 3, 4, 5; 2, 3, 4, 5; 4, 3, 2.
-
Slow, Deliberate Practice:
- Start with very slow, deliberate practice.
- Know every single note; don't guess or play over and over again.
- Finger every note for that whole section and start with nice, slow practice.
-
Emphasis on Notes:
- Listen to how I play this part. Slowly build up, and when you reach the top bit again, you can use the pedal if you want.
When you come off that, go straight to the chord; you can make that as heavy and powerful as you wish.
Tips on Fingering
If you want any tips on fingering, just drop me an email or send a message, and I will provide the exact finger markings I've used. A relaxed hand is key; it's all in the fingers. With a light touch, you'll get it!
Conclusion
End of the Piece
As we near the end of the piece, keep that same powerful dynamic through to the very end. Remember to count on that last chord, 2, 3, 4, and have a slight slowing down at the end.
Key Familiarization
When preparing a piece like this, familiarize yourself with the key:
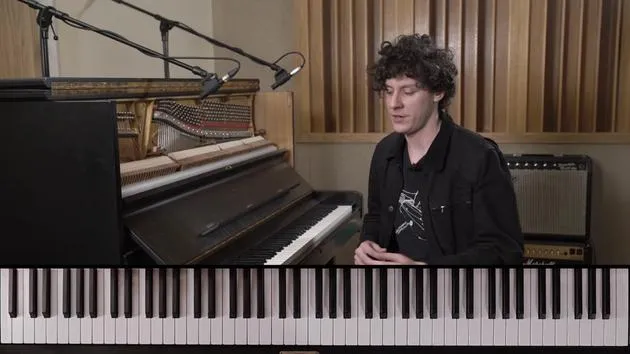
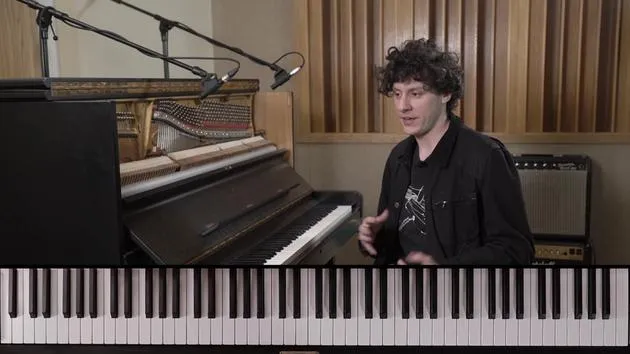
- A flat major, F minor, lots of black notes.
- The foundation of this piece is chords, focusing on the center of A flat major near the chorus but varying the approach.
Chord Patterns
Get accustomed to playing:
- A flat major
- Dominant E flat major 6
- Minor
- Subdominant D flat major
Then play these by rote, up and down the piano to help your fingers know those shapes.
Rhythm and Syncopation
Pay attention to syncopation as well. For example, in bar 15, the rhythm mirrors the melody but then returns to the accompaniment. Balance those two technical areas!
Final Tips
- Take Breaks: Find moments in the music where you can take a slight pause to gather strength for what's coming up.
- Dynamics: Always consider the dynamics. Try to create nice crescendos leading up to the choruses; these are perfect places to show the natural growth of the song dynamically.
Have Fun
Lastly, have fun with it! This piece is so much fun to play. Although it's an overplayed piece of music, playing it on the piano allows you to really enjoy it.
Thank you all very much, and I hope you enjoyed that lesson! If you have any questions, feel free to email me, and I'll do my best to get back to you, especially regarding any technical inquiries.
Good luck!
29 Lektionen
2 Std. 19 Min. strukturierte Videolektionen
Erweiterte Videofunktionen
Verlangsamen, Passagen loopen, mitlesen
Handy, Tablet & Desktop
Üben, wo du willst
100 % Zufriedenheitsgarantie
30 Tage Geld-zurück-Garantie







