



Zungenstoß-Übung Nr. 2
Mit
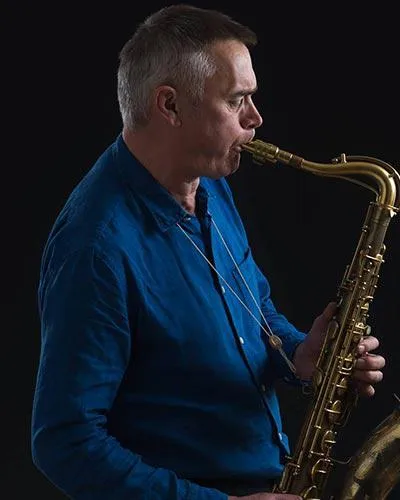
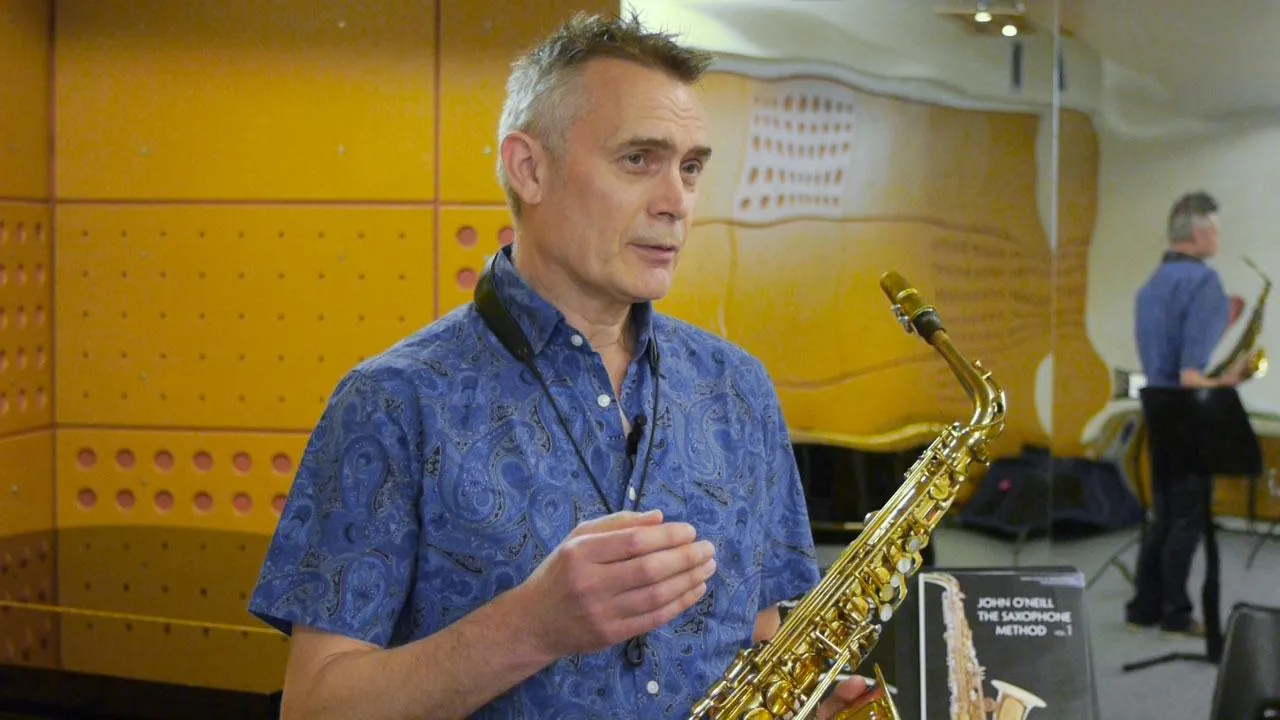
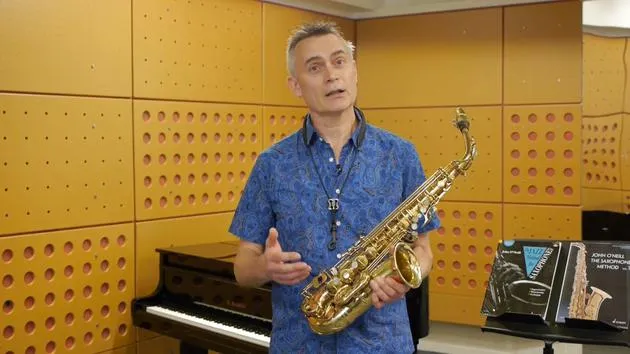
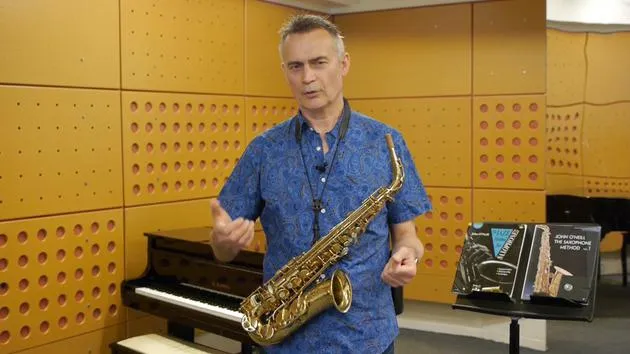
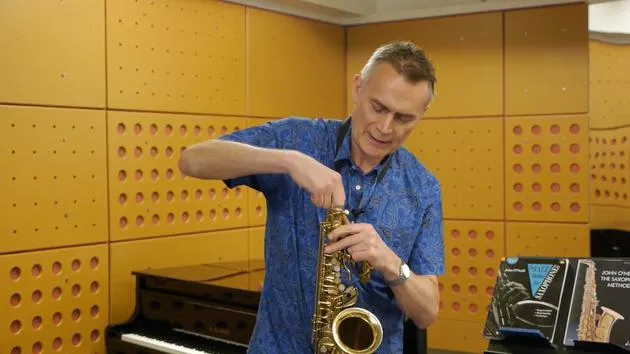
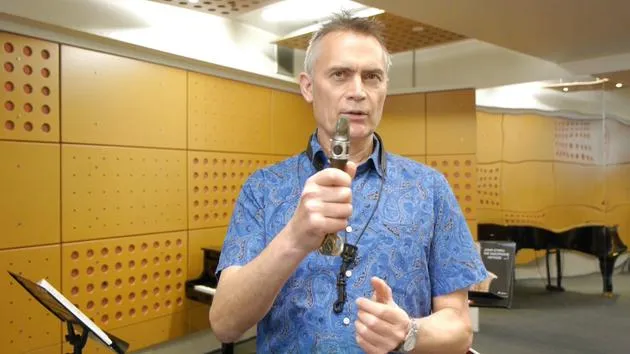
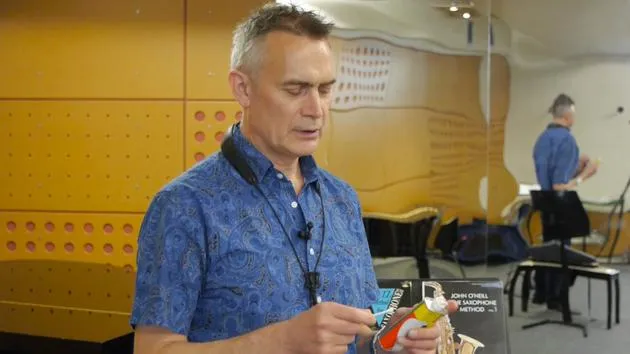
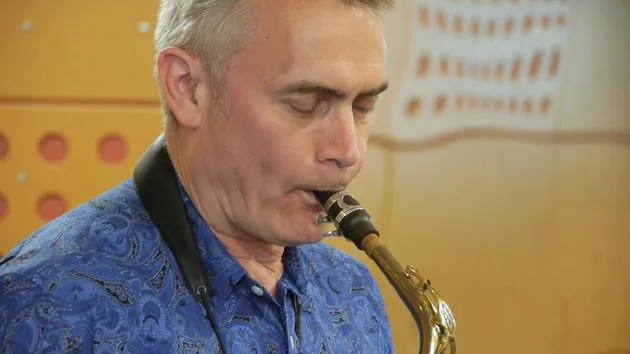
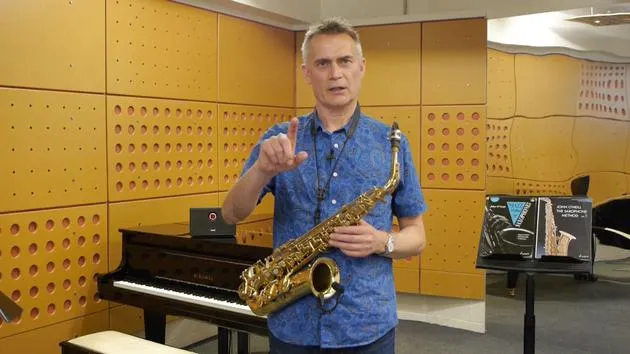
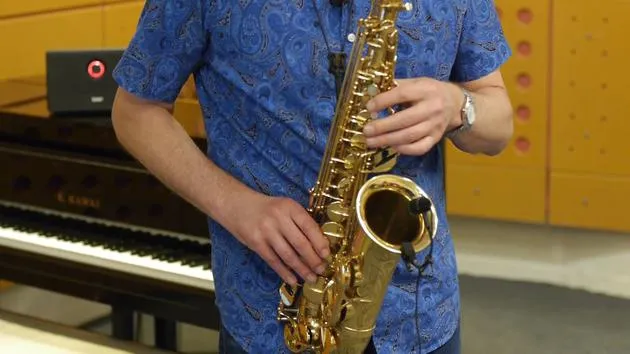
John O'NeillIn diesem Video zeigt dir John eine zweite Übung, um den Zungenstoß zu üben und richtig hinzubekommen. Vergiss die Silbe "do" nicht.
Das steckt im Kurs
25 Lektionen (2h 10m) · 1 gratis
01. Haltung
13:20
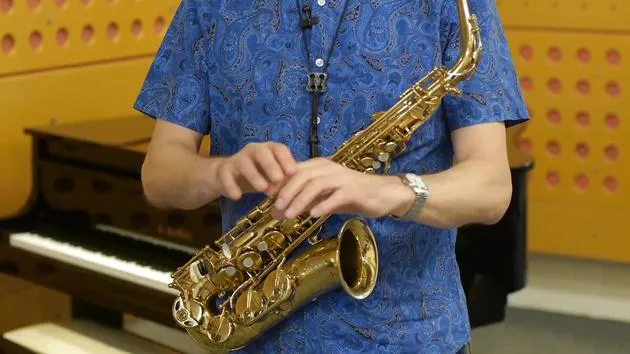
02. Fingersatz
4:10
03. Die Atmung
4:12
04. Atemübung Nr. 1
3:24
05. Atemübung Nr. 2
4:34
06. Atemübung Nr. 3
2:29
07. Atemübung #4
1:27
08. Atemübung Nr. 5
2:27
09. Der Ansatz und deine erste Note
9:46
10. Fehlersuche bei deinem ersten Ton
9:34
11. Deinen Klang entwickeln
3:43
12. Zungenstoß-Übung #1
4:36
13. Zungenstoß-Übung Nr. 2
Du bist hier6:49
14. Abschließende Gedanken & Üben
1:57
Transkript der Lektion
Applying the Ventriloquist Exercise to the Saxophone
So now we're going to proceed to try to apply this ventriloquist exercise to the saxophone. As you proceed to this next exercise, it's absolutely vital that you remember to imagine the do sound.
What often happens is that when I explain to people how important the sound is, they appear to take it on board, but then just a few minutes later, I ask them, "Are you remembering the do sound?" They look a bit shamefaced and downcast and say, "Oh, actually no, I forgot."
It's absolutely vital that you remember to imagine the sound.
The Exercise
- Stand in front of the mirror.
- Imagine your do sound.
- Start with a few seconds of a long note.
- That very first note is fine if you just breathe into the saxophone as before when you're playing your long note exercises.
- Later on, you can practice starting notes with the tongue, as I describe in the book.
Once you've established a nice steady sound, then start tonguing, imagining the do syllable.
Key Points for the Second Exercise
Here are a few things to note during this second exercise. Some of them I've already touched on in the ventriloquist exercise:
-
Tongue Placement:
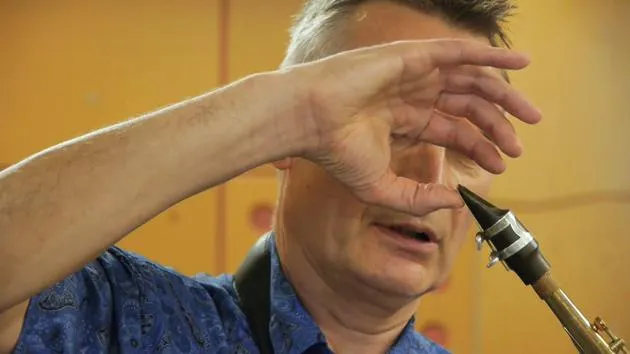
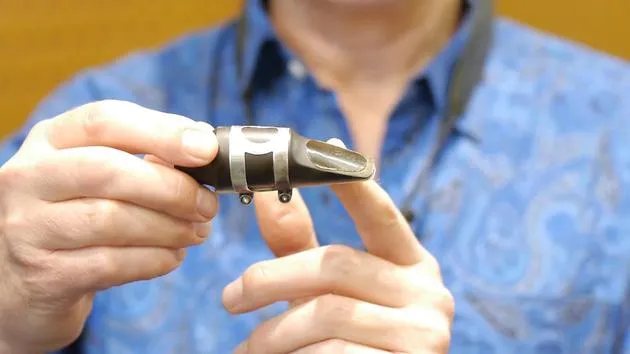
- Remember that you're not using the tip of your tongue, but just behind the tip.
- Imagine that my thumb is my tongue. The contact should be like this, not the tip of the tongue touching the underneath of the reed.
This is a very common fault.
-
Correct Tonguing Technique:
- Touch just behind the tip of the tongue to the very edge of the reed.
- Avoid touching the tip of the tongue to underneath the reed or the flat part of the reed near the tip.
-
Clean Sound:
- For the tonguing to sound clean, it's crucial that you imagine the do syllable. That action should happen naturally.
Common Tonguing Issues
-
A common problem is that when people tongue, they bring the tongue forwards and up instead of allowing it to come up naturally.
-
Keep Tongue Movements Small:
- The tongue should only move a couple of millimeters at most, up to the reed and down again.
- To tongue quickly, the movements need to be very small.
-
Feather-Light Contact:
- It's important to make the contact with the reed feather light.
- When I'm tonguing, I'm hardly aware of the contact between my tongue and the reed.
Observational Check
Good tonguing is often invisible.
- If you're looking in the mirror and noticing large movements around your mouth, that's probably a sign that your tongue isn't moving correctly.
- If your tonguing is correct, it should be nearly invisible, and the tone should remain constant:
- No wavering in the sound.
- No changes of volume.
- No gaps between the notes.
Common Faults in Tonguing
The most common faults that I notice with tonguing are:
- Touching the underneath of the reed (make sure the contact is with the tip).
- Moving the tongue backwards and forwards rather than up and down.
- Not maintaining breath pressure.
However, most of these faults can be corrected if you remember to imagine the syllable.
Importance of the Syllable
The syllable contains everything.
- If you're imagining your do sound:
- The oo part corresponds to keeping the breath steady.
- The D part reminds you to move the tongue in the correct way, very delicately.
Remember, it is a do sound, not a "t" sound, as some teachers might say. The "t" is too heavy. This is a much gentler sound.
25 Lektionen
2 Std. 10 Min. strukturierte Videolektionen
Erweiterte Videofunktionen
Verlangsamen, Passagen loopen, mitlesen
Handy, Tablet & Desktop
Üben, wo du willst
100 % Zufriedenheitsgarantie
30 Tage Geld-zurück-Garantie
Lern deinen Guru kennen
Lern deinen Guru kennen
John O'Neill ist der Saxofonist hinter The Jazz Method for Saxophone, der bei Schott erschienenen Reihe, die einer ganzen Generation von Musikern weltweit das Improvisieren beigebracht hat. Erstmals 1991 veröffentlicht, zählt sie neben seinen begleitenden Methoden für Klarinette und Flöte bis heute zu den meistverkauften Jazz-Lehrwerken, die je geschrieben wurden.
Zum Saxofon kam er mit zwanzig Jahren, während er am Trinity College in Oxford Französisch und Deutsch studierte, nachdem er John Coltrane gehört hatte. Anschließend studierte er beim großen britischen Tenoristen Don Rendell und lernte Improvisation bei Lee Konitz, Warne Marsh und Peter Ind, den direkten Erben des legendären Lehrers Lennie Tristano. Seit 1979 professioneller Musiker, ist er auf Jazz und Bossa Nova spezialisiert und hat in Londons führenden Clubs gespielt, darunter im Ronnie Scott's, und komponiert zugleich Musik für Film, Fernsehen, Theater und Tanz.
Als ausgebildeter Lehrer mit jahrzehntelanger Erfahrung hat John Saxofon, Klarinette und Flöte privat und an Schulen unterrichtet, im Jazz-Studiengang des Trinity College of Music in London sowie bei Sommerkursen in Spanien und der Tschechischen Republik. Von seinem Zuhause im Norden Londons aus tritt er nach wie vor auf und unterrichtet.







